One Room Challenge – Green Kitchen Glamazon – Week Three
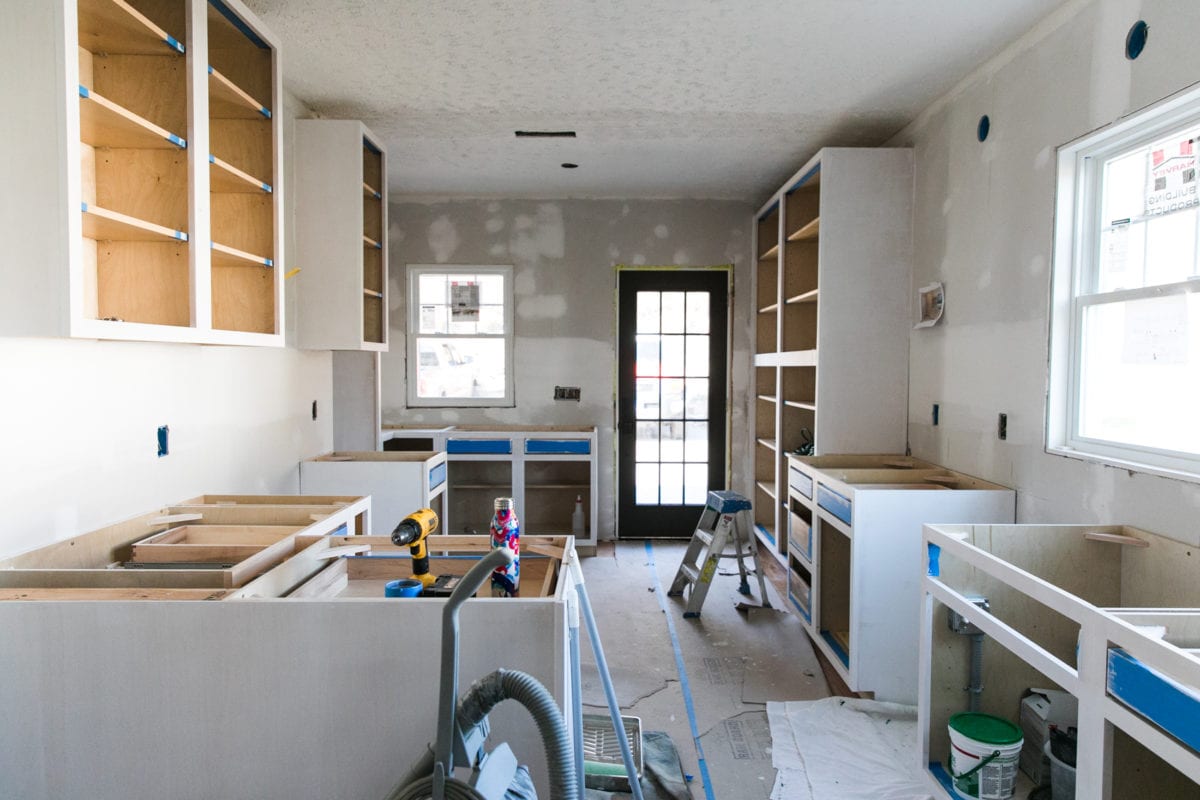
Well, I’ll be a monkey’s uncle, it’s week freaking three of the One Room Challenge!!! How the heck are we already in the belly of the beast? I’m not sure where time goes, guys. What I do know is I’m crushin’ it in this Green Kitchen Glamazon.

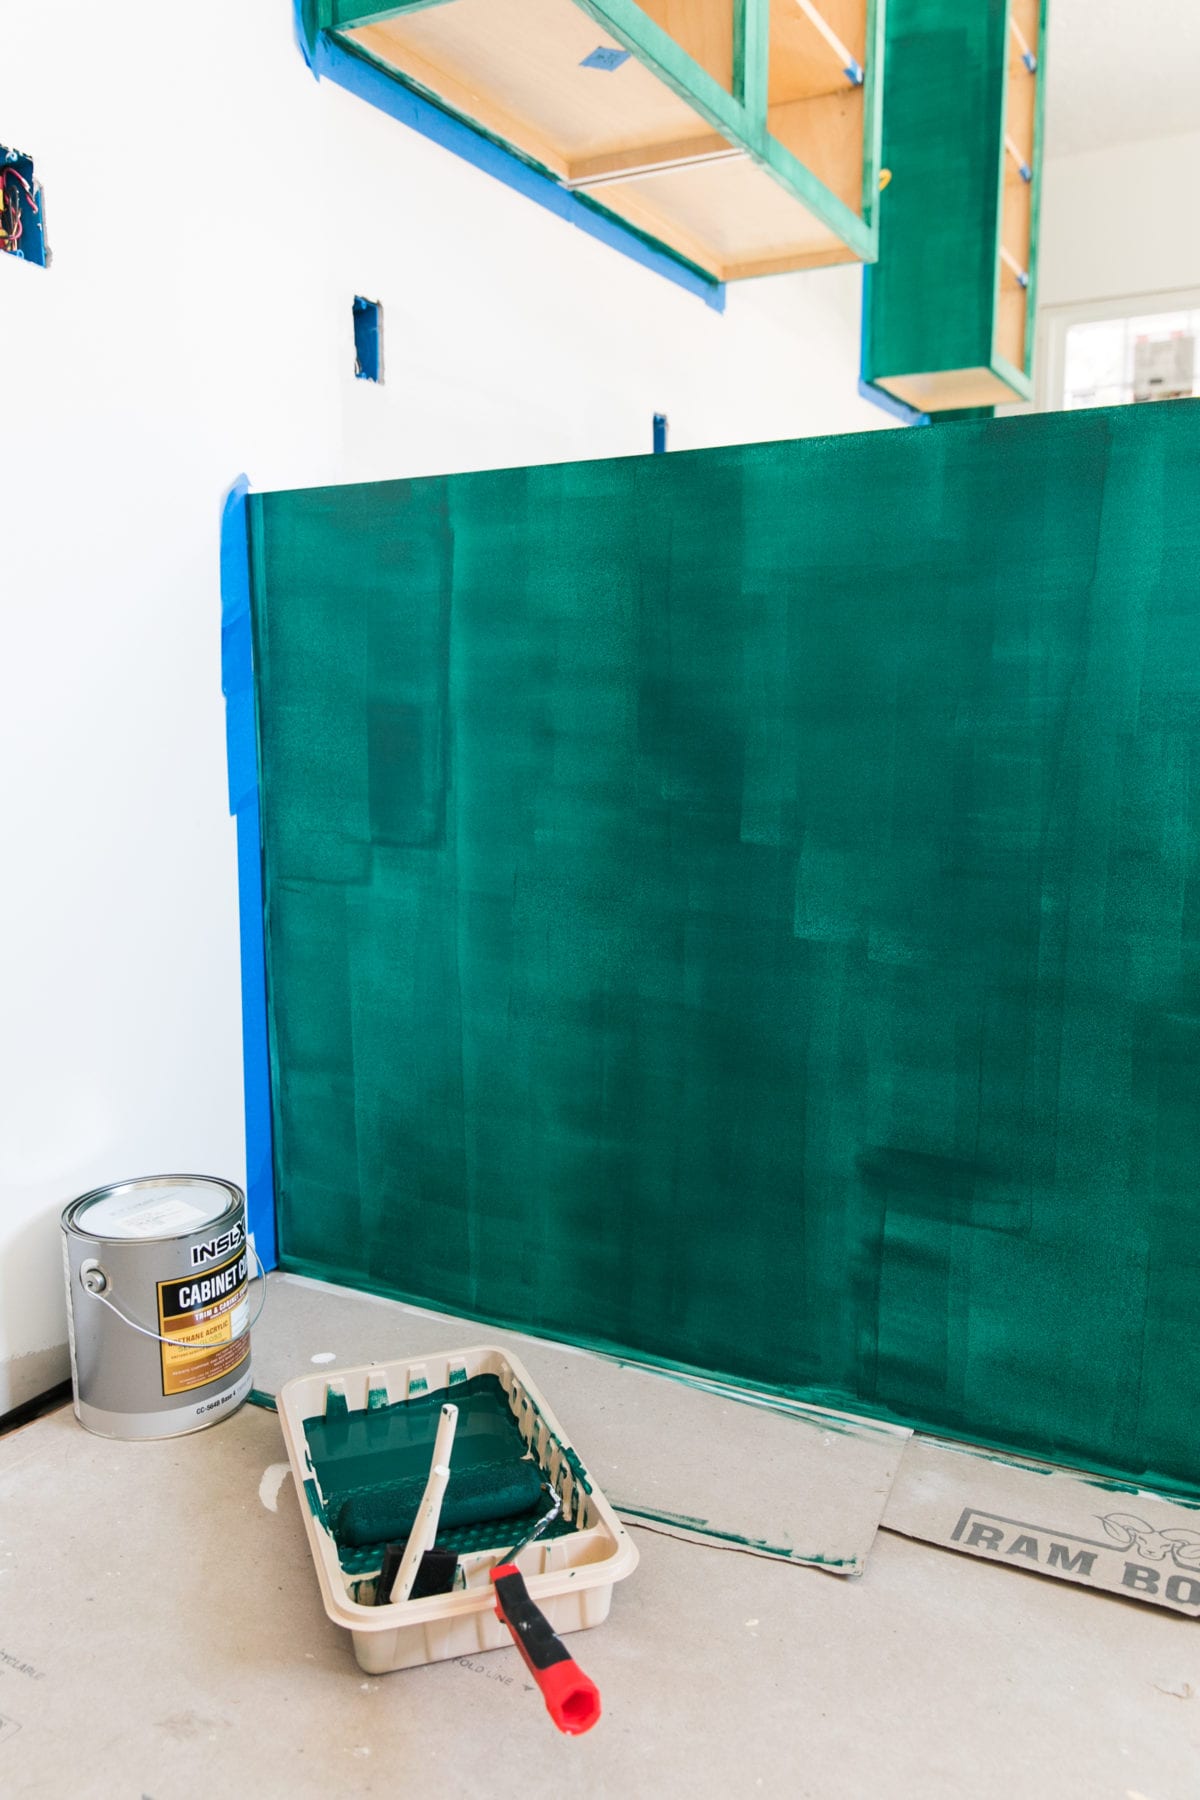
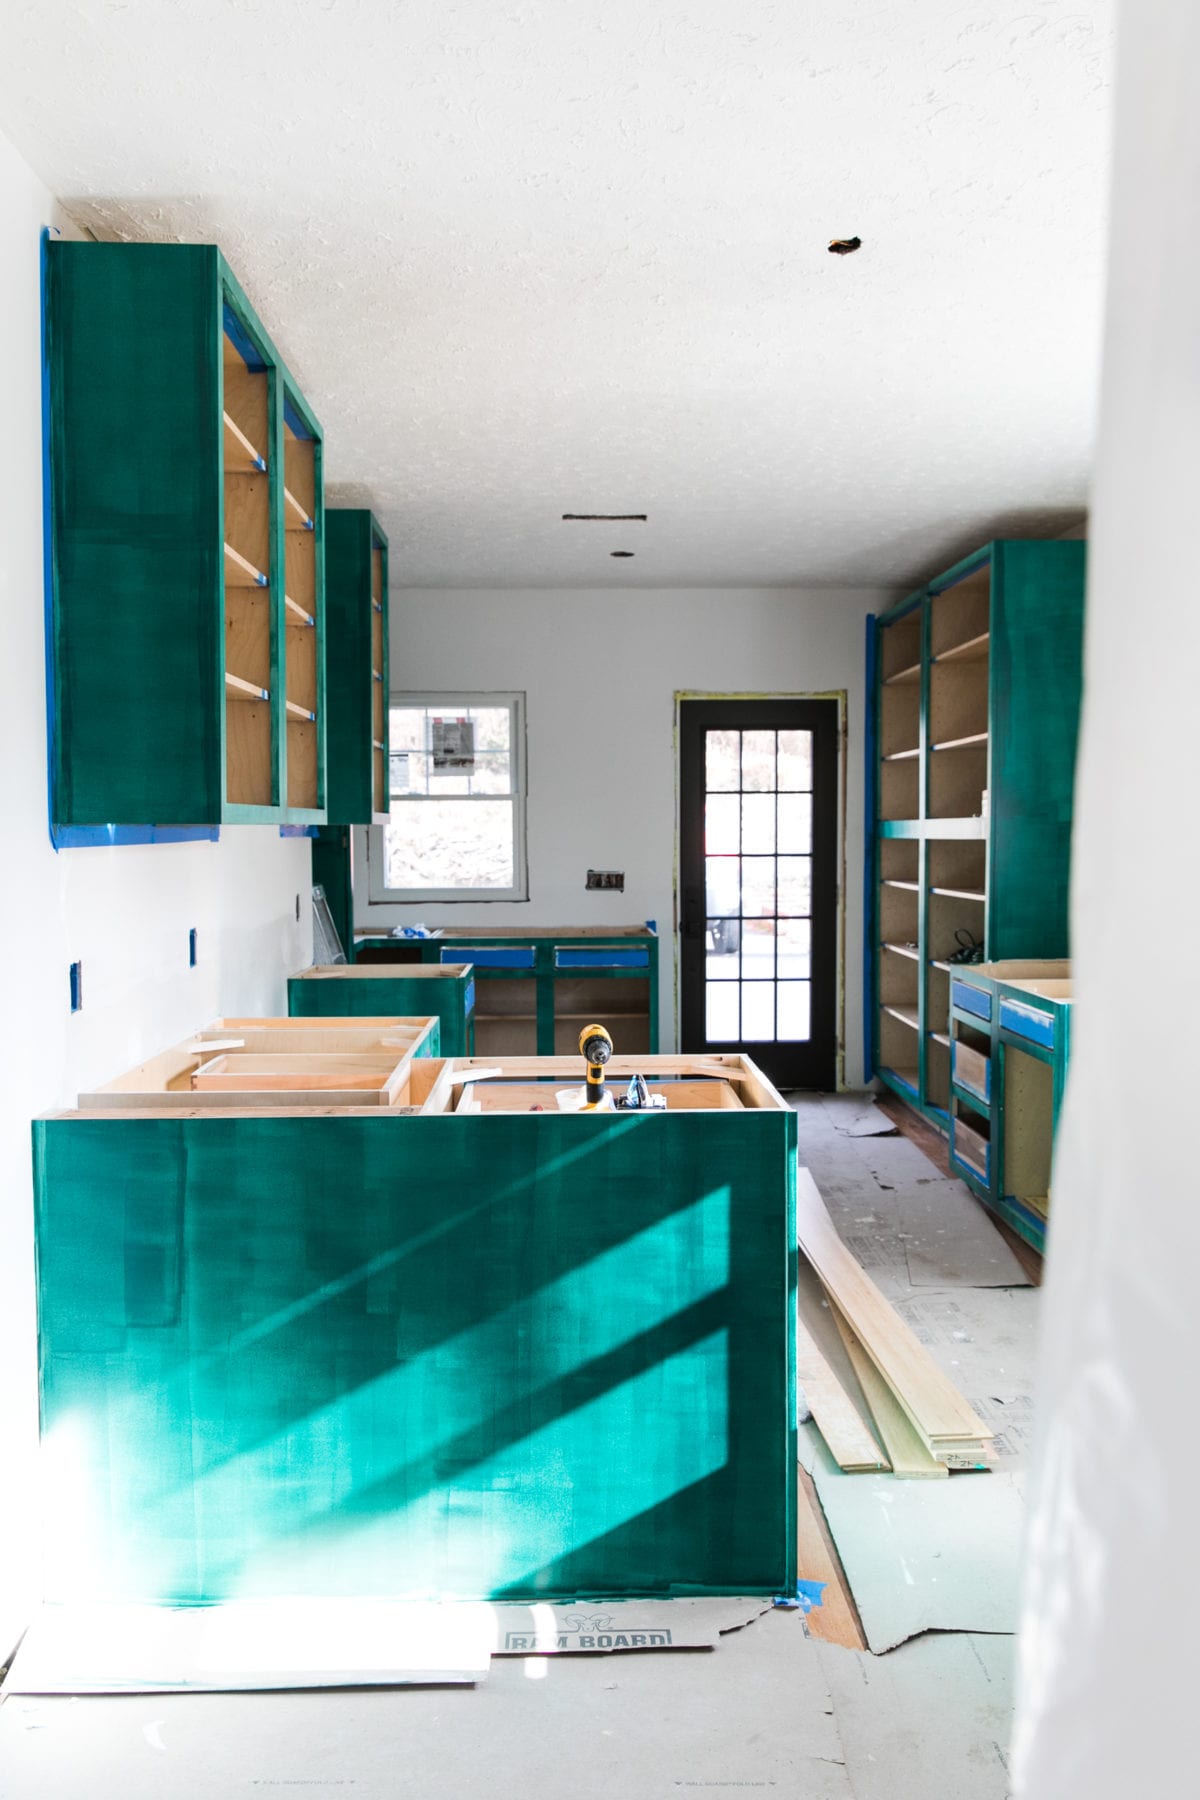
CABINET PAINTING: A SAGA
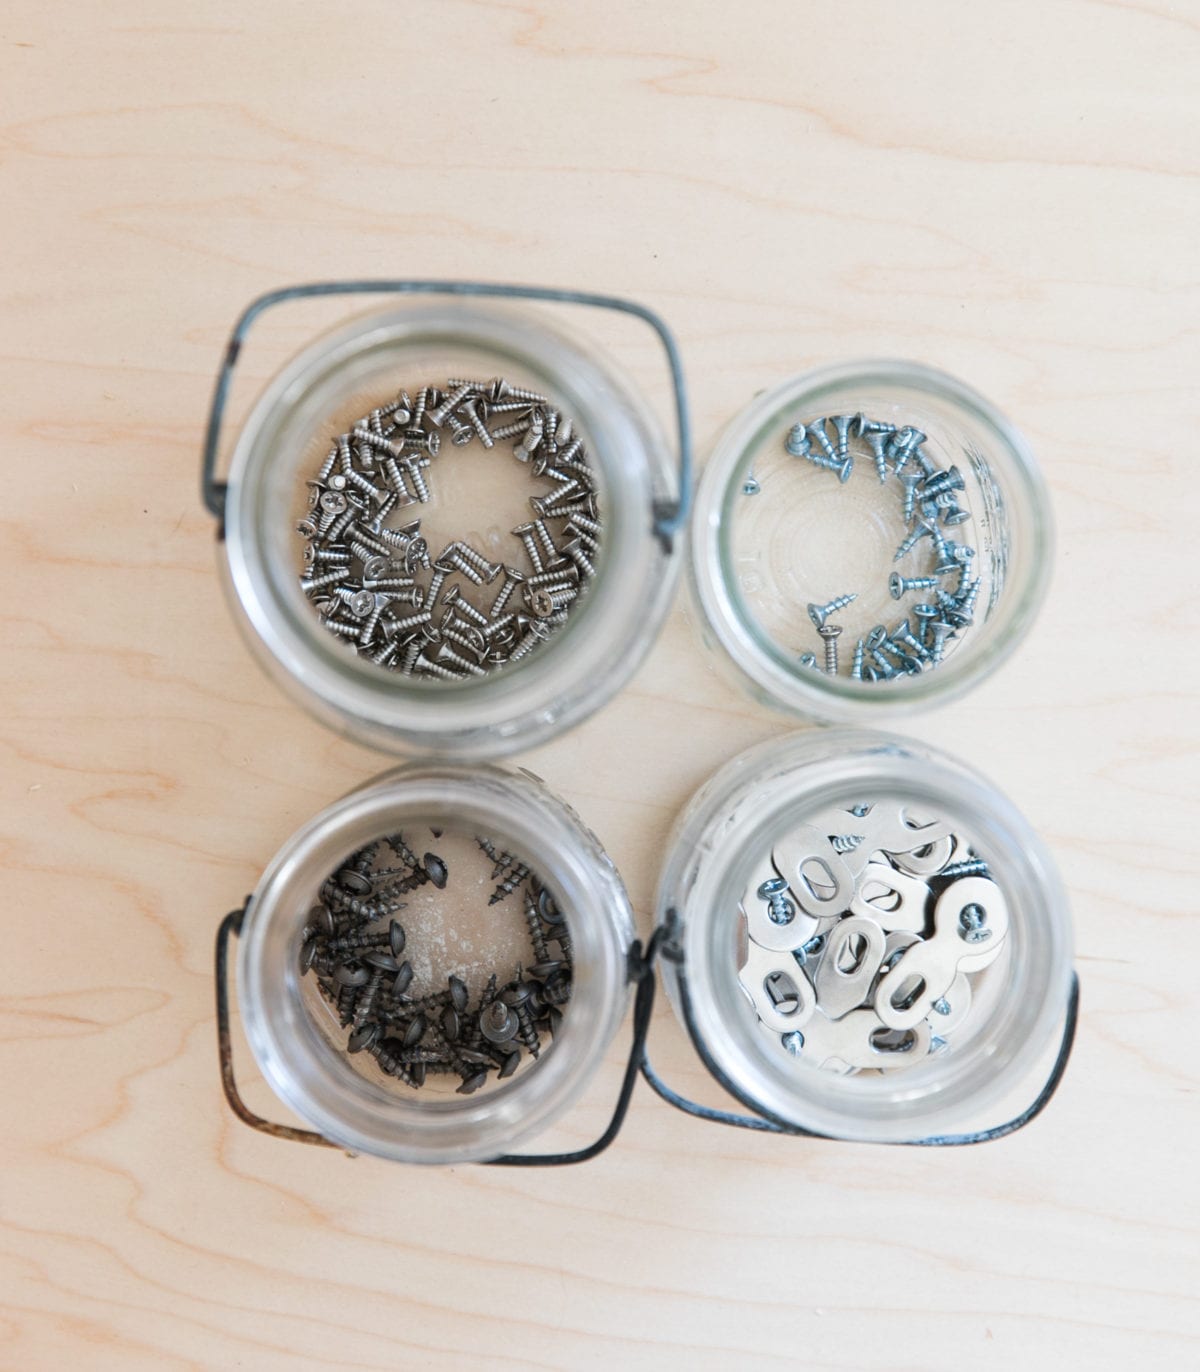
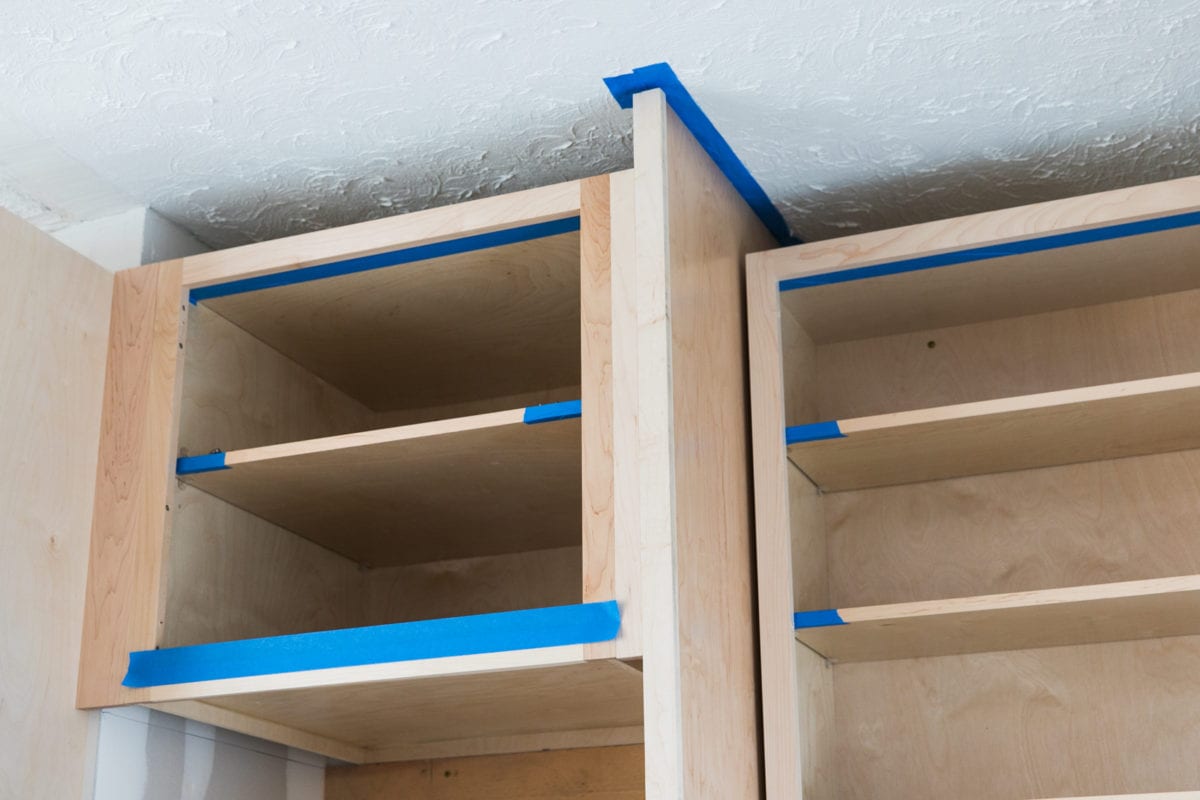
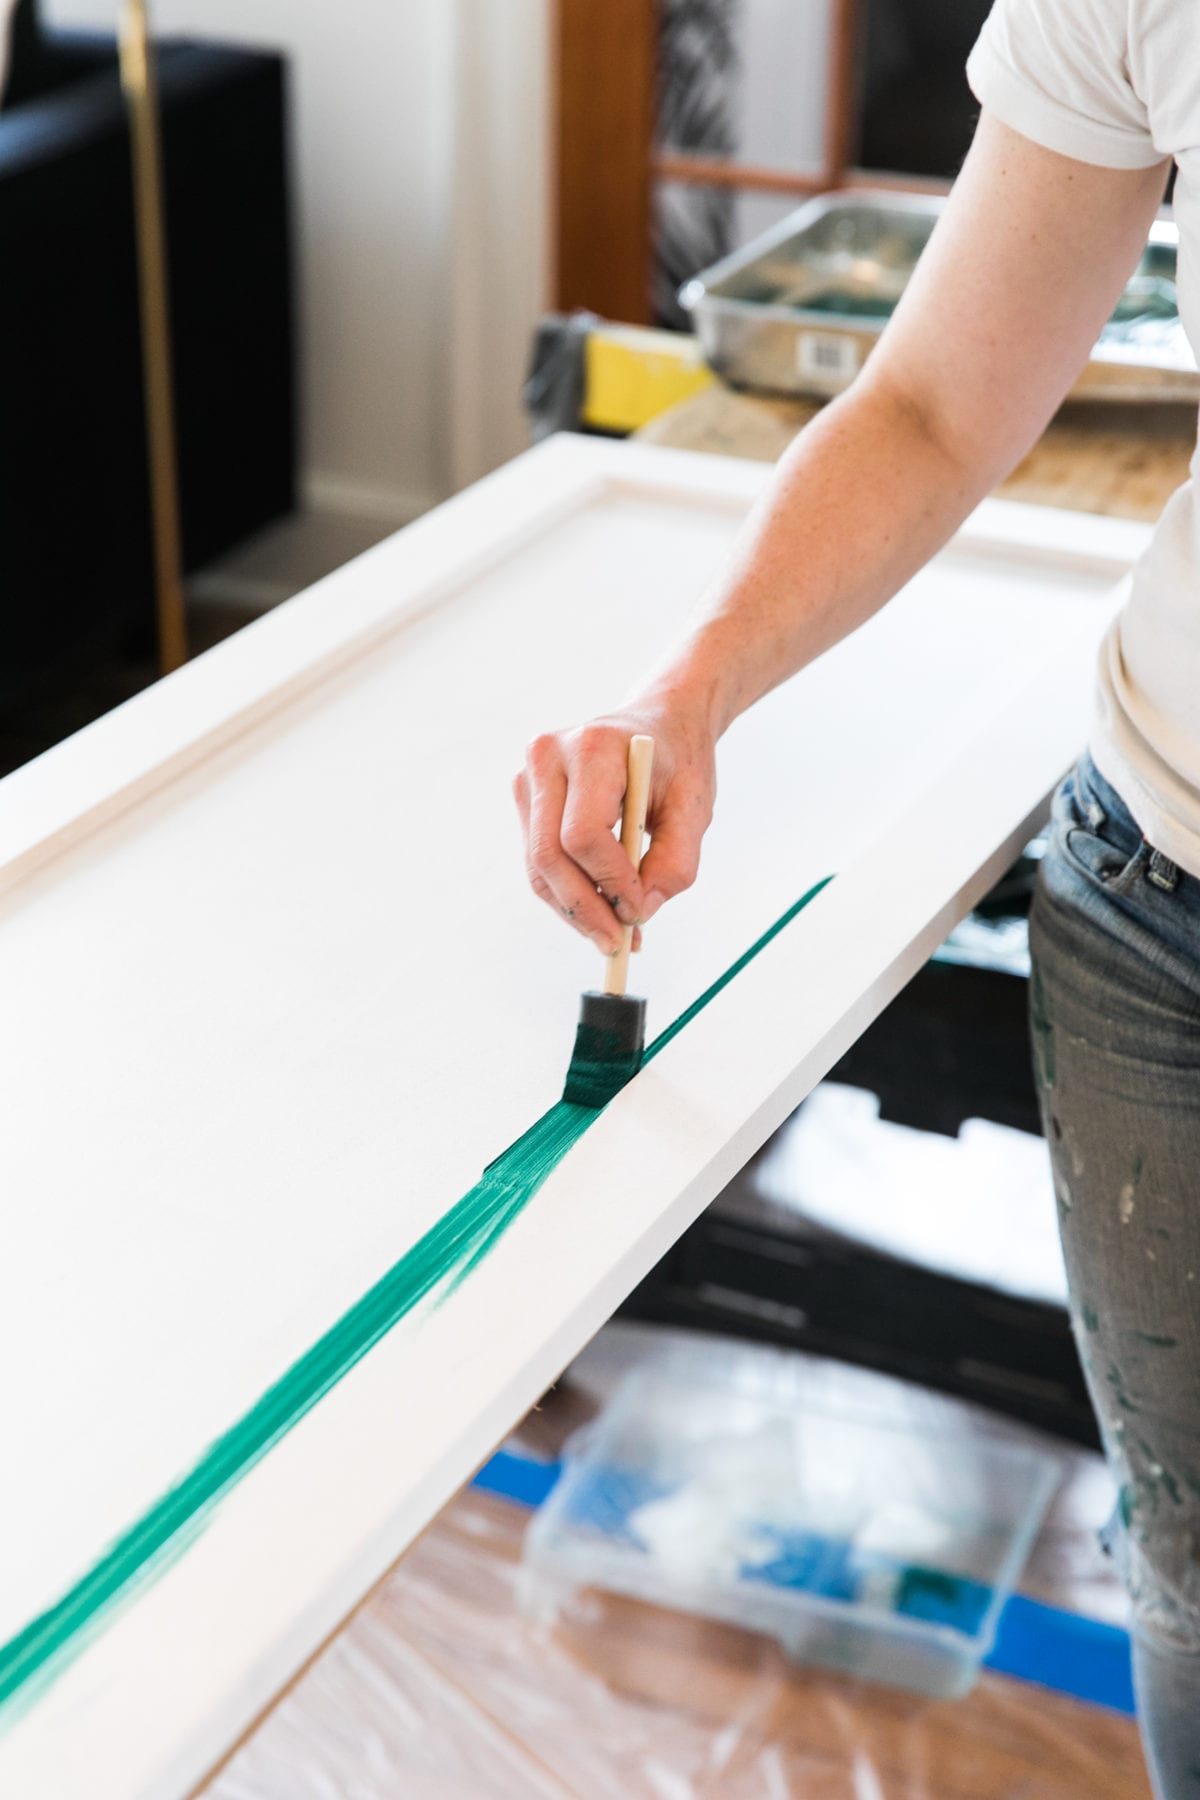
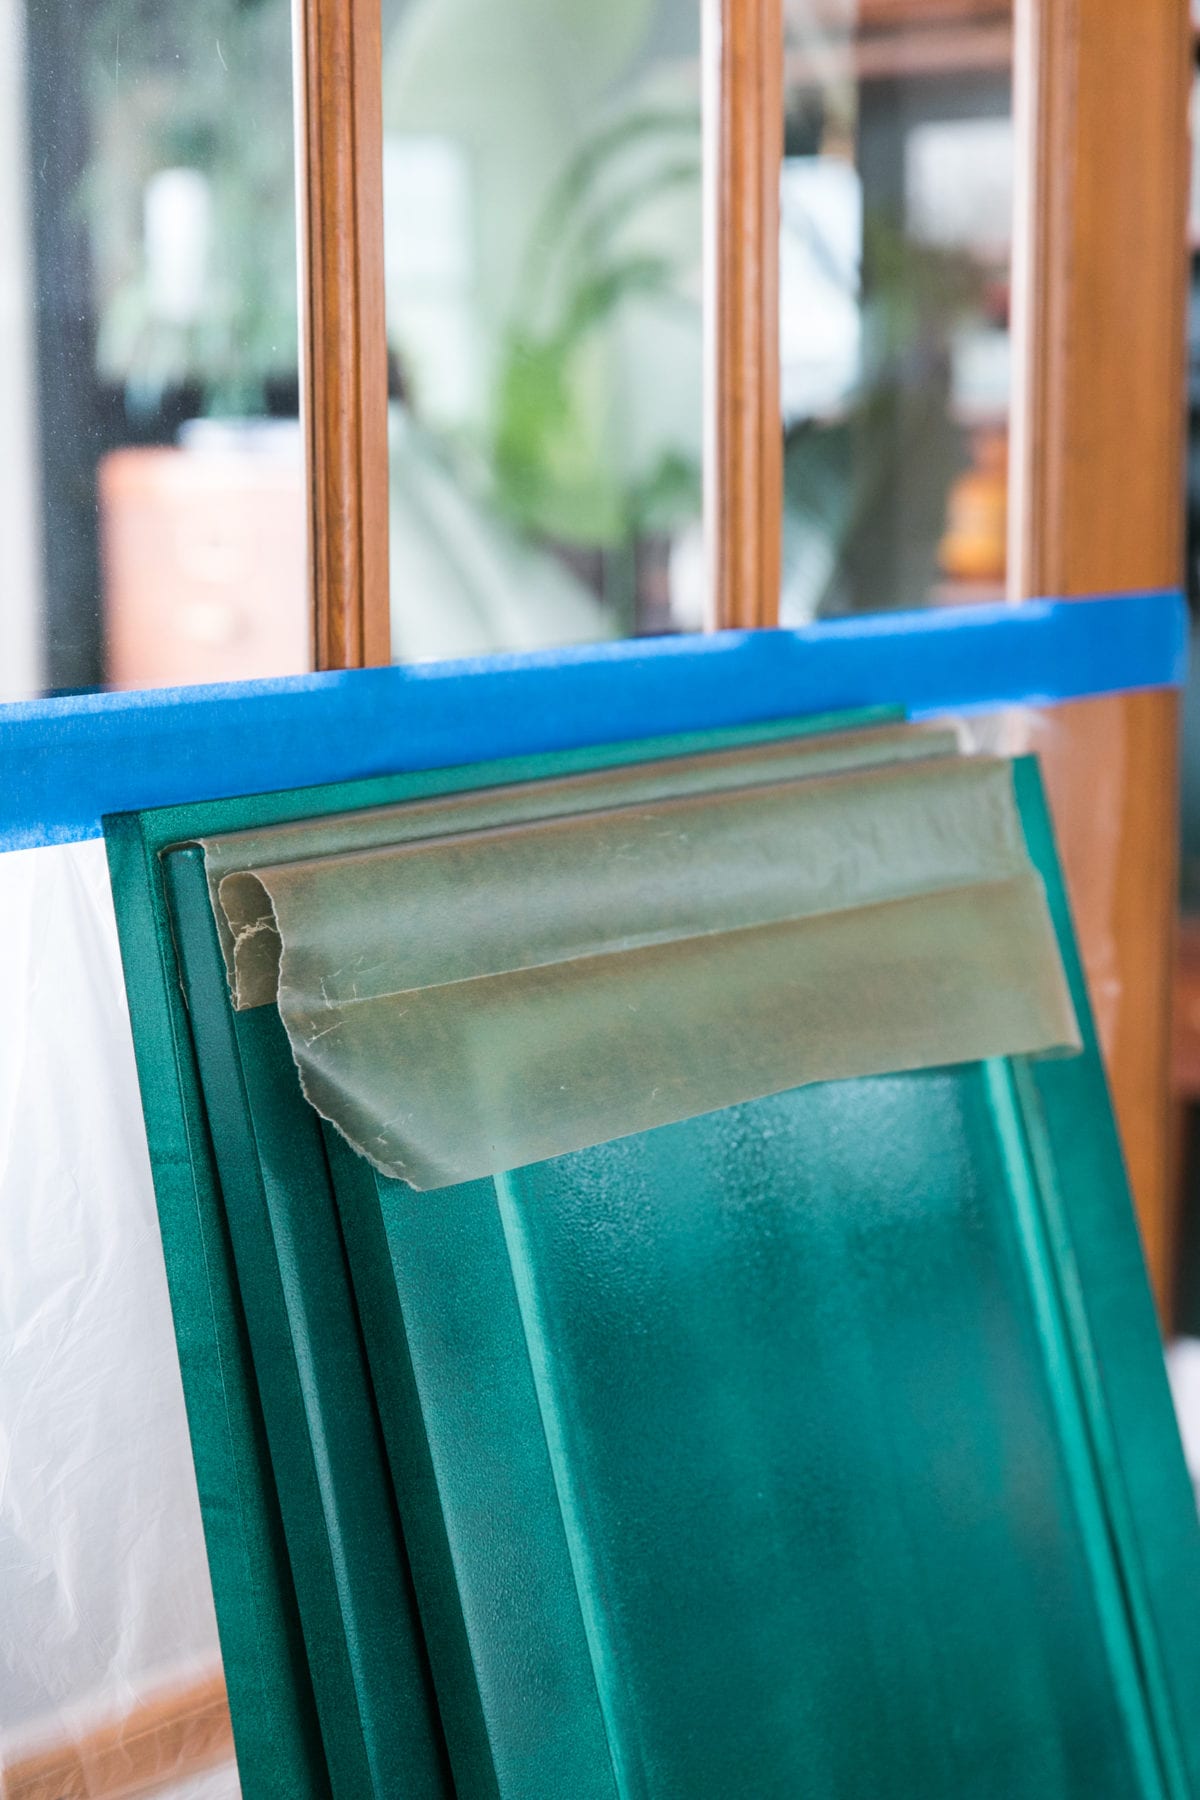
Let’s start with cabinet progress! My newest DIY saga, it’s been a solid three weeks focused on being a forest green painting machine. 💪🏻 From removing / sorting hardware; prepping with painter’s tape; and sanding down the maple bases, 30 doors and 14 drawers, the time has finally come to apply a coat of primer to each, three coats of color and a light sanding in-between.
Fact. The first coat looks wretched. Especially when painting a dark color.
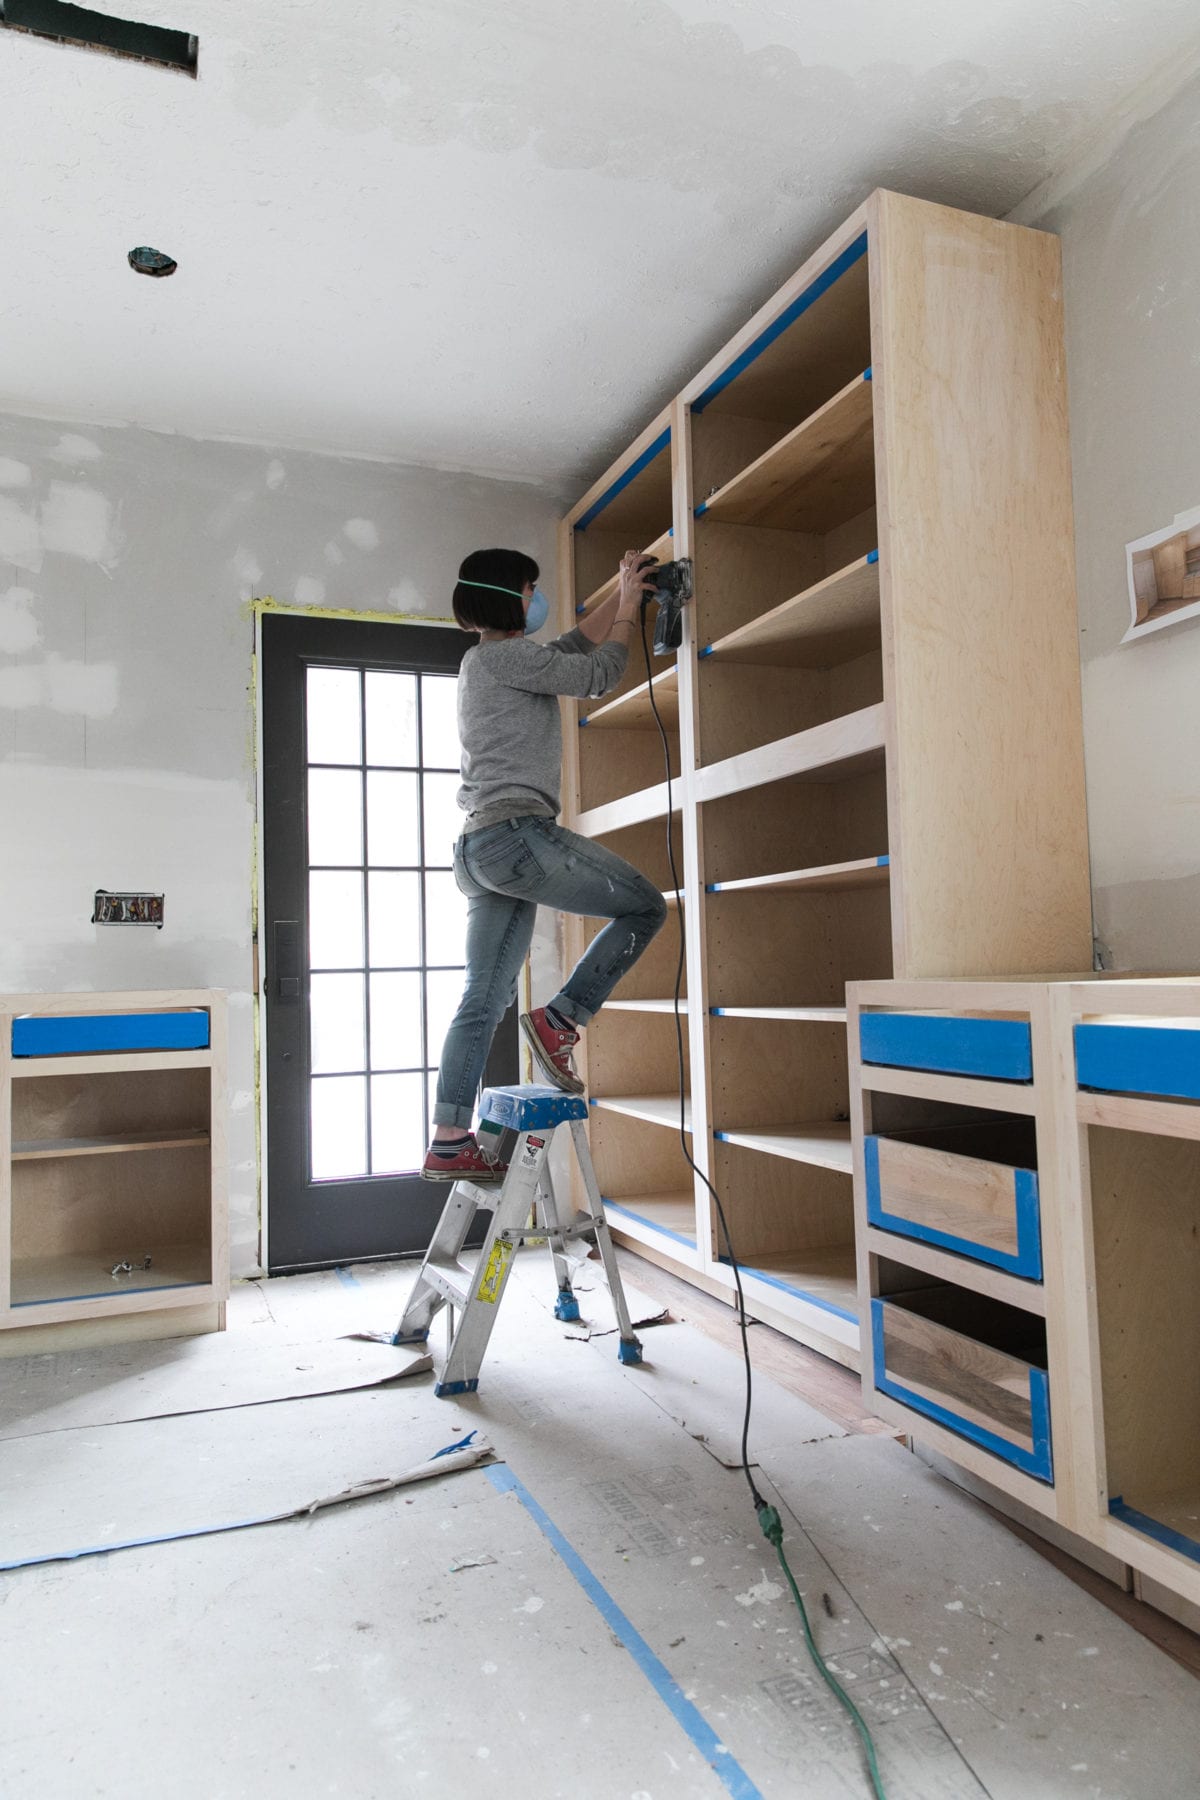


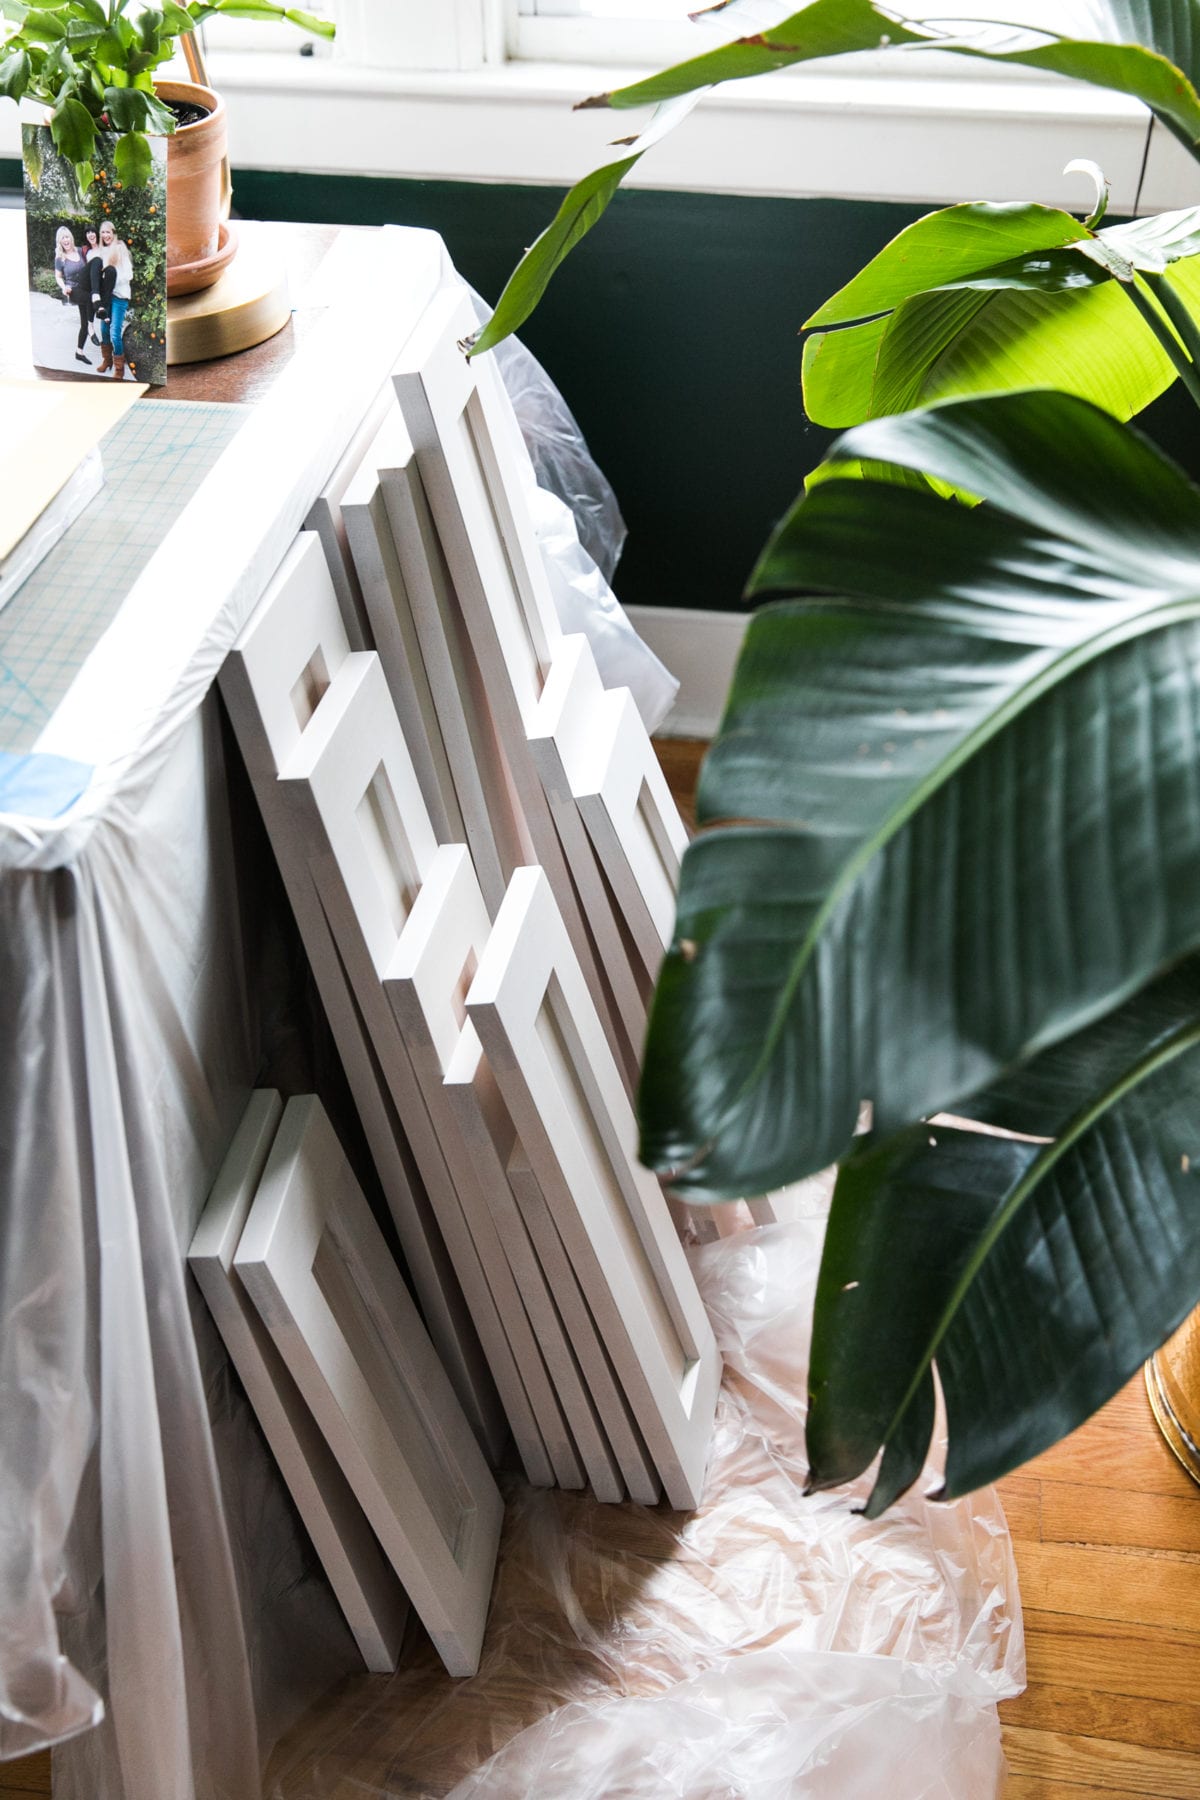

Thankfully, I’ve had a few helping hands to get this process going. The spring weather has made it rather haphazard to paint outside—fighting rain, humidity and even wind on a sun-shiny day—that this operation has moved into my living room. Since there’s not a lot of room, I’ve been leaning my tack-dry doors against one another with wax paper. It’s actually working really well!!
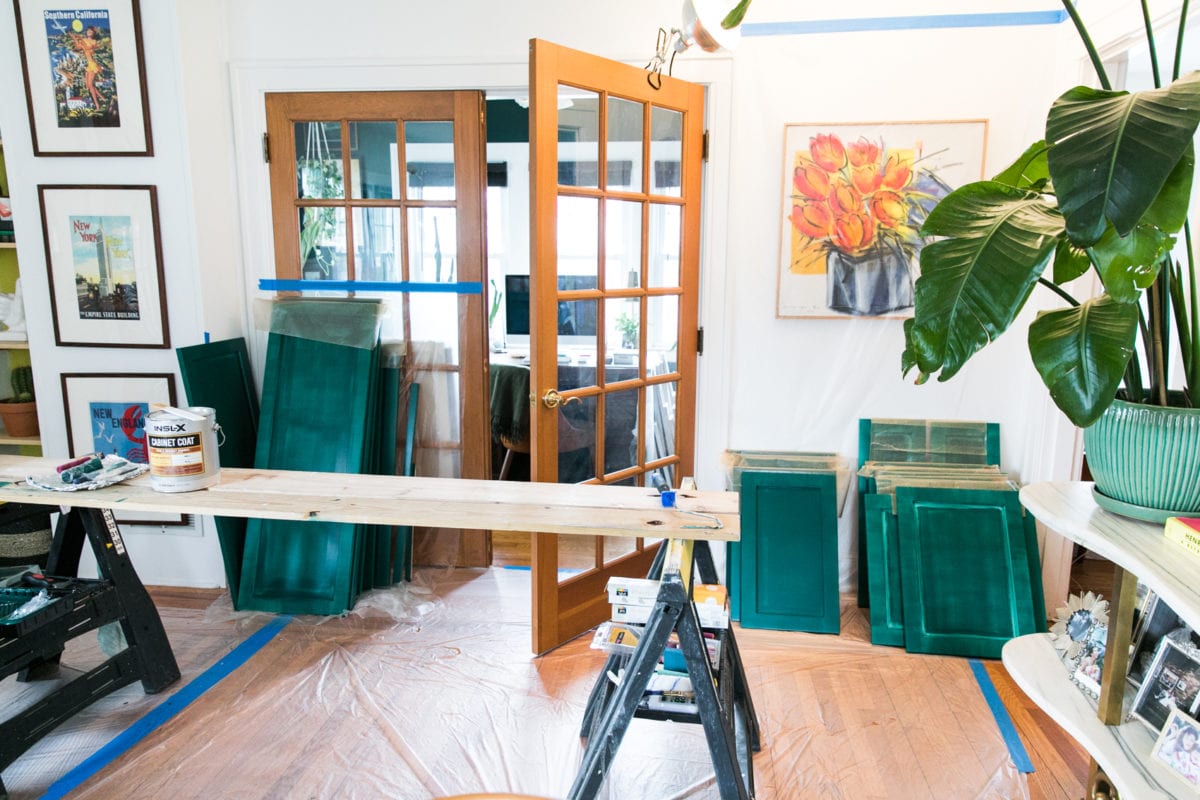
Seriously though, the only room in this house not shrouded in boxes, dust and mayhem is my master bedroom. This girl just needs one serene space to get by. 🙌🏻
Since I bought brand new cabinets, my expectations and standards are abnormally high for this paint job. It’s my second foray into kitchen cabinet painting and it’s A LOT different with a dark color.
Fret not; I’m taking out the guesswork over at this blog post and put together a how-to paint kitchen cabinets tutorial for the ages!!! 🎥💚🖌
CUE THE COUNTERTOP ANGELS
The gorrrrrrgeous countertops are signed, sealed, delivered and I’m yours. I took a chance on Eternal Bianco Calacatta’s graphic gray vein—I couldn’t love them more. Trust your gut, people. It’s pretty wild to witness how they’re measured and how perfectly they fit upon delivery. Basically, the dude laid out a buncha black dots and took photos. 🤪
Lesson Learned: A seamless L-shape or corner section wider than 36” inches is charged square-footage for the entire piece including what’s not there (in this case, an additional $400 expense). Disappointed I wasn’t able to keep the leftover cutouts, albeit delighted I opted for seamless. It just wasn’t worth the chance of cutting off the graphic markings in a visually-displeasing way.
IT’S ALL IN THE DETAILS
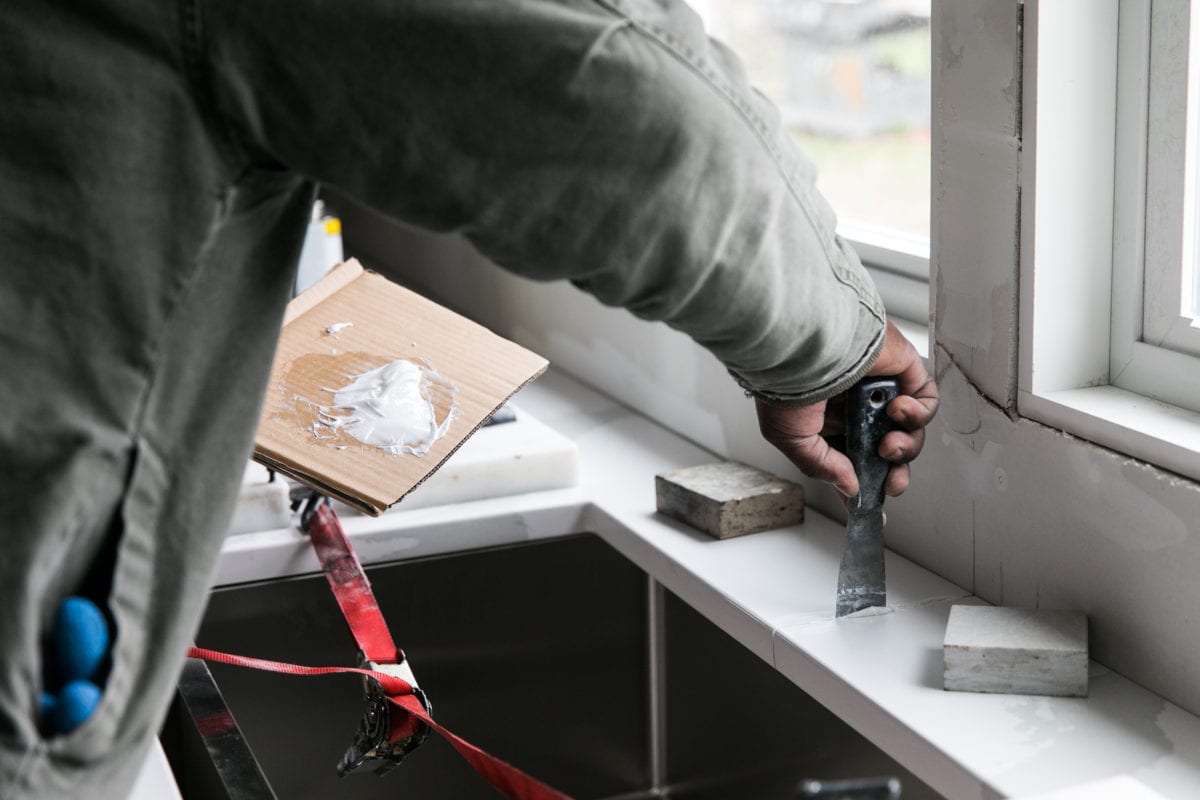
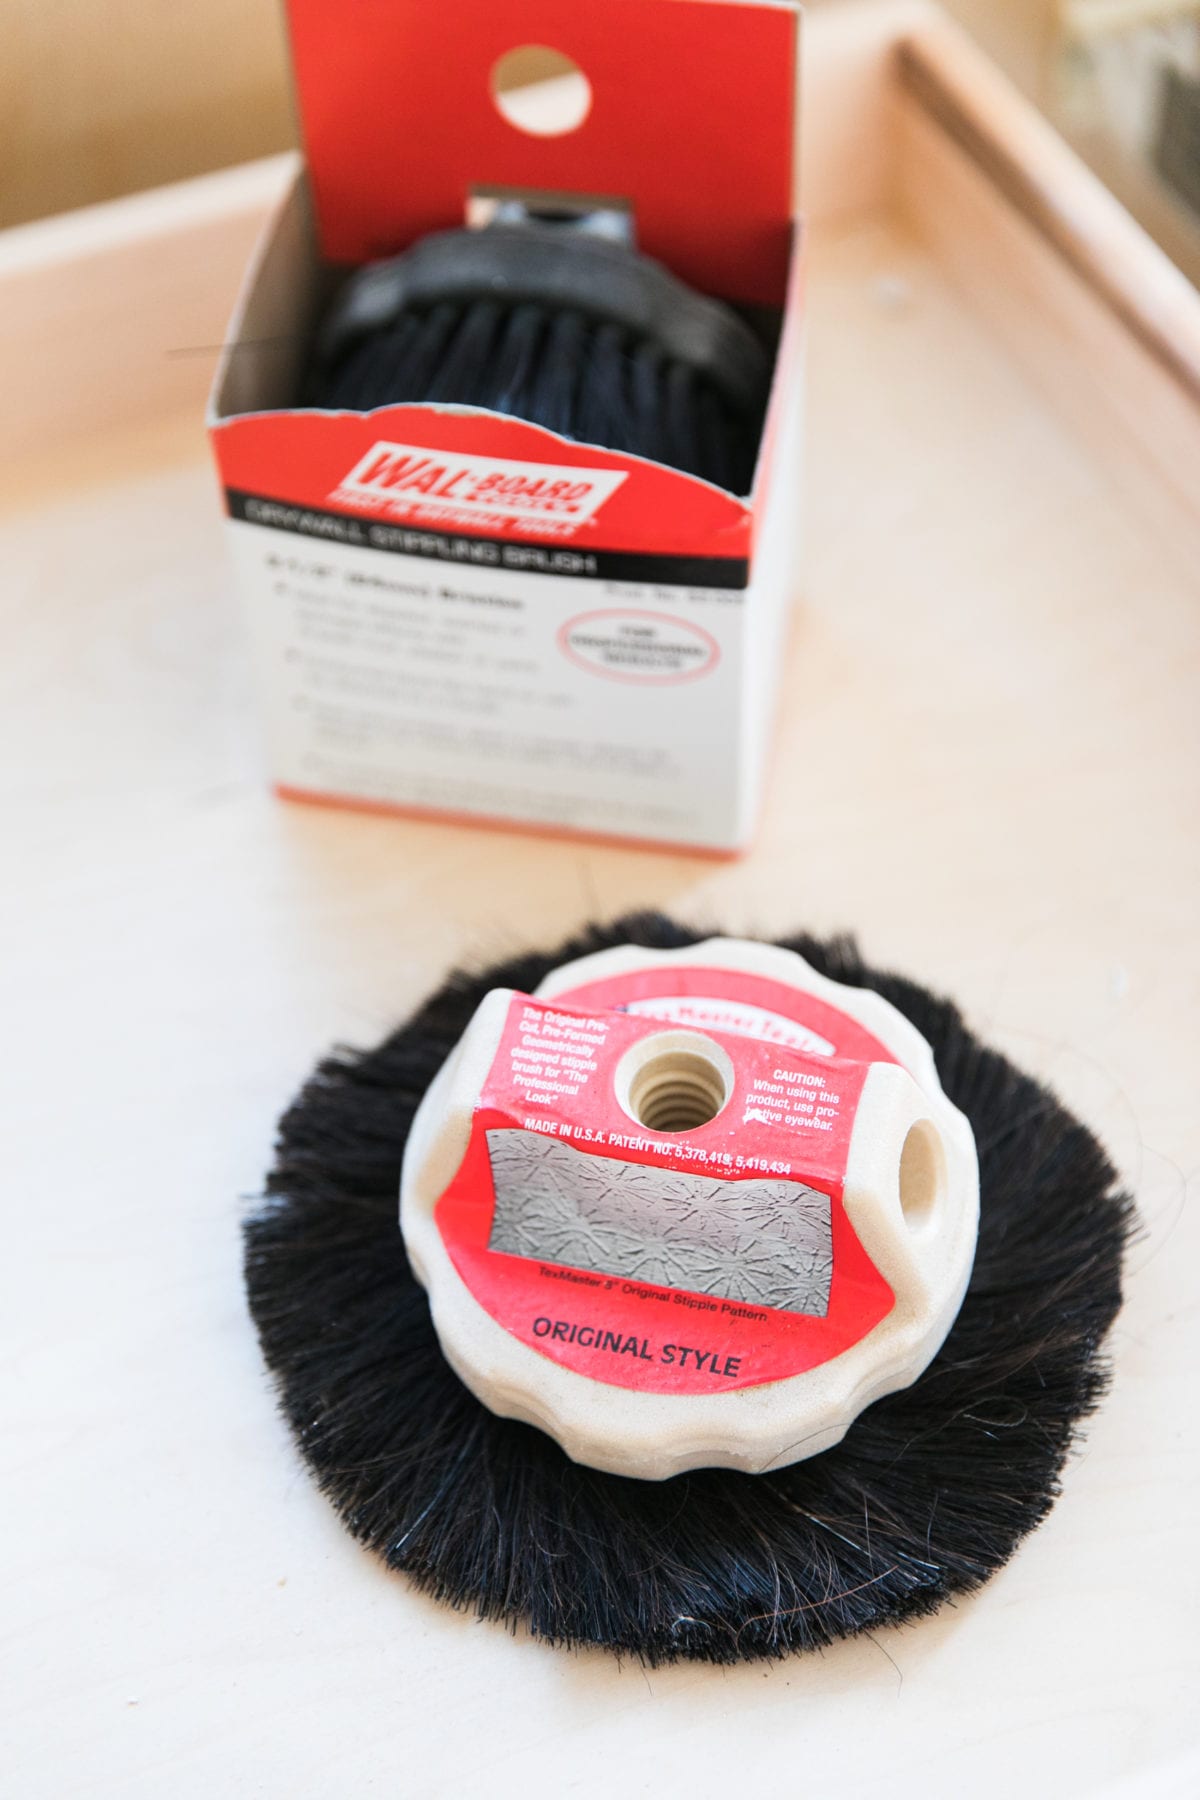
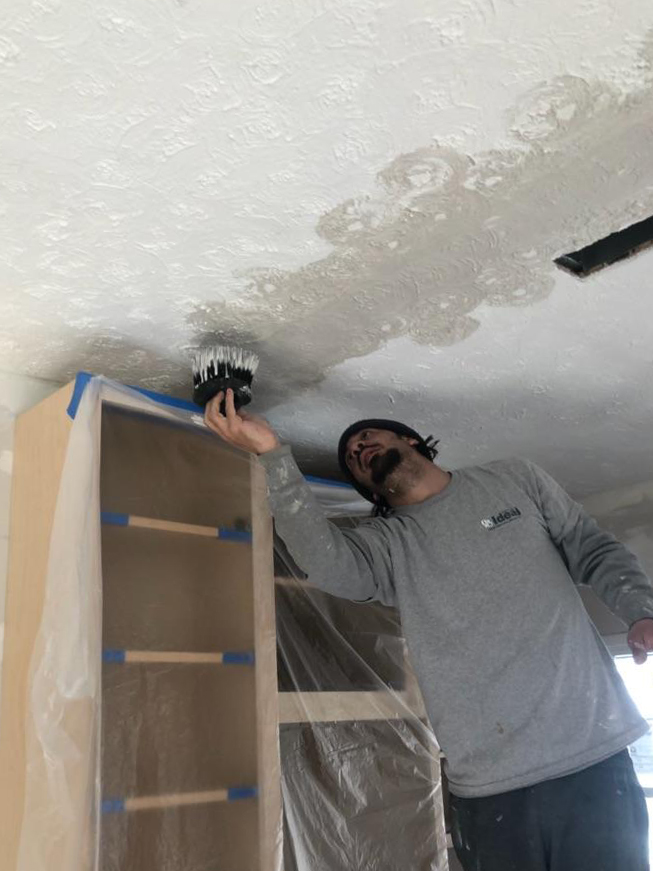
One of the most pertinent repairs (up there with my restored red oak hardwood floors) is the plaster ceiling restoration. Nick from Phil’s super-talented crew repaired the missing plaster ceiling swirlies—my Van Gogh ceiling—as though nothing ever happened!! Using a round, 4″ stippling bristle brush, he swiftly and attentively added texture where the wall was removed. Primed and painted, you’d swear it was never disturbed.
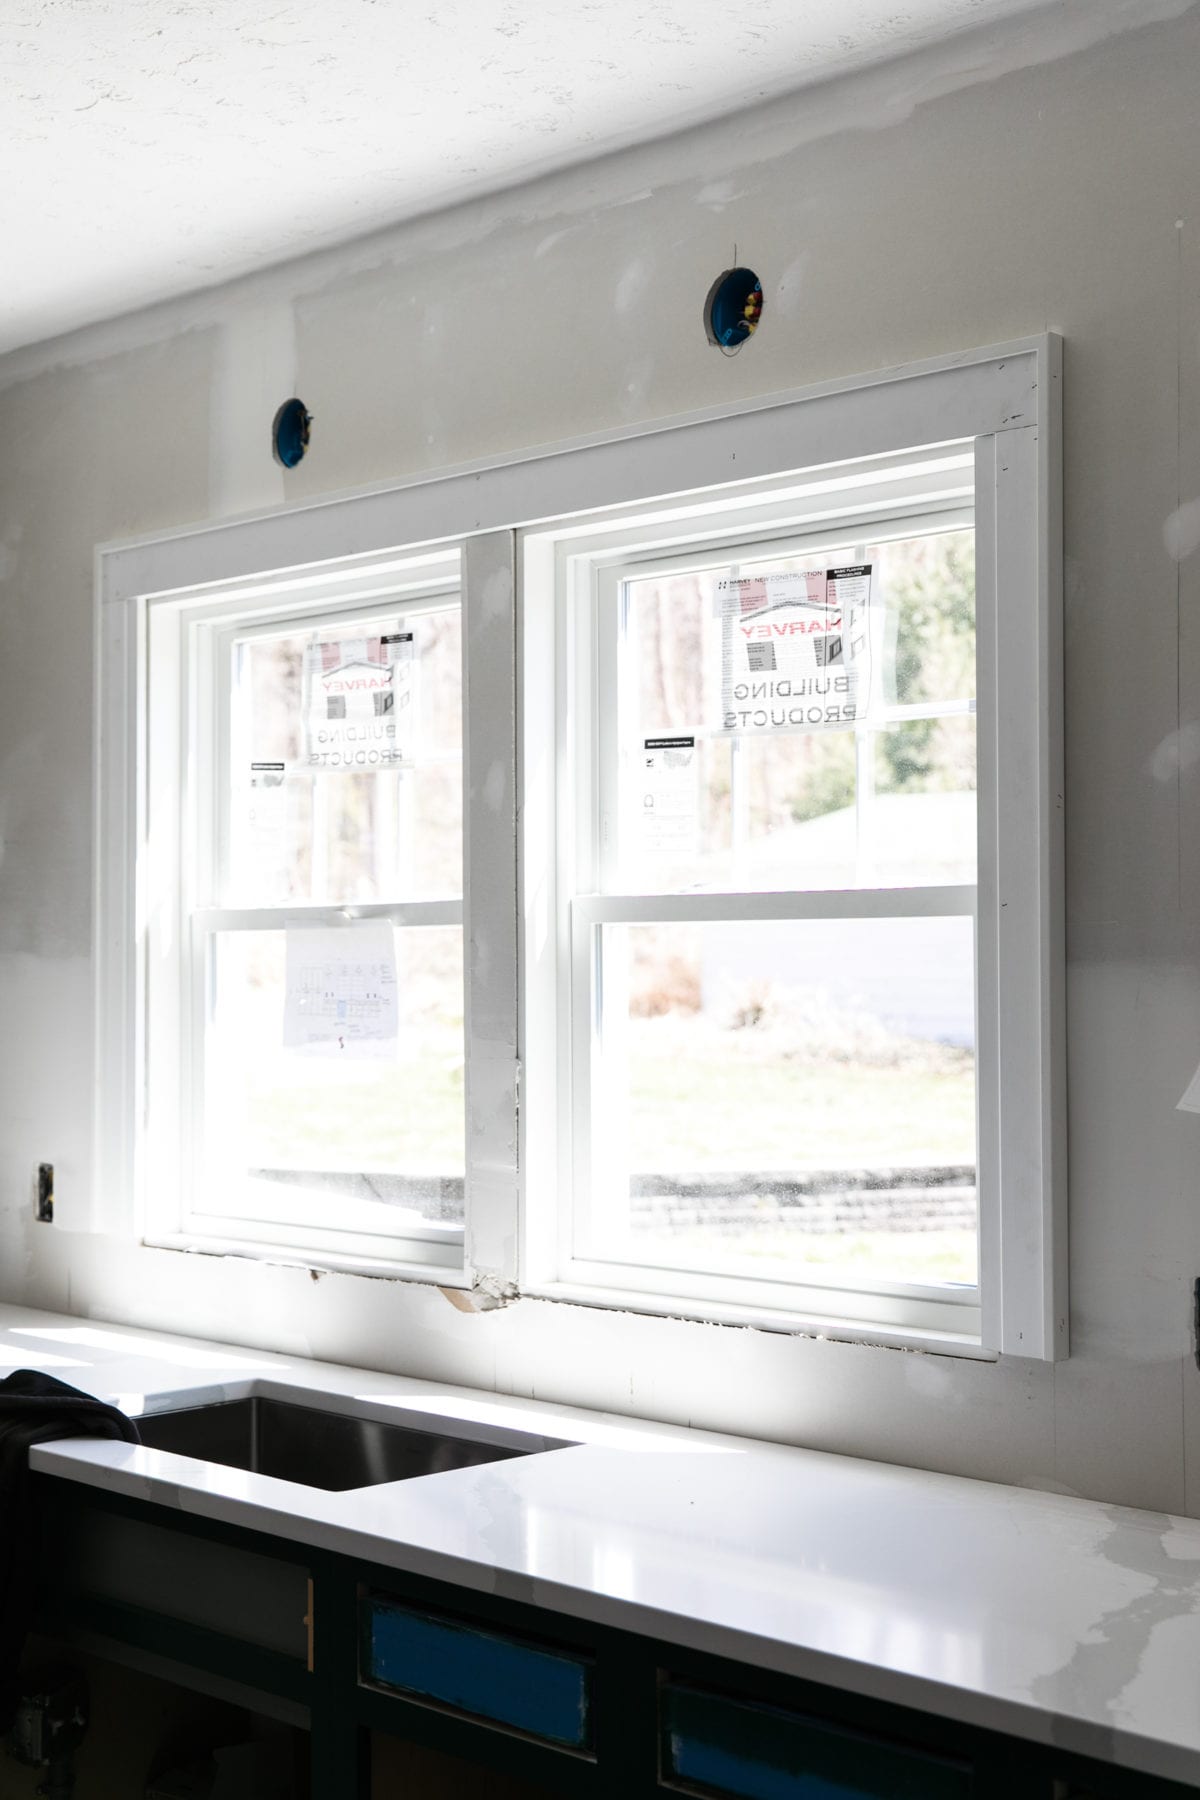
One amazing detail leads to the next: Phil installed all of the interior window and door trims, meticulously matching them to the home’s existing molding.
That is true craftsmanship.
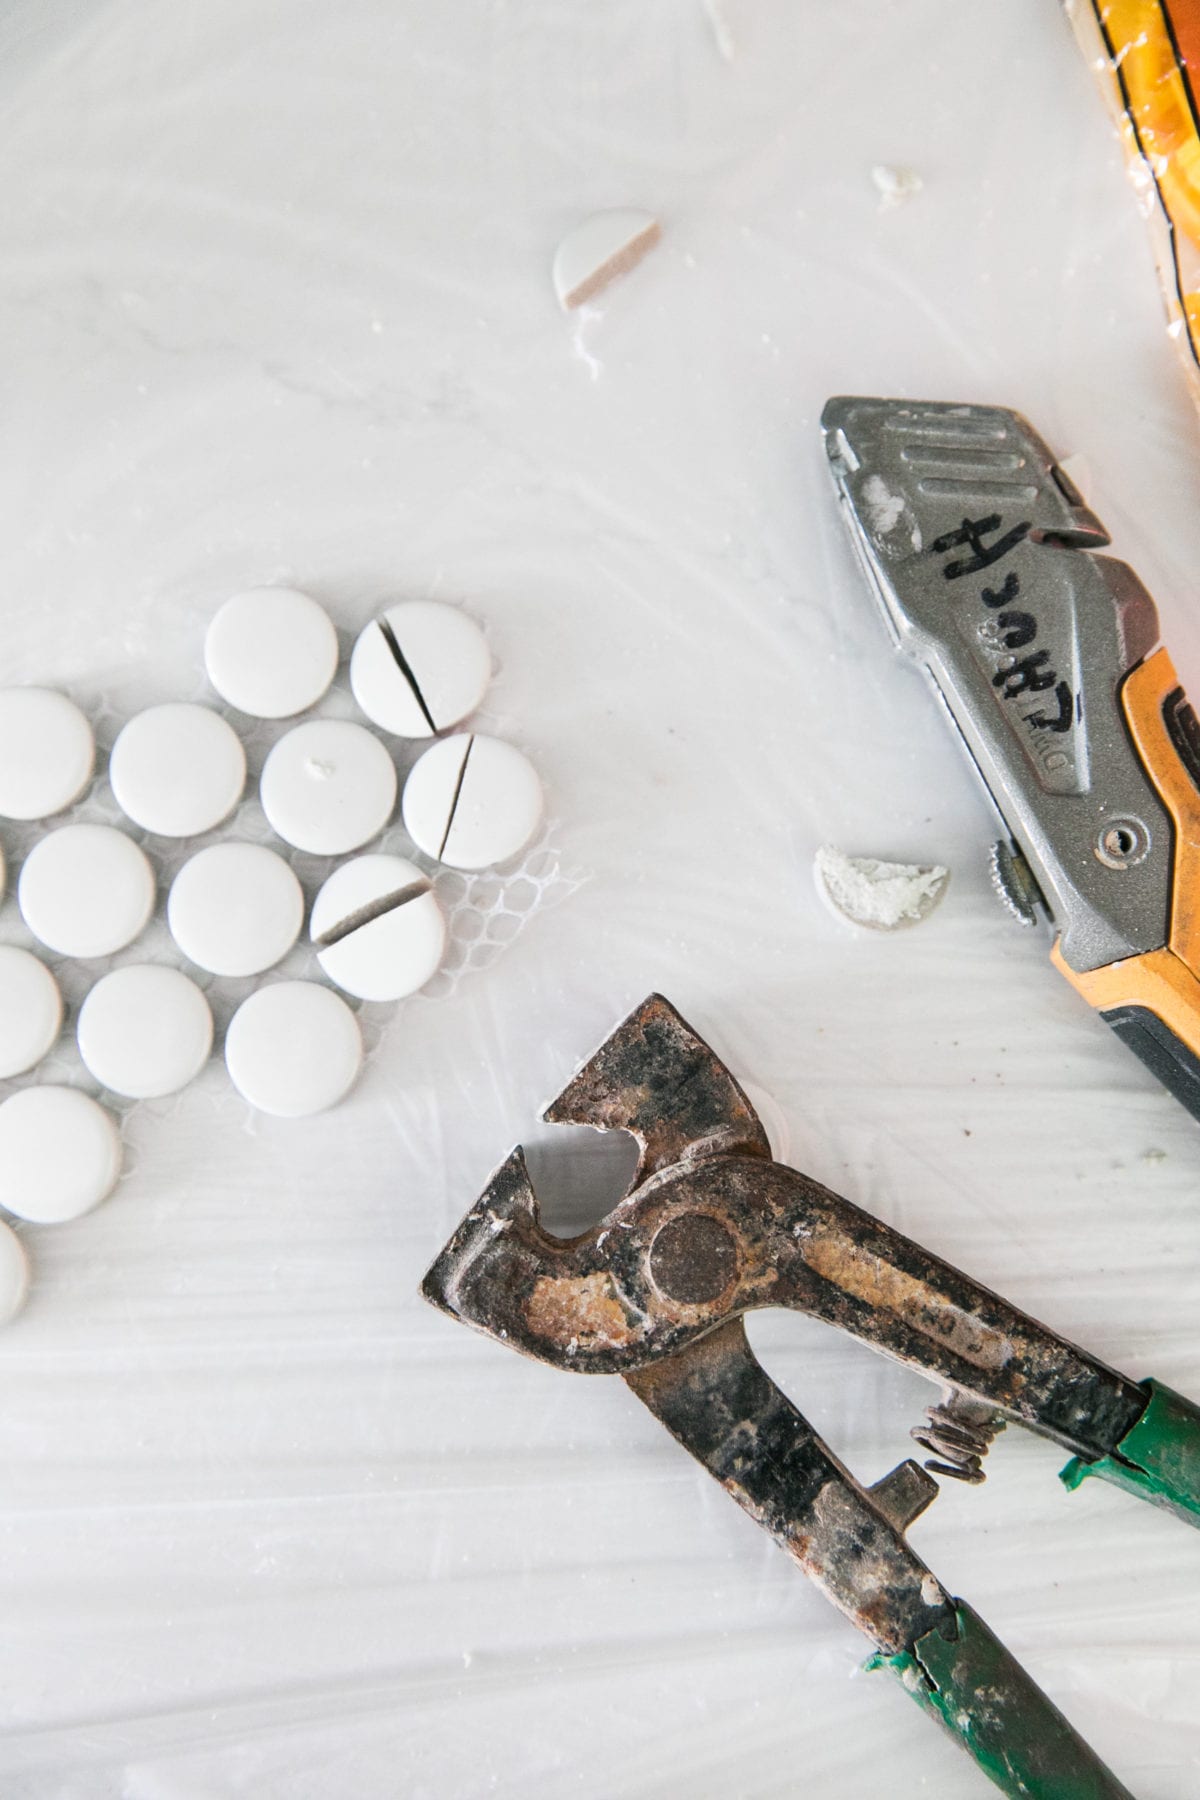
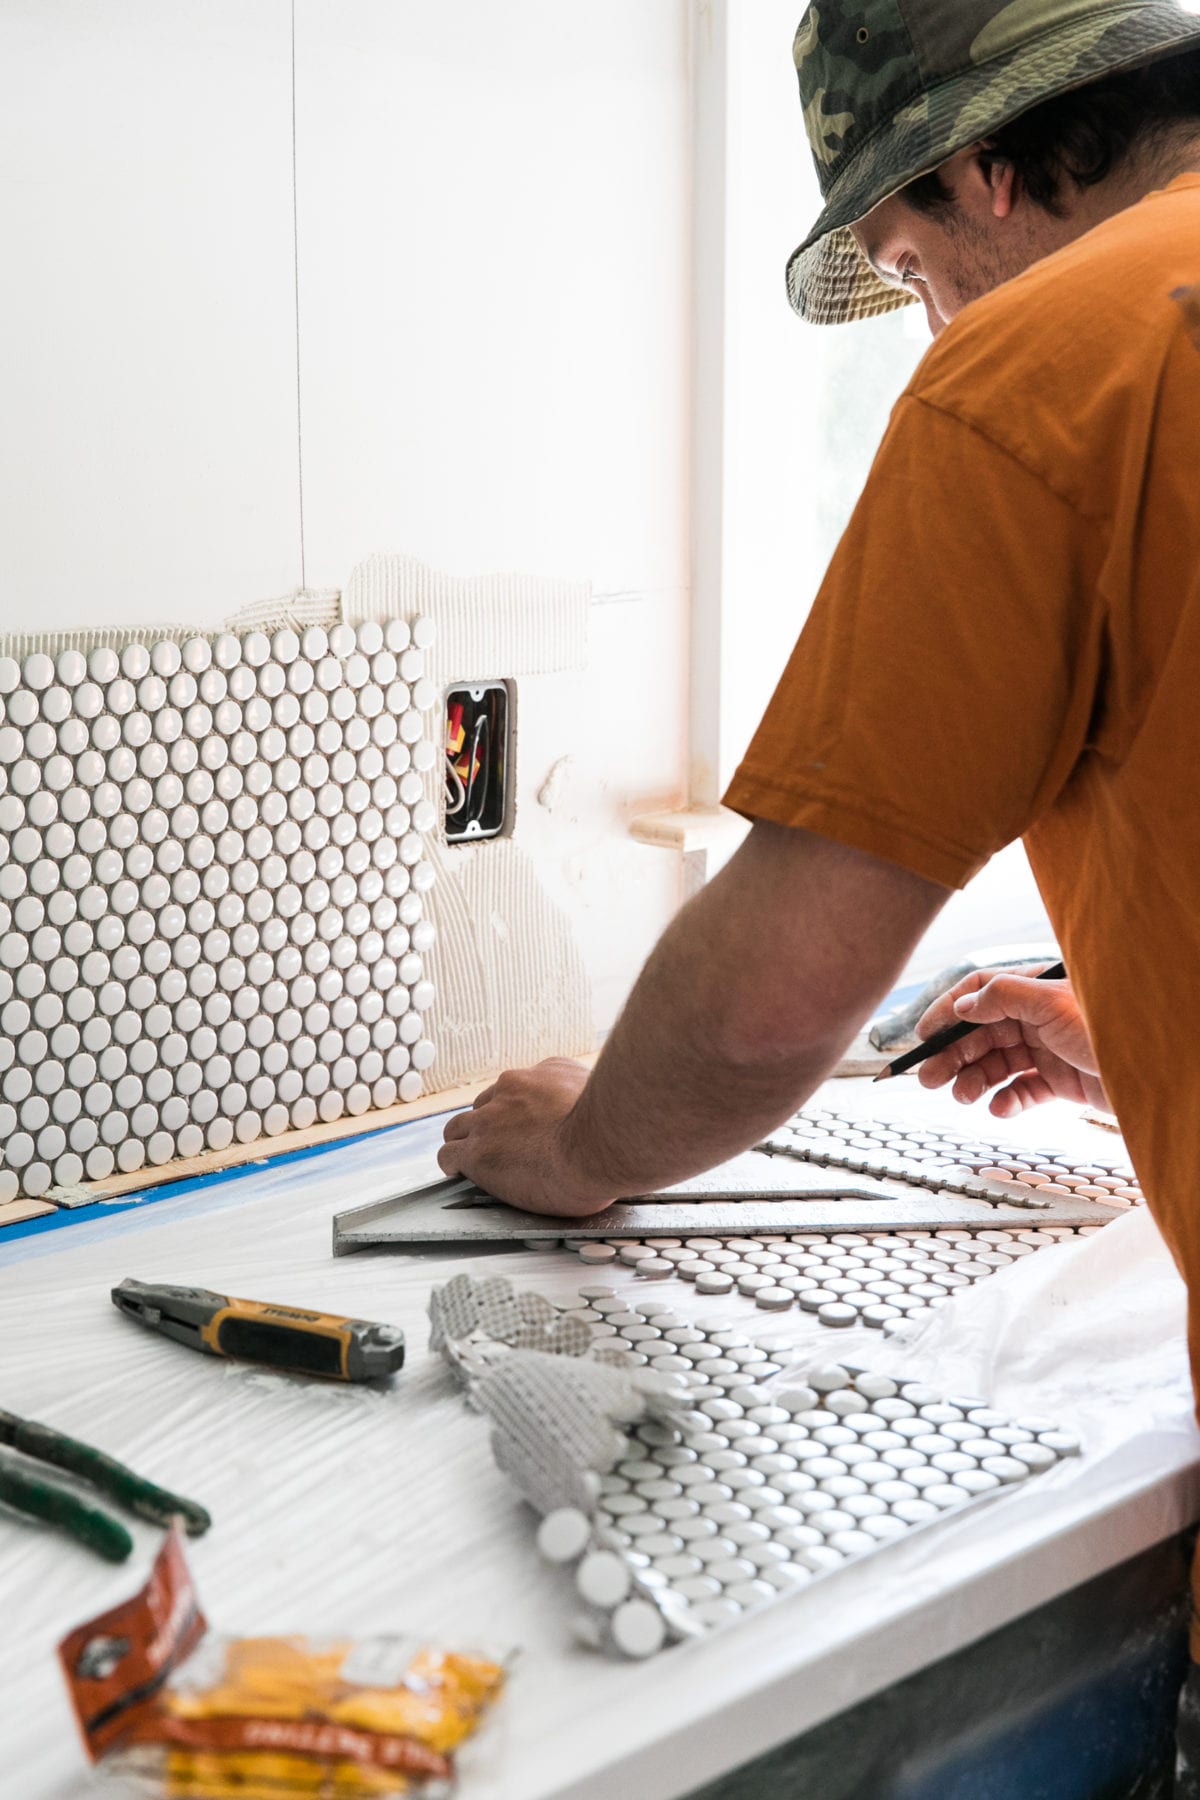
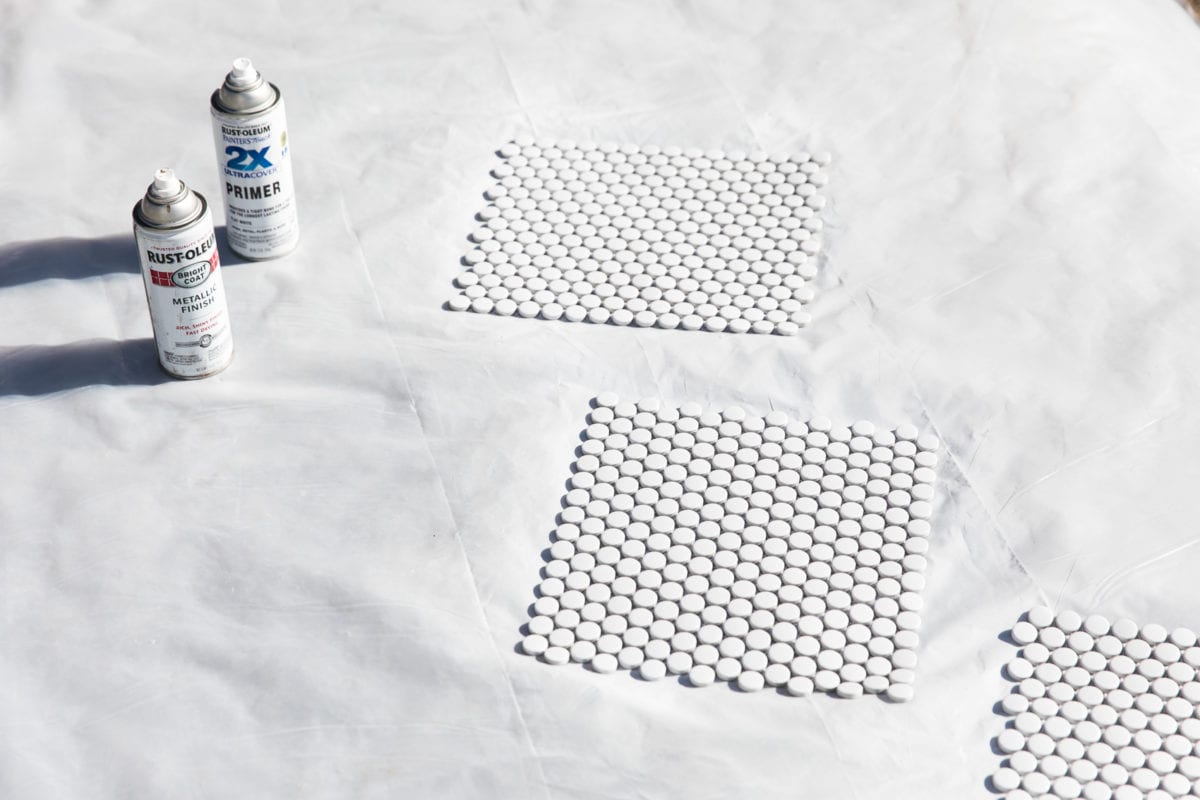
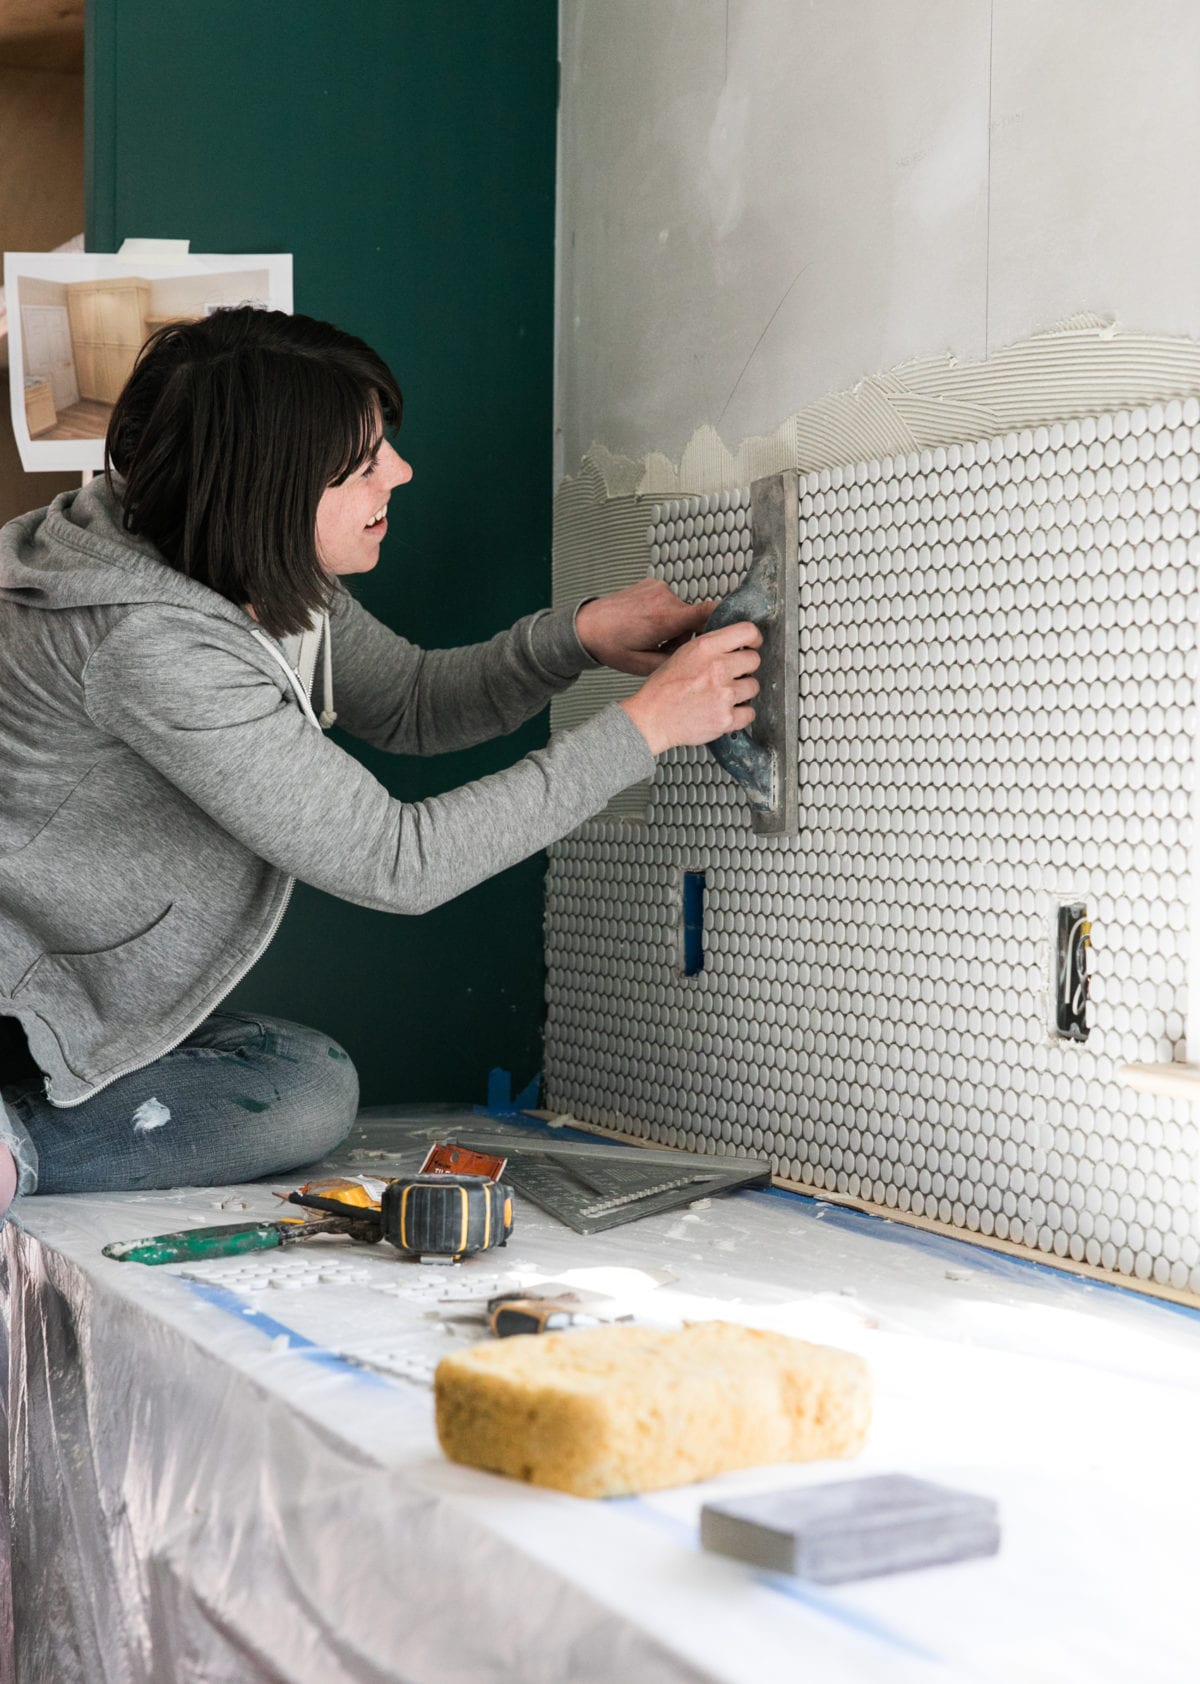
STOP! TILE TIME
Taking a mental day’s reprieve from painting, the white porcelain penny round tile backsplash has started to make its way. Originally, I wasn’t sure about putting in a backsplash at all. I just don’t like the look of “stubby” backsplashes. I knew if I was going to do it, I was going to go big or go home. Using a timeless penny round tile adds a shiny, brilliant texture to this kitch sitch and pays homage to the time when the home was built. Win, and win more.

The Murphster’s been a superb supervisor slash helper. 🐶✌🏻
A FEW KINKS IN THE PLAN
The backsplash. I’ve been looking forward to installing the backsplash with deez two hands. I called up my buddy, Joe, who brought his brains and top-notch tile saw. Between tiling lessons at The Tile Shop and Joe’s wisdoms, I determined it wasn’t worth taking the risk of doing this for the first time under the time constraints. Therfore, I called in the big guns to get this penny round tile backsplash moving and grooving. I’ve got some funky features planned for these pennies that I can’t wait to share with you. Follow my IG stories this week to weigh in on my organic/transitional design ideas!!
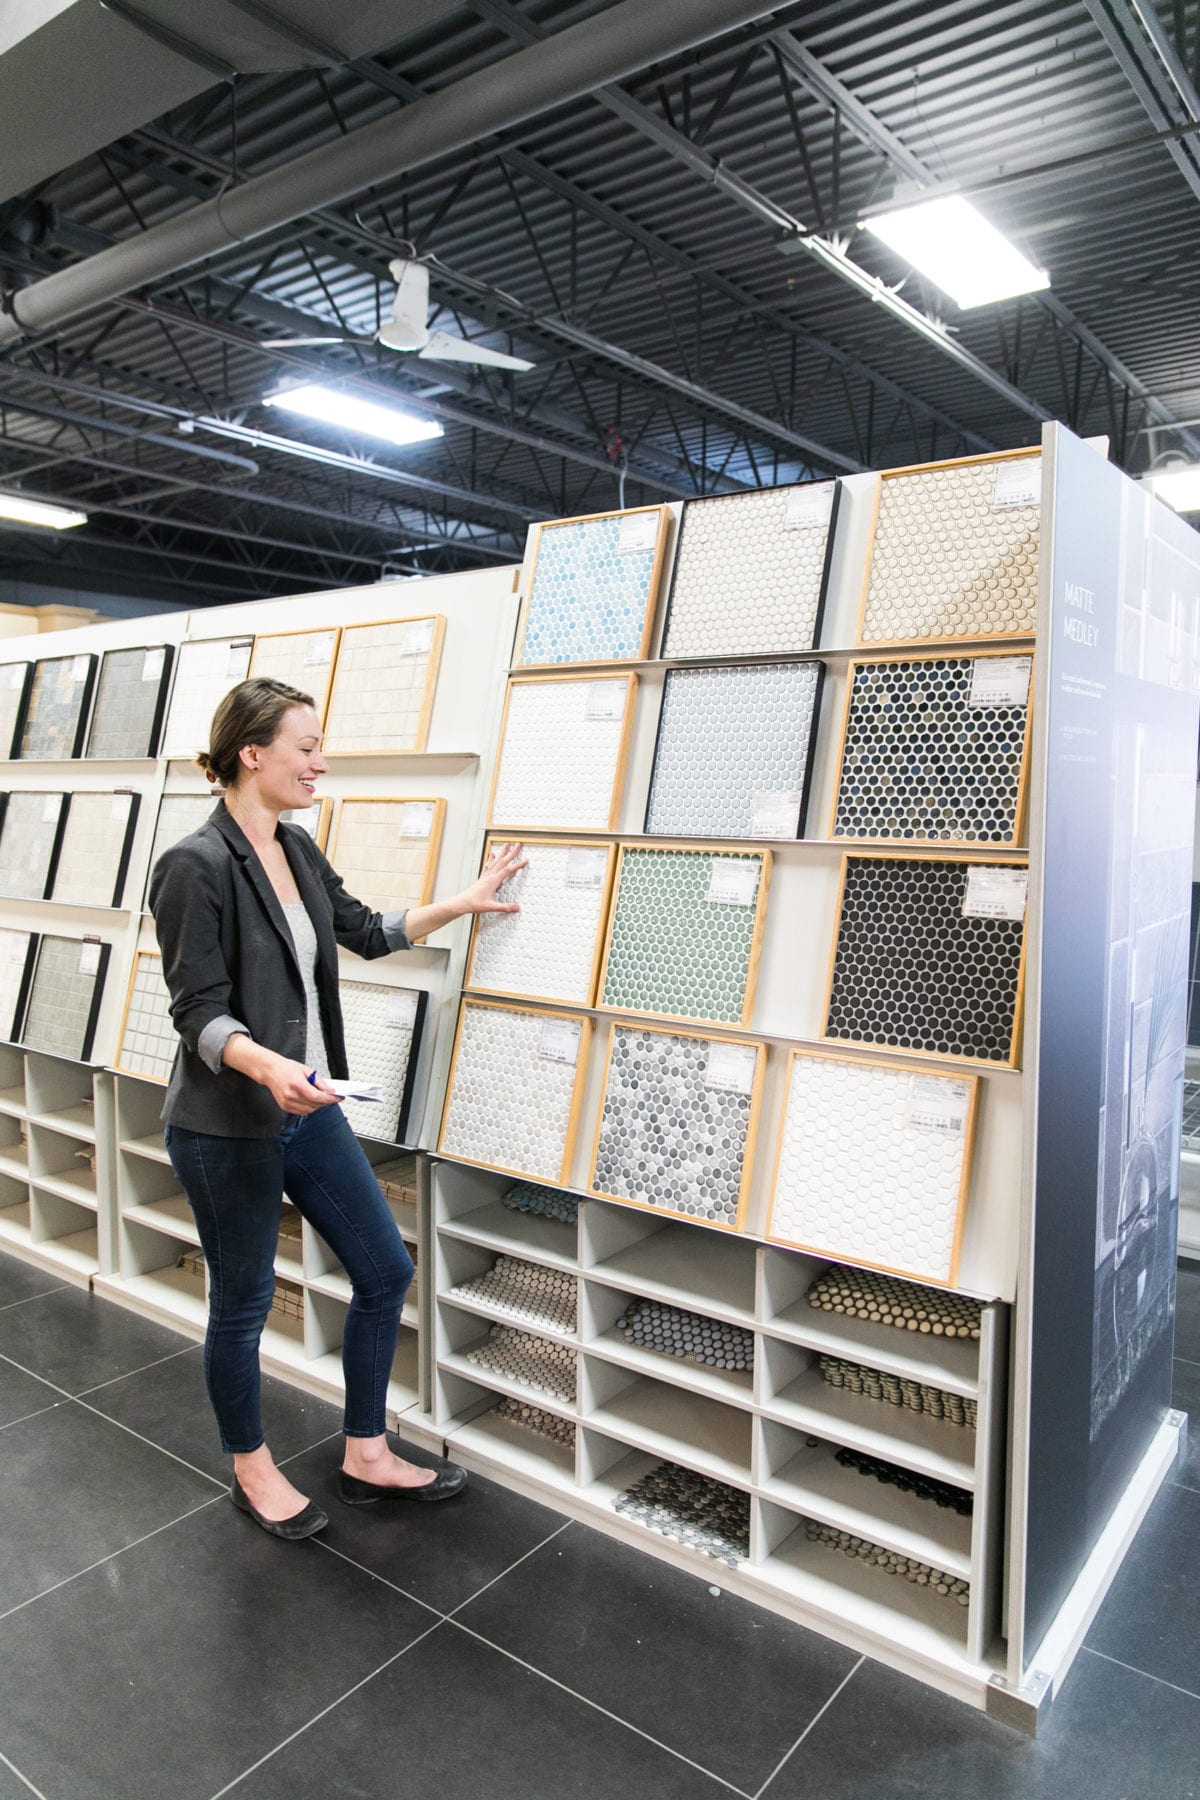
Renee at The Tile Shop, sharing the down low on penny round 
Joe and his serious tile game!!
The sconces. Thank the sweet lawd Joe asked me about my sconces when he shared his tile brain with me. Because of that beautiful new trim work, my Mitzi Reese Sconces from Hudson Valley Lighting were taking an unwelcome nap on the window trim. GASP!!! 😲 The glammy, Art Deco-inspired wall lights were chosen for a reason, babe. There was no way I was swapping them out. With enough time to spare, a custom, wood base solution is underway.
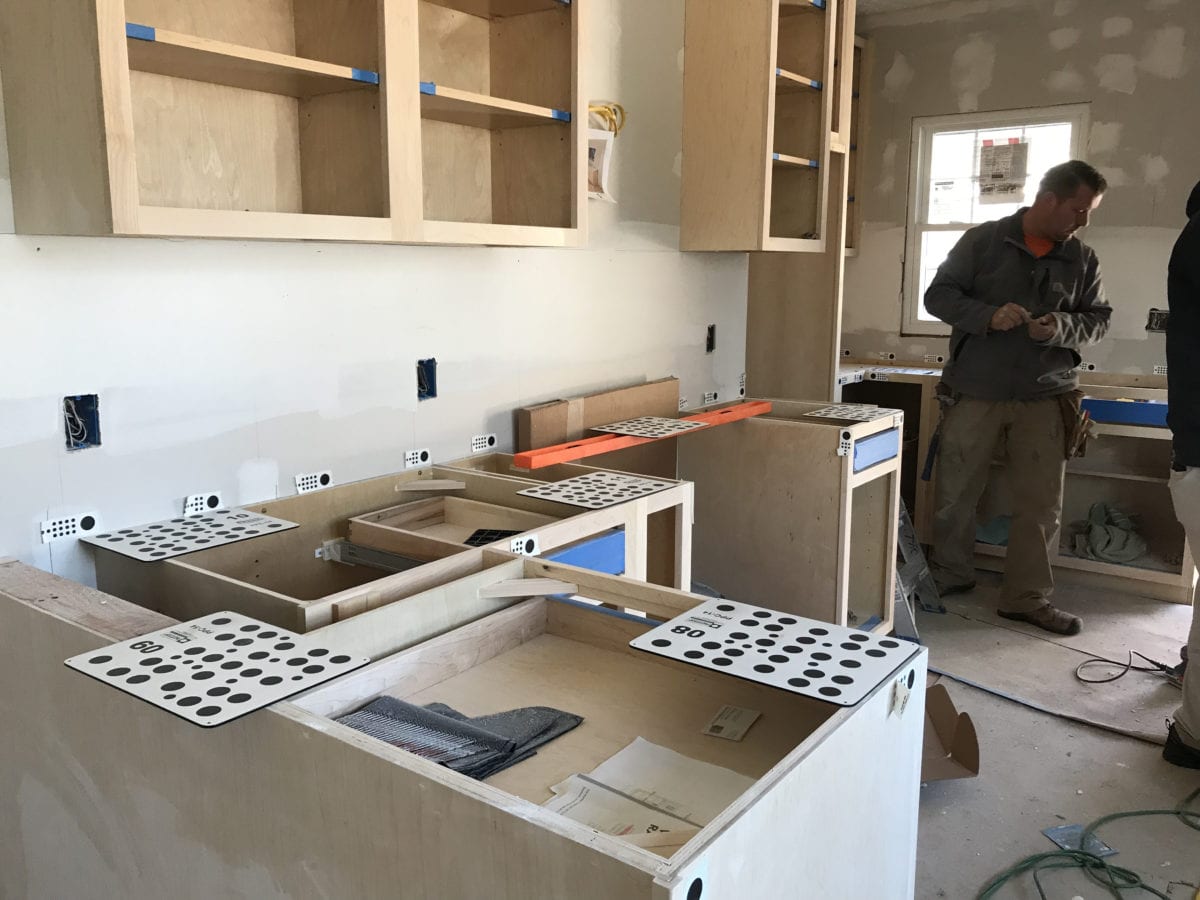
The cabinet trim. My contractor installed the upper cabinet trim along a ceiling that’ll drop and/or gain an inch within the span of 18-inches. It’s wild. He used his elf-like abilities to make the trim appear flush and level. There aren’t too many putty marks, but the edges needed to be caulked. Since the cabinets are painted, I’ll need to hit all of these bases once more. In retrospect, I would’ve waited to do the final coat. Know what I mean, jelly bean?
All right, I’ve got a crap ton to do, boo.
Gotta make like a banana and split!! 🍌
Follow my One Room Challenge Progress!
Week One • Week Two • Week Three • Week Four • Week Five • Week Six

KEEP UP WITH THIS FAB FEATURED CREW!!
At Home With Ashley | Casey Keasler | Dorsey Designs
The Farmhouse Project | Home Made by Carmona | House of Funk
House of Jade Interiors | House Seven Design | House That Lars Built
Ispired by Charm | Jana Bek | Jessica Brigham | Kelly Golightly
Murphy Deesign | The Pink Pagoda | Sarah Gunn | Sherry Hart Designs
Sugar & Cloth | Veronica Solomon | Vintage Revivals
Media Partner BH&G | TM by ORC


Jessica! I love where all of this is going. Can’t wait to see those cabinets in their glory. Keep it up!
Thank you so much, Kayla!! 🤩🤩🤩
What color did you paint the cabinets? Maybe I missed It in the blog
Forest Green by Ben Moore!
Ahhhh where is your cabinet painting video?? I neeeed it, pretty please!
It’s coming, I promise!!! 🥰