Yes You Can! How to Install a Ceiling Fan + Video!
The day I learned how to change my first light fixture is the day I became dangerous. No, not because of electoruction, silly. How does one not buy glamtastic and luxurious light fixtures all the dang time?!
If you possess basic electrical skills (i.e. you’re 100% comfortable changing out a light fixture), then guess what, m’dear? You can take charge of a ceiling fan installation Yes. You. Can.
To sweeten this DIY deal even more, I put together a quick and easy video tutorial about how to install a ceiling fan. With a remote, too!!

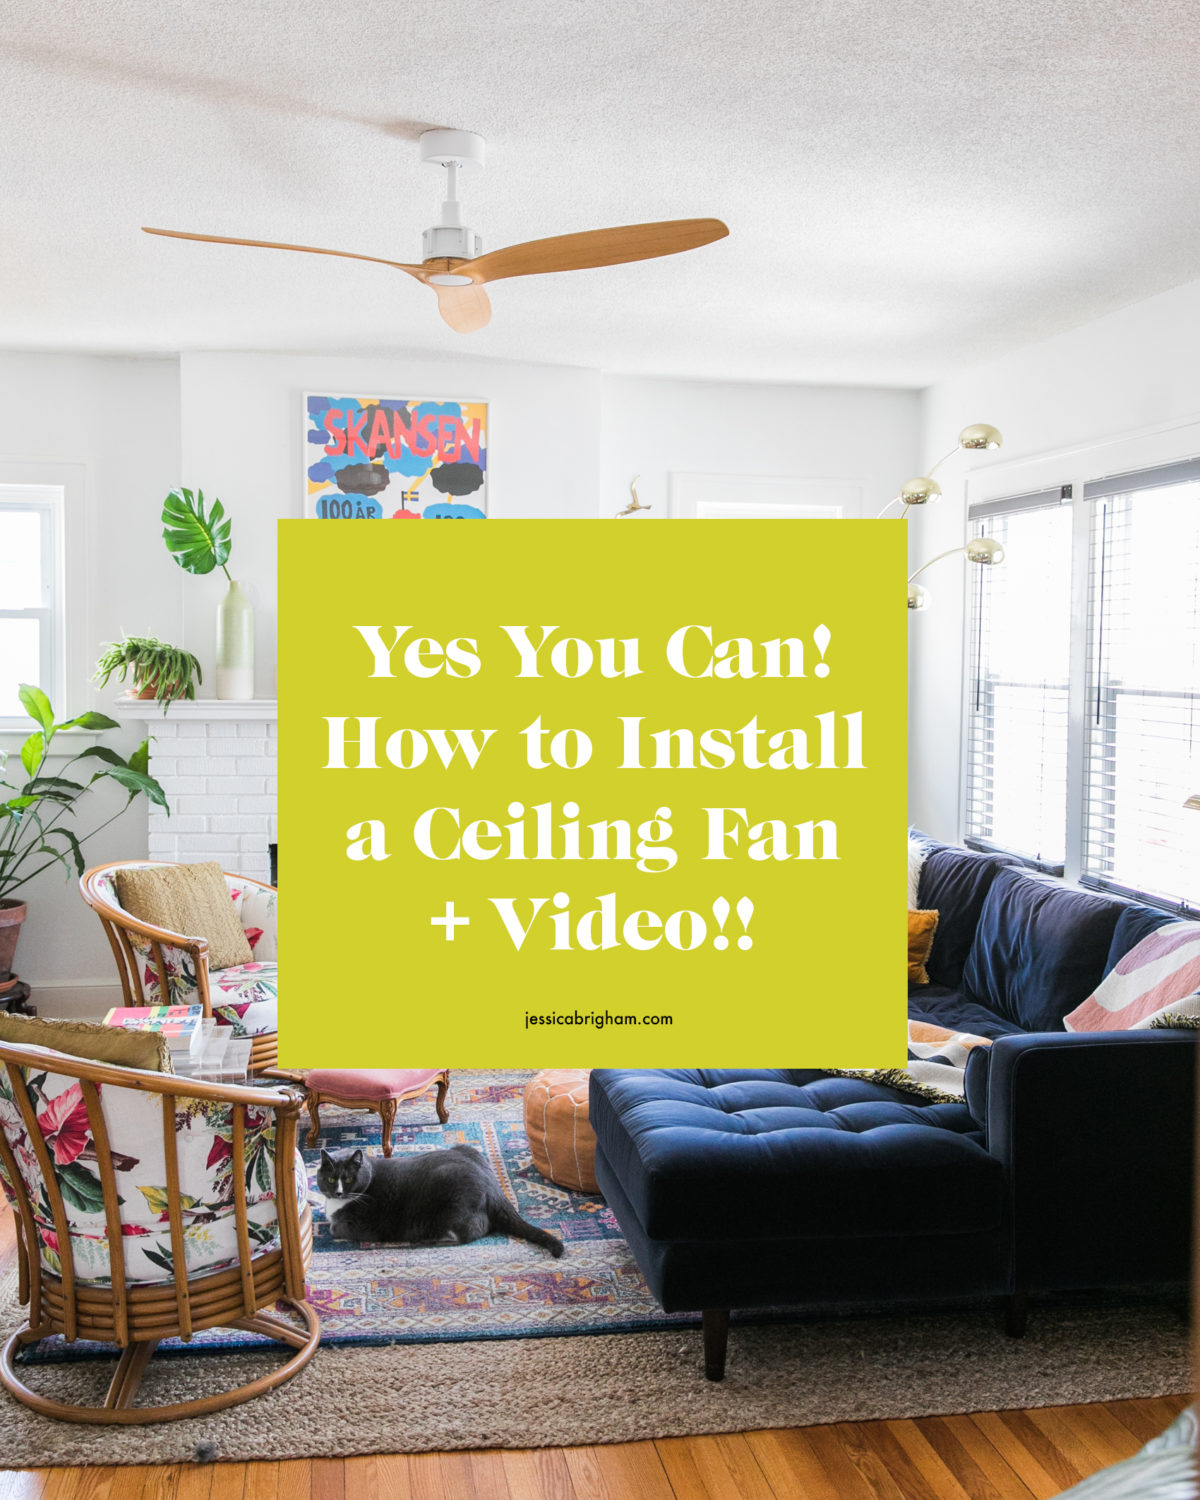
Ceiling fans are notoriously hideous, amirite?! I scoured the internet high and low for this 52” Lucci Air Viceroy in White and Teak. And dayummm, she’s a freaking stunner. It’s not real teak, but it’s real nice. Also, it’s super light weight.
If you’re hot on the fan prowl, I put together this lovely list post about the sexiest fans I came across on the world wide web:
My Fave Five: Attractive and Modern Ceiling Fans Under $225
PLEASE NOTE: I am not a licensed electrician. I am simply a homeowner with basic electrical knowledge. My hope is my experience can help you.
How to Install a Ceiling Fan
WHAT YOU’LL NEED
- 52” Lucci Air Viceroy Ceiling Fan
- Electric Tape
- Power Drill
- Phillips Head Screwdriver
- Scissors
- Ladder
- Gutz 👊🏻

STEP ONE
Shut the power off. Turn the switch in the room to the OFF position as well as the breaker in your circuit box. Ya can never be too sure.
STEP TWO
Remove the existing light fixture. In this case, I removed an ancient (and heavy) af ceiling fan. Handle this beast with caution. First, remove the bulbs, glass shades and blades. Then carefully dismount the weighty mechanism. Remove any old hardware.
STEP THREE
Prep your new ceiling fan. Read the manufacturer’s instructions thoroughly before installation. Make sure all parts in the box are accounted for. Gather your tools, then GO!
STEP FOUR
Install the mounting bracket. Feed the electric lines through the side of the bracket. Set the fan’s motor housing on the mounting bracket. On the supplied sensor, connect the neutral white and green ground wires. Cap and secure with electrical tape. Then, connect, cap and tape the black hot wire.
STEP FIVE
To get this baby remote-powered, the sensor has three additional wires to connect—red, yellow and gray. Connect them all and shimmy the sensor into the mounting bracket. You may need to shift some wires around for a snug fit. Loosen the two screws on the bottom of the bracket. Lift up the canopy, tucking all wires away. Tighten the screws to slide and secure. Fasten each blade with supplied hardware.
STEP SIX
Turn on the power! It’s time to pair the remote. Open the battery pouch and push the set button for 3 to 5 seconds. The fan will slightly jolt if the pairing was successful.
Now sit back and enjoy your gorgeous,
6-speed, modern ceiling fan!!!
Questions? Comments?
Drop me a note below, yo!!