DIY Photo Ledge
I’m a collector of pretty things. Whenever I get a sentimental card or lovely gift of paperie, it gets stored somewhere for a rainy day. Ya just nevah know!
When renovating the Indigo Room, I made a few changes in the plan to utilize the only full wall space. Originally, we were going to install a “faux” single pane window to bring in more light to the dim stairwell, but we nixed that idea for something way more awesome. Today, lovelies, I will show you how to cheaply and easily build your own DIY Picture Ledges.
You will need a few tools and supplies to start. To build two equal sized eight-foot picture ledges, here’s what you will need:
DIY Picture Ledges Supply List:
- Four 1’’x6’’ – 8-foot Wood Boards
- Two 1’’x3’’ – 8-foot Wood Boards
- Air Compressor
- Pneumatic Nail Gun
- 5’’ Pneumatic Nails
- 1 5/8’’ Black Screws
- Power Drill
- 3/32 Drill Bit
- Wood Glue
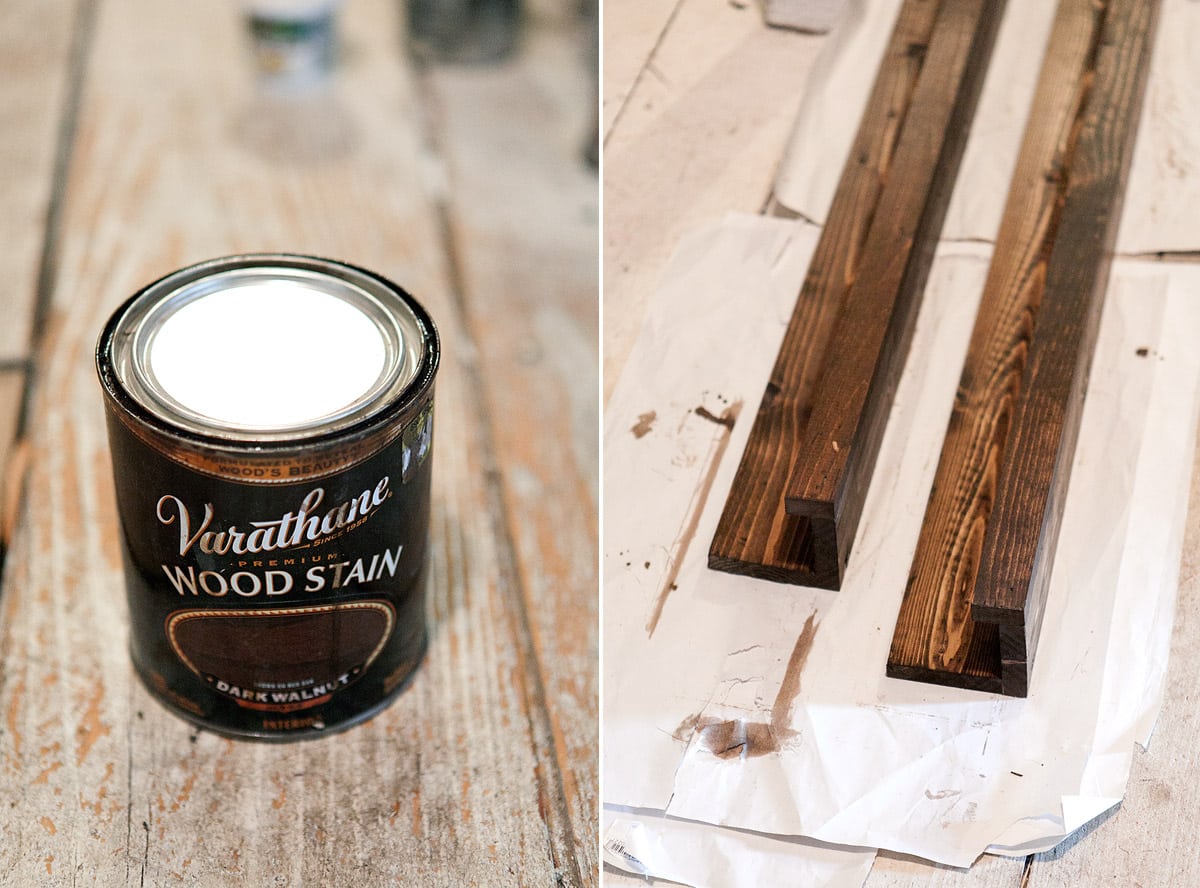
- Varathane Wood Stain
- Loose rags


Since my space was tight, I opted to shorten the depth of my shelves by securing the bottom of the shelf underneath the back. To increase depth, you can just as easily secure the back of the shelf to the back bottom to gain an extra half inch.
To begin – using a 3/32 drill bit – pre-drill eight holes where you plan to secure the back of your shelf. I went every foot just to assure it was very strong. Lay out a very fine line of wood glue before securing the screws. Make sure if the glue drips out to wipe it off with a damp paper towel right away or you may see these marks after staining. Once the screws are in, you’ll have an “L” shape. The black screws I used were intended for drywall, but I liked that the color would blend in with the stain and give it an industrial look.
Place your “L”-shaped shelf on the ground with the front facing you. Check to make sure your 1’’x3’’ wood board lines up perfectly – I needed to cut an inch off mine! When ready, lay out a very fine line of wood glue again. Lightly press the 1’’x3’’ board against the glue, line up the edges, then using your nail gun, fire a nail off at every foot. Keep lining up the board in case it moves. Make sure the nail gun pressure is just right so the nails do not penetrate the wood too deep.
Now with your favorite stain and a loose rag, apply one or two (or three!) coats to your preference. Make sure to use a dry rag and wipe up in between coats and allow proper time to cure. I opted for one coat of Varathane Dark Walnut, a high-quality stain I’ve used so many places in our home. I also did not polyurethane because I liked the matte look of the shelves.
That is it!! For $50 smackaroos spent on wood boards, and lots and lots of thrifted and acquired finds, I have a true statement piece in our new and improved guest room. I had many of the basic supplies in my workshop, so the price may vary based on your stock, but you still cannot beat the cost.
“Trust me, you can do it.” – Nail gun


One Comment