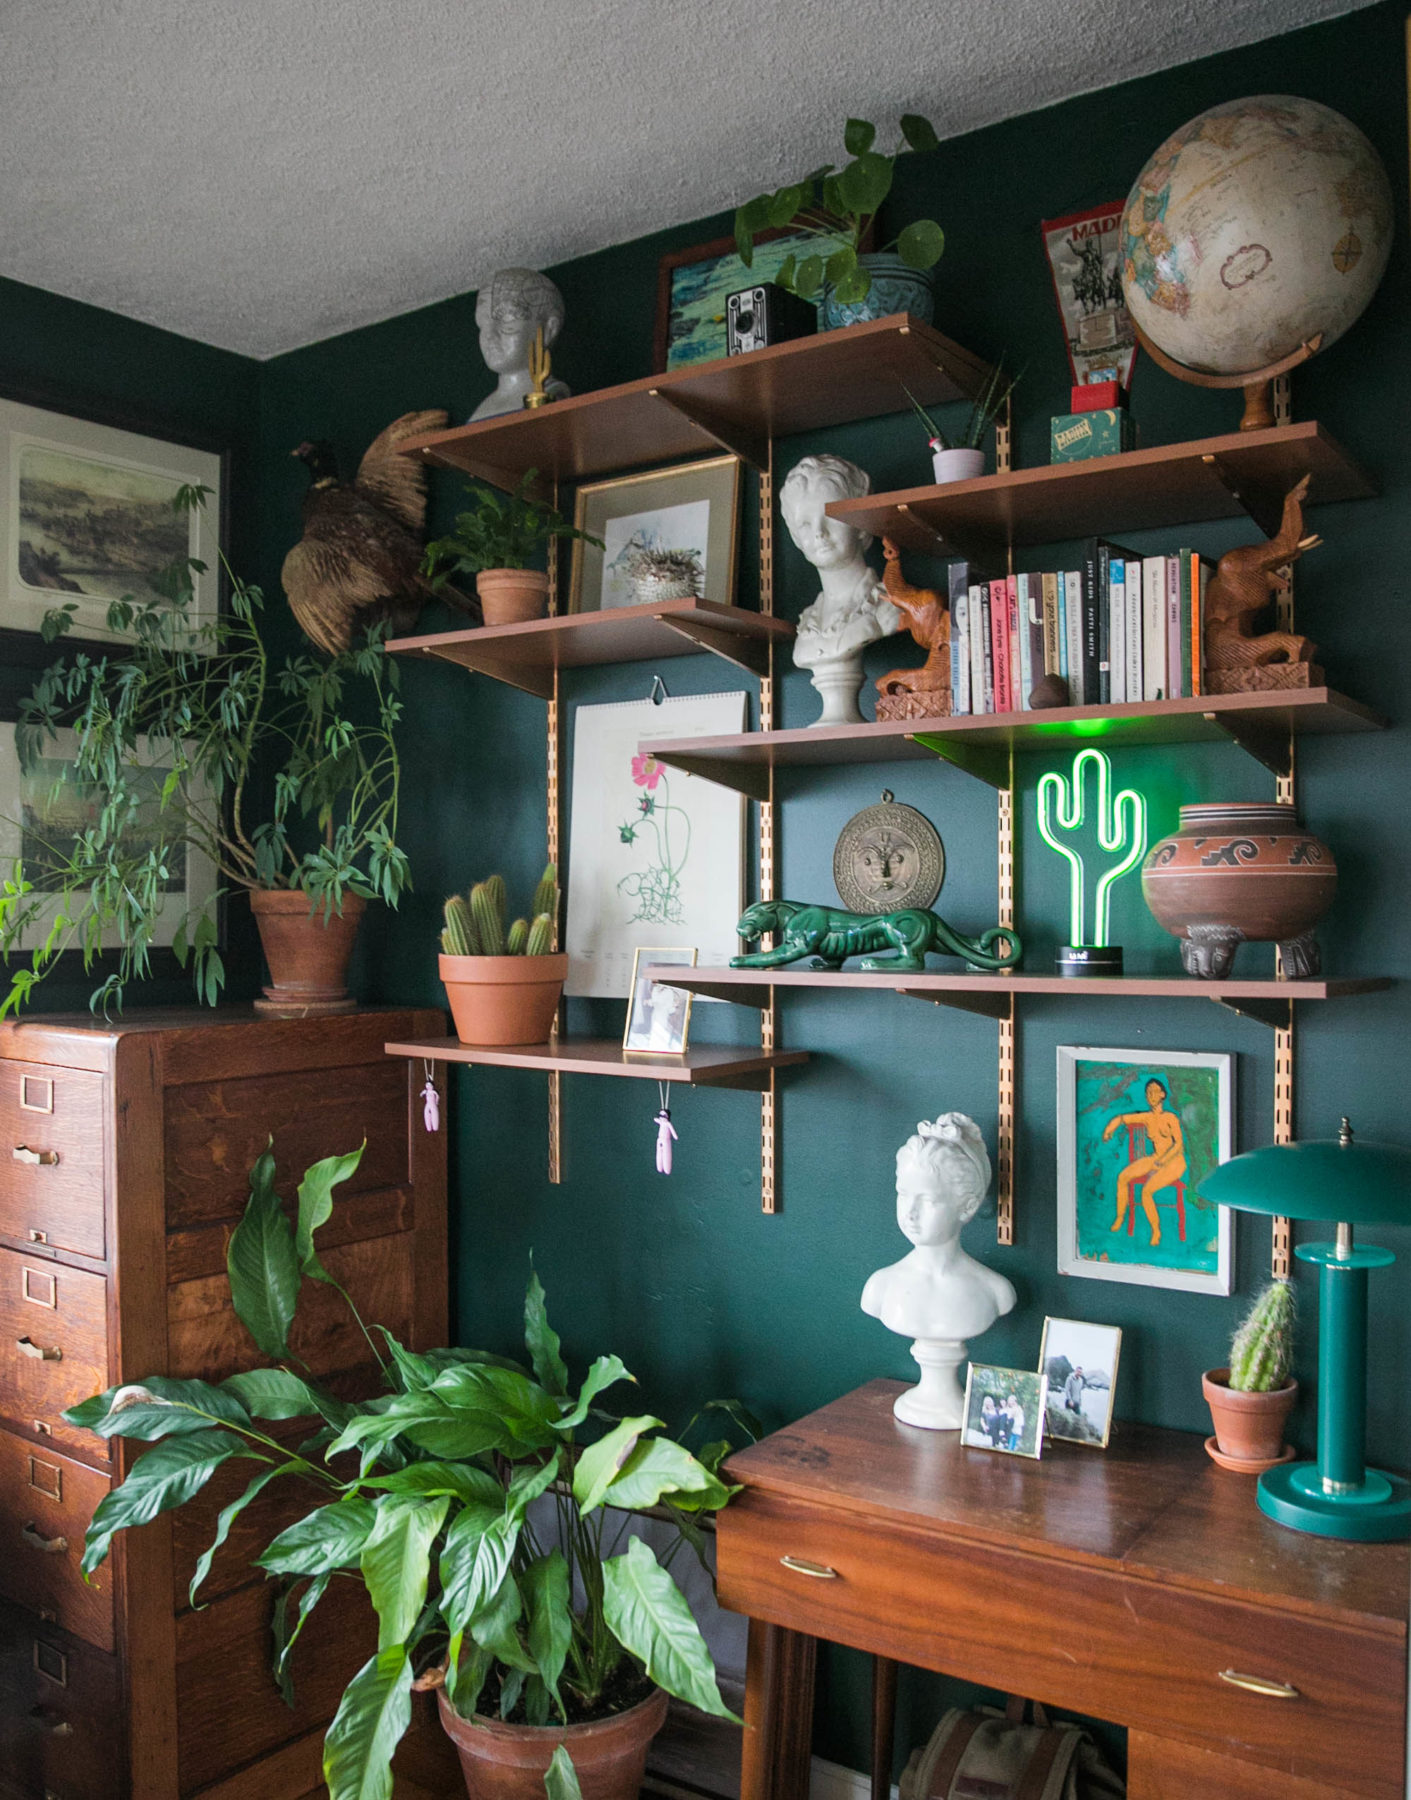
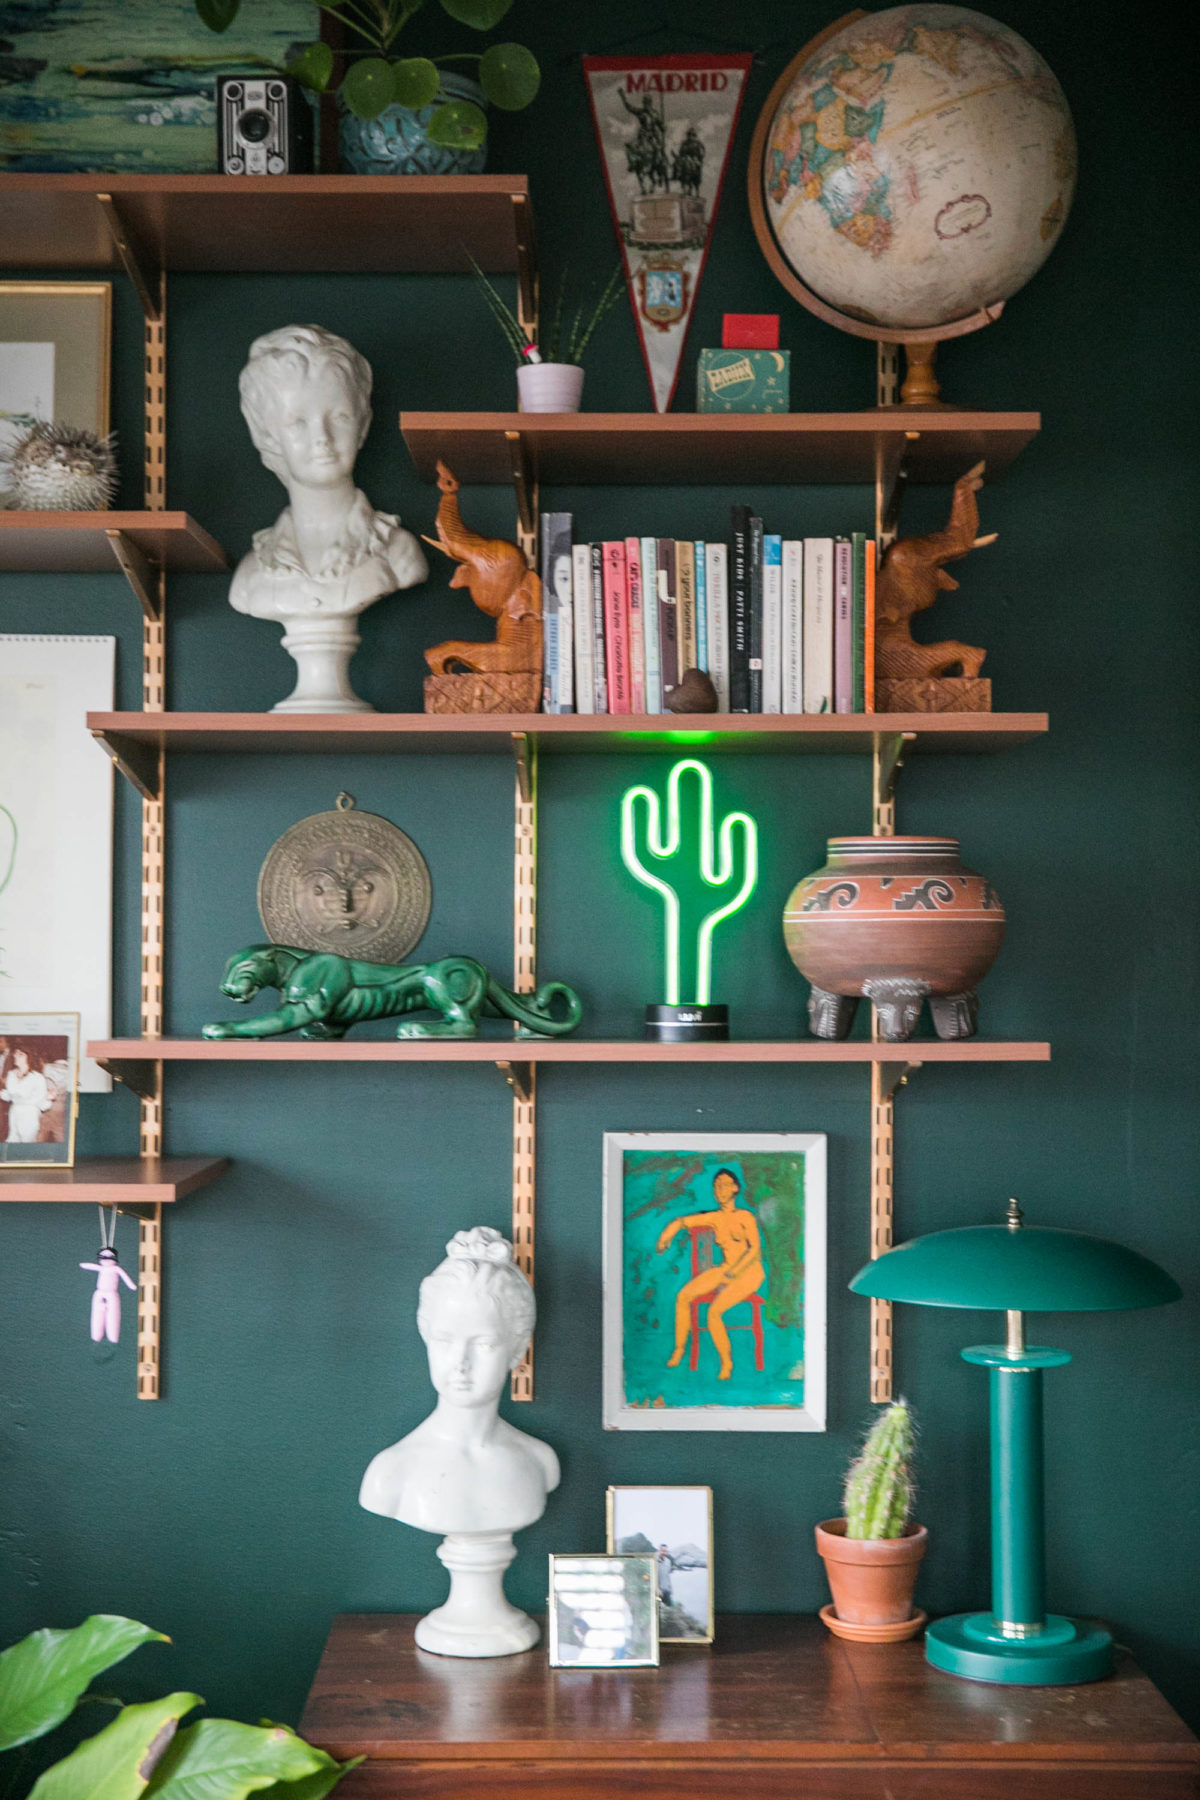
DIY MCM Wall Mounted Track Shelving
Hands down, one of the best decisions I made in my home office was bidding adieu to a floor-based bookcase and welcoming the magic that is wall mounted track shelving. My 1930s-era home is blessed with tall ceilings; taking advantage of this fantastic asset afforded this petite office space the proper storage and showcase it always desired.

This wall mounted track shelving is not only easy to install, it’s pennies on the dollar of what it would cost to replicate in vintage. Plus, if you’re a collector, this is a great way to showcase all of your favorite (and really f*cking weird) acquisitions. AKA tchotch.The overall cost: $200–250.
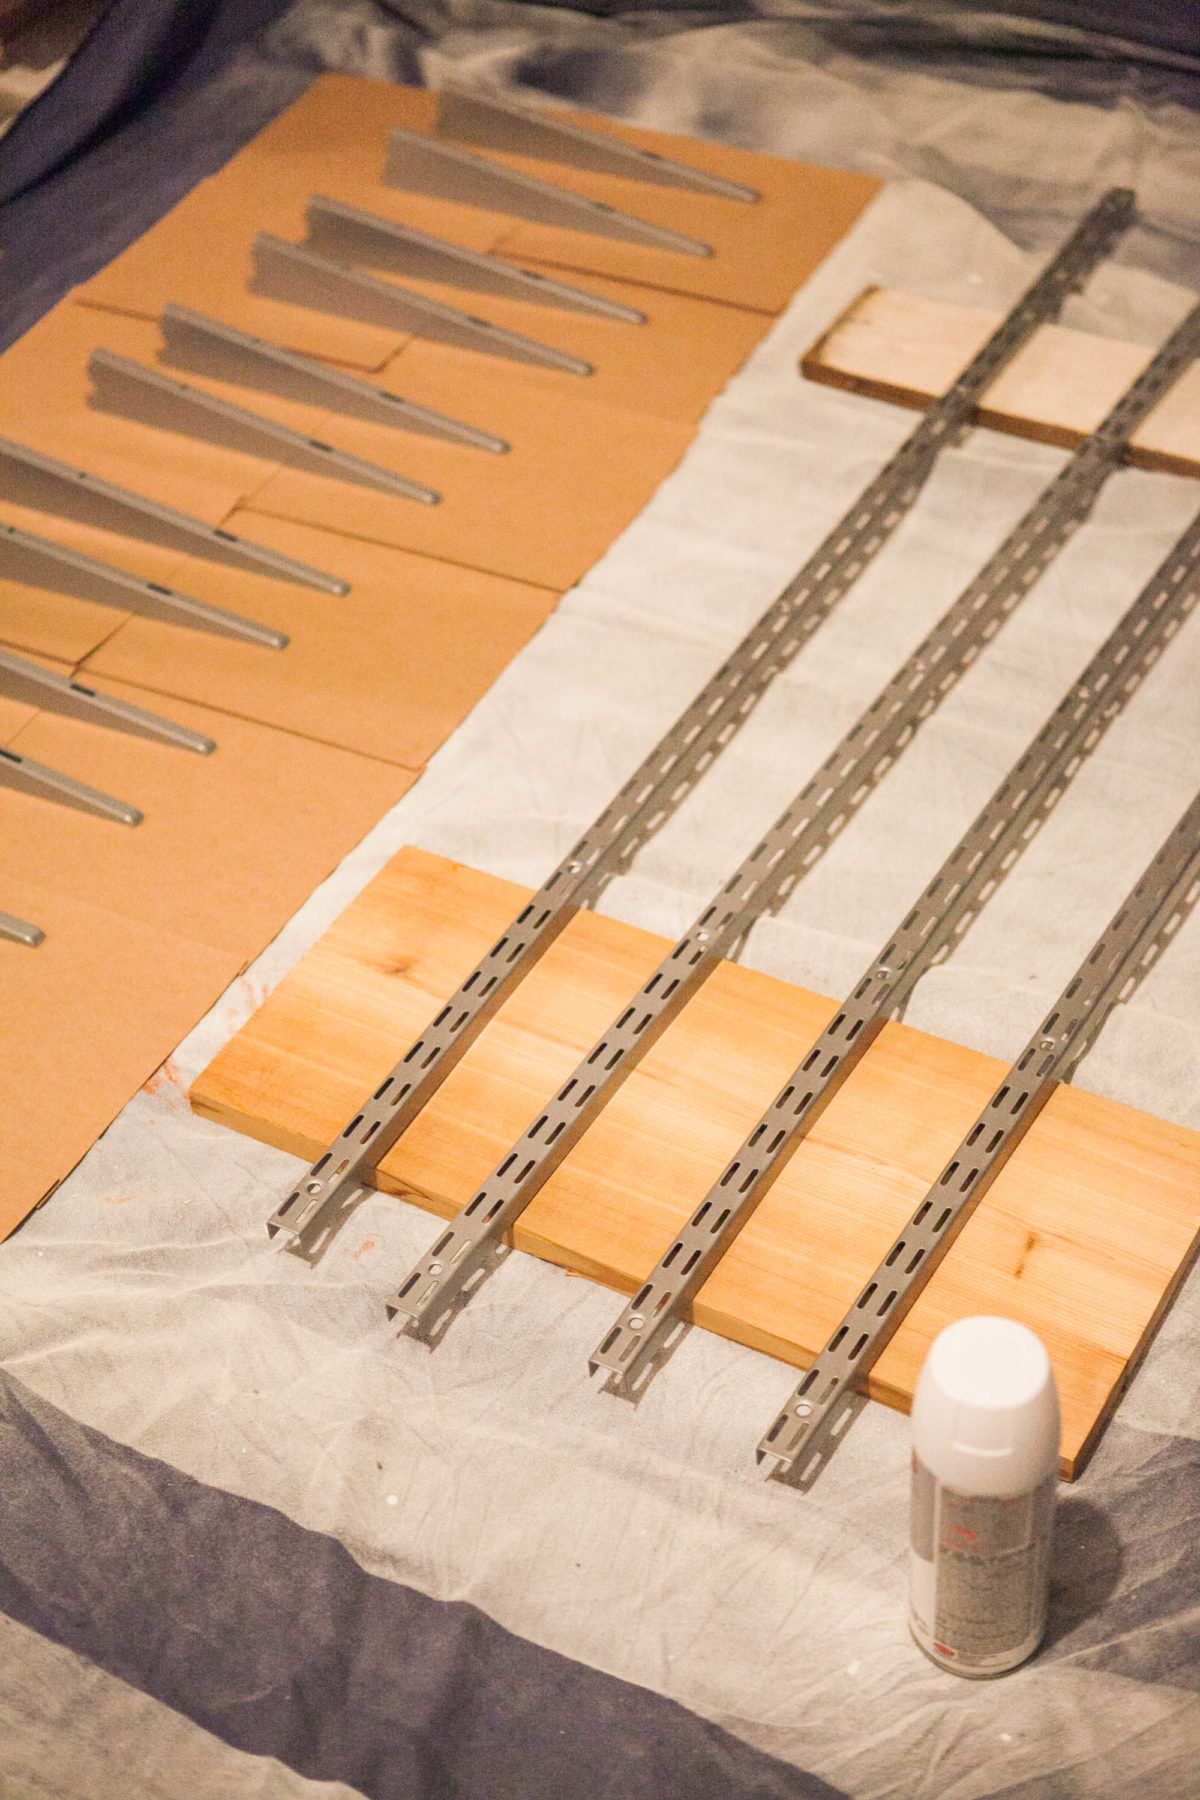
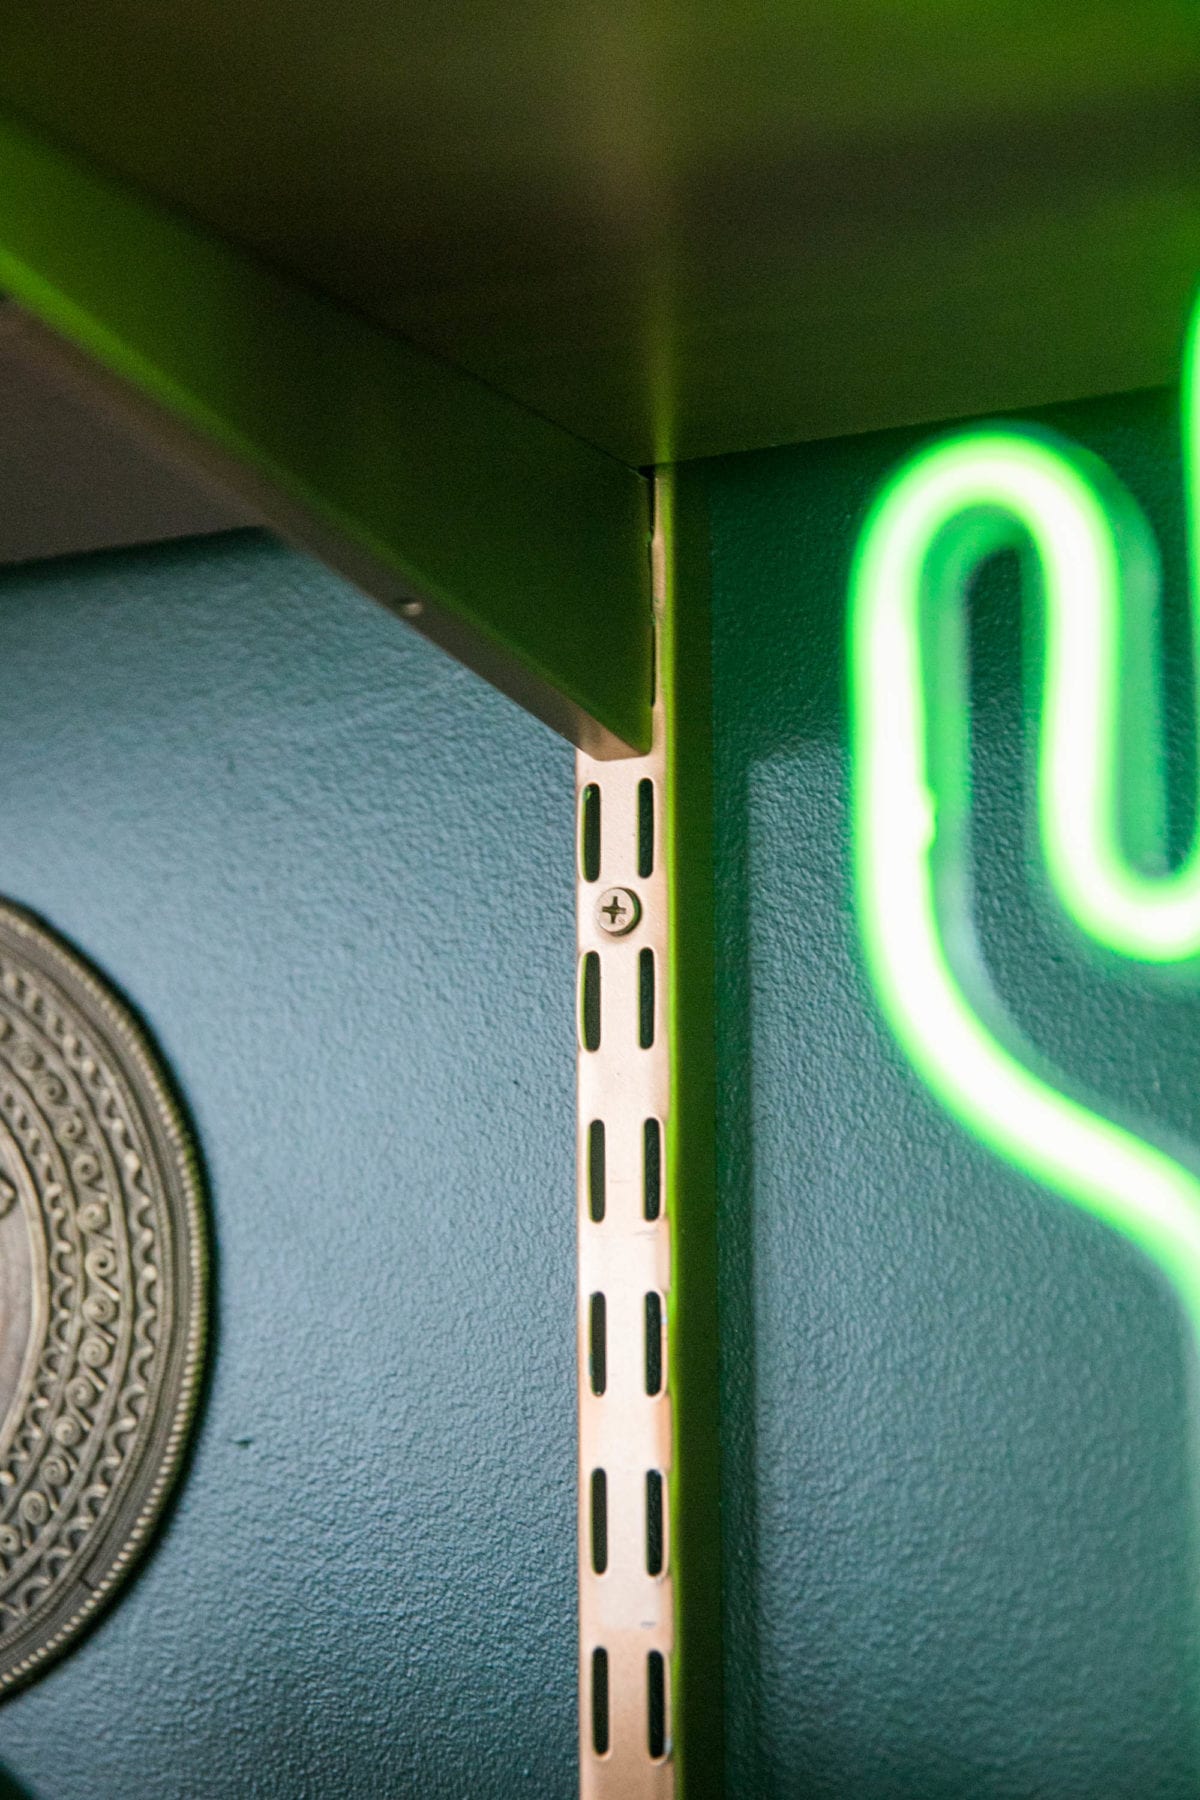
All items are Rubbermaid products available at The Home Depot. I spray painted the tracks and brackets gold for a glammier look. Unfortunately, the cinnamon laminated wood shelves are not currently available online. Alternatively, I highly recommend visiting a quality lumber yard to procure beautiful raw woods, such as poplar or oak, for the shelfspace. Poly those suckers, and voilà! Custom and totally you.
Note!! This tutorial highlights the exact items utilized in my home office. It’s important to assess the measurements of your space, as in determine how tall your tracks can (and should) be and how many shelves (and brackets) are required to proportionally fill-in the wallspace. If your twin tracks can be taller (70”), I envy you.
Without any further adieu, let’s build this biatch. 💪🏻🛠
WHAT YOU’LL NEED
- Rustoleum Metal Primer
- Rustoleum Gold Spray Paint
- Four 48” Twin Tracks
- Fifteen 11.5” Twin Track Brackets
- Three 12” x 36” Wood Shelves
- Four 12” x 24” Wood Shelves
- Box of 2.5” Wood Screws
- Box of 1.5” Wood Screws
- Stud Finder
- Power Drill
- Drill bits
- 36” Level
- 8” Level
- Step Ladder
- Tape
SHOP THE POST

INSTRUCTIONS
First up, spray the tracks with primer and let set for about 10 minutes. Follow up with two to three coats of gold spray paint, letting each coat fully dry before the next. I recommend using a high-quality primer, which will help protect the gold from blemishes when adjusting the shelving height.
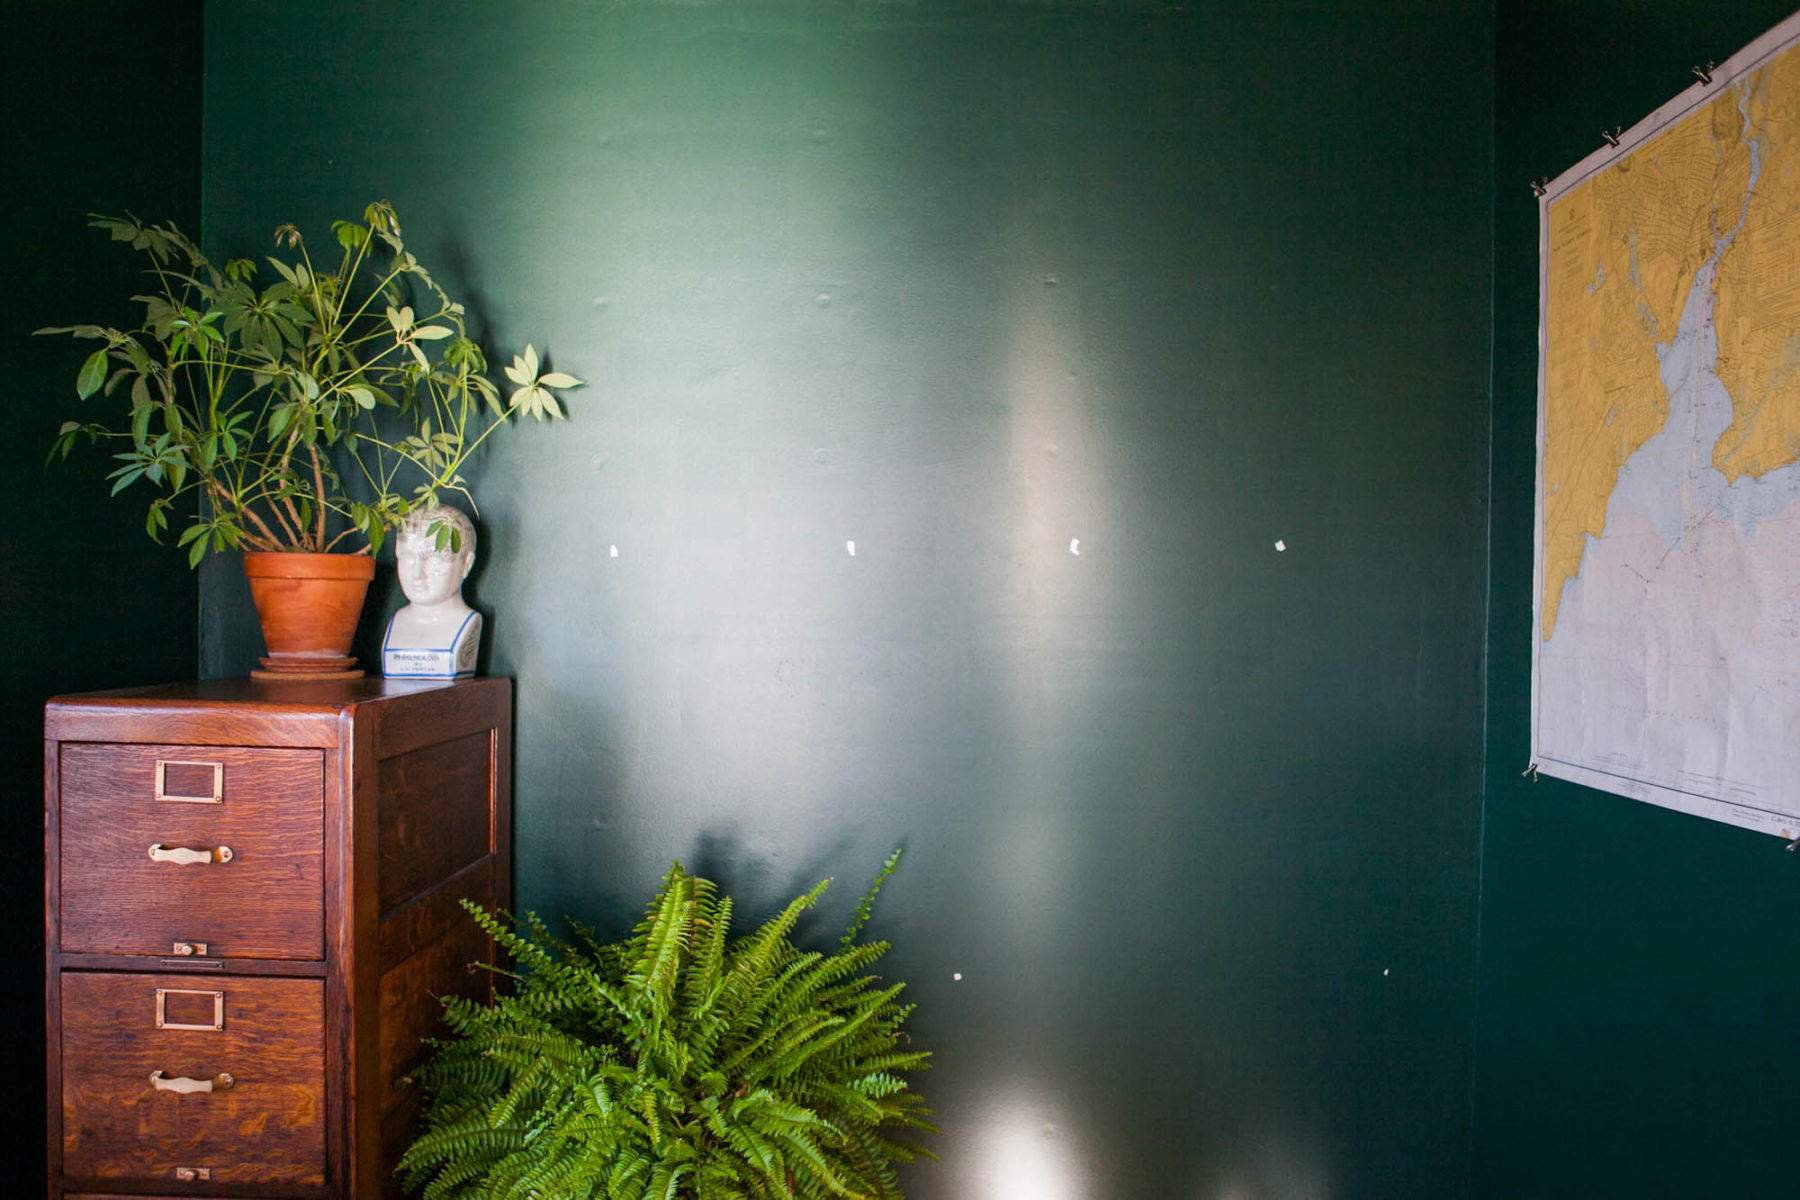
The most critical part of this DIY wall unit is ensuring the tracks are installed into wall studs. With the stud finder, mark out each stud with tape. Use your 36” level to mark the highest point where each track will be placed.
PRO TIP: When you live in a 1930s bungalow, the likelihood is the studs aren’t evenly separated, and that’s OK! This is easily resolved when you manually mark and secure each bracket to the wood shelves. The only limitation when rearranging is the tracks can only be adjusted up and down in a linear fashion.
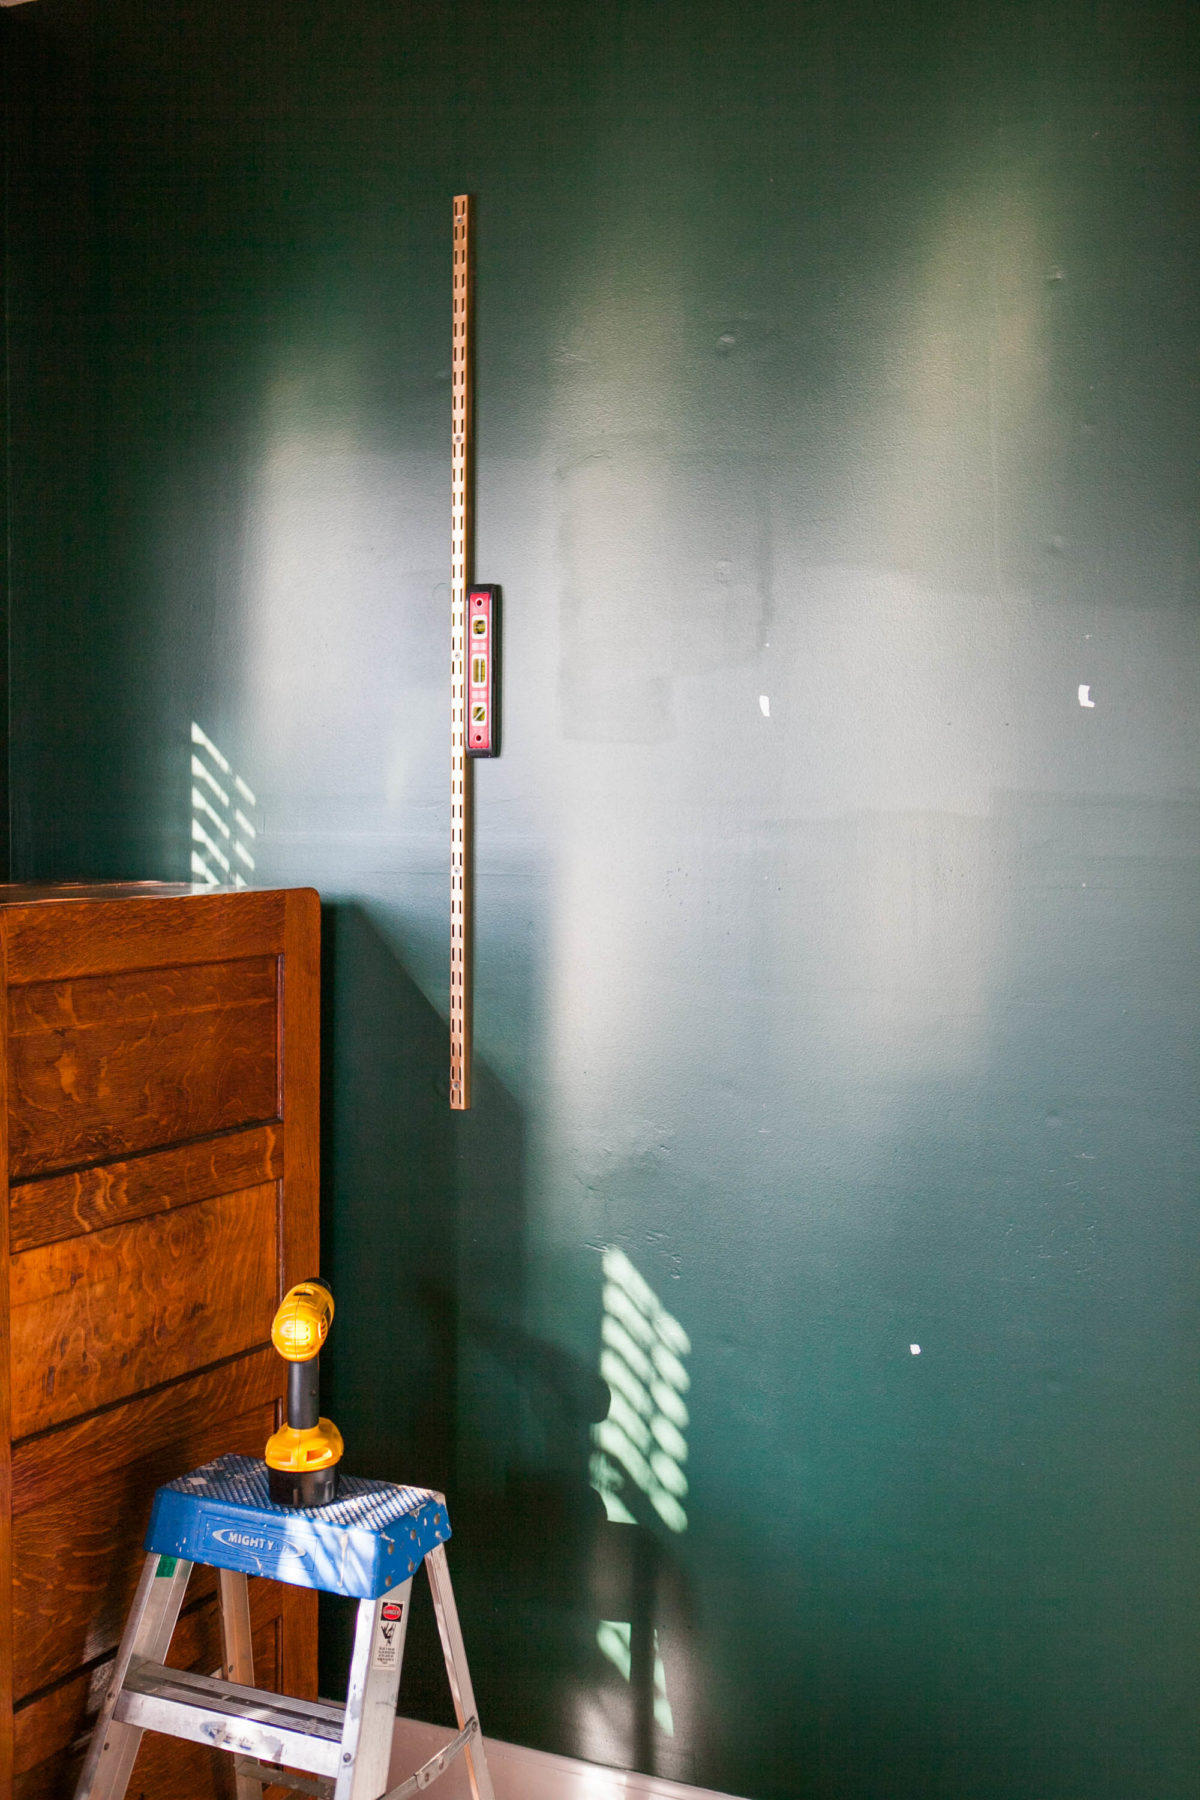
Place the track on the wall where the stud is marked. With a smaller level, ideally with an accompanying magnet 🧲, mark each screw hole. Lather, rinse, repeat, one-by-one. Screw the twin tracks into the wall with 2.5” wood screws.
The next part is entirely up to YOU! Decide where each wood shelf will sit on each bracket. I opted to slightly offcenter the 36″ shelves to get the most retail space as well as line up the edges flush with the 24″ shelves—I found this look quite aesthetically pleasing! Play around and settle with a shelfie layout to your utmost liking.
Insert the lone brackets onto the tracks. Lay your laminated or finished wood shelf on top of the bracket. Mark the screw holes. Remove the shelf, pre-drill the marked holes (especially on laminated shelving), and then fasten each bracket with 1.5” wood screws.
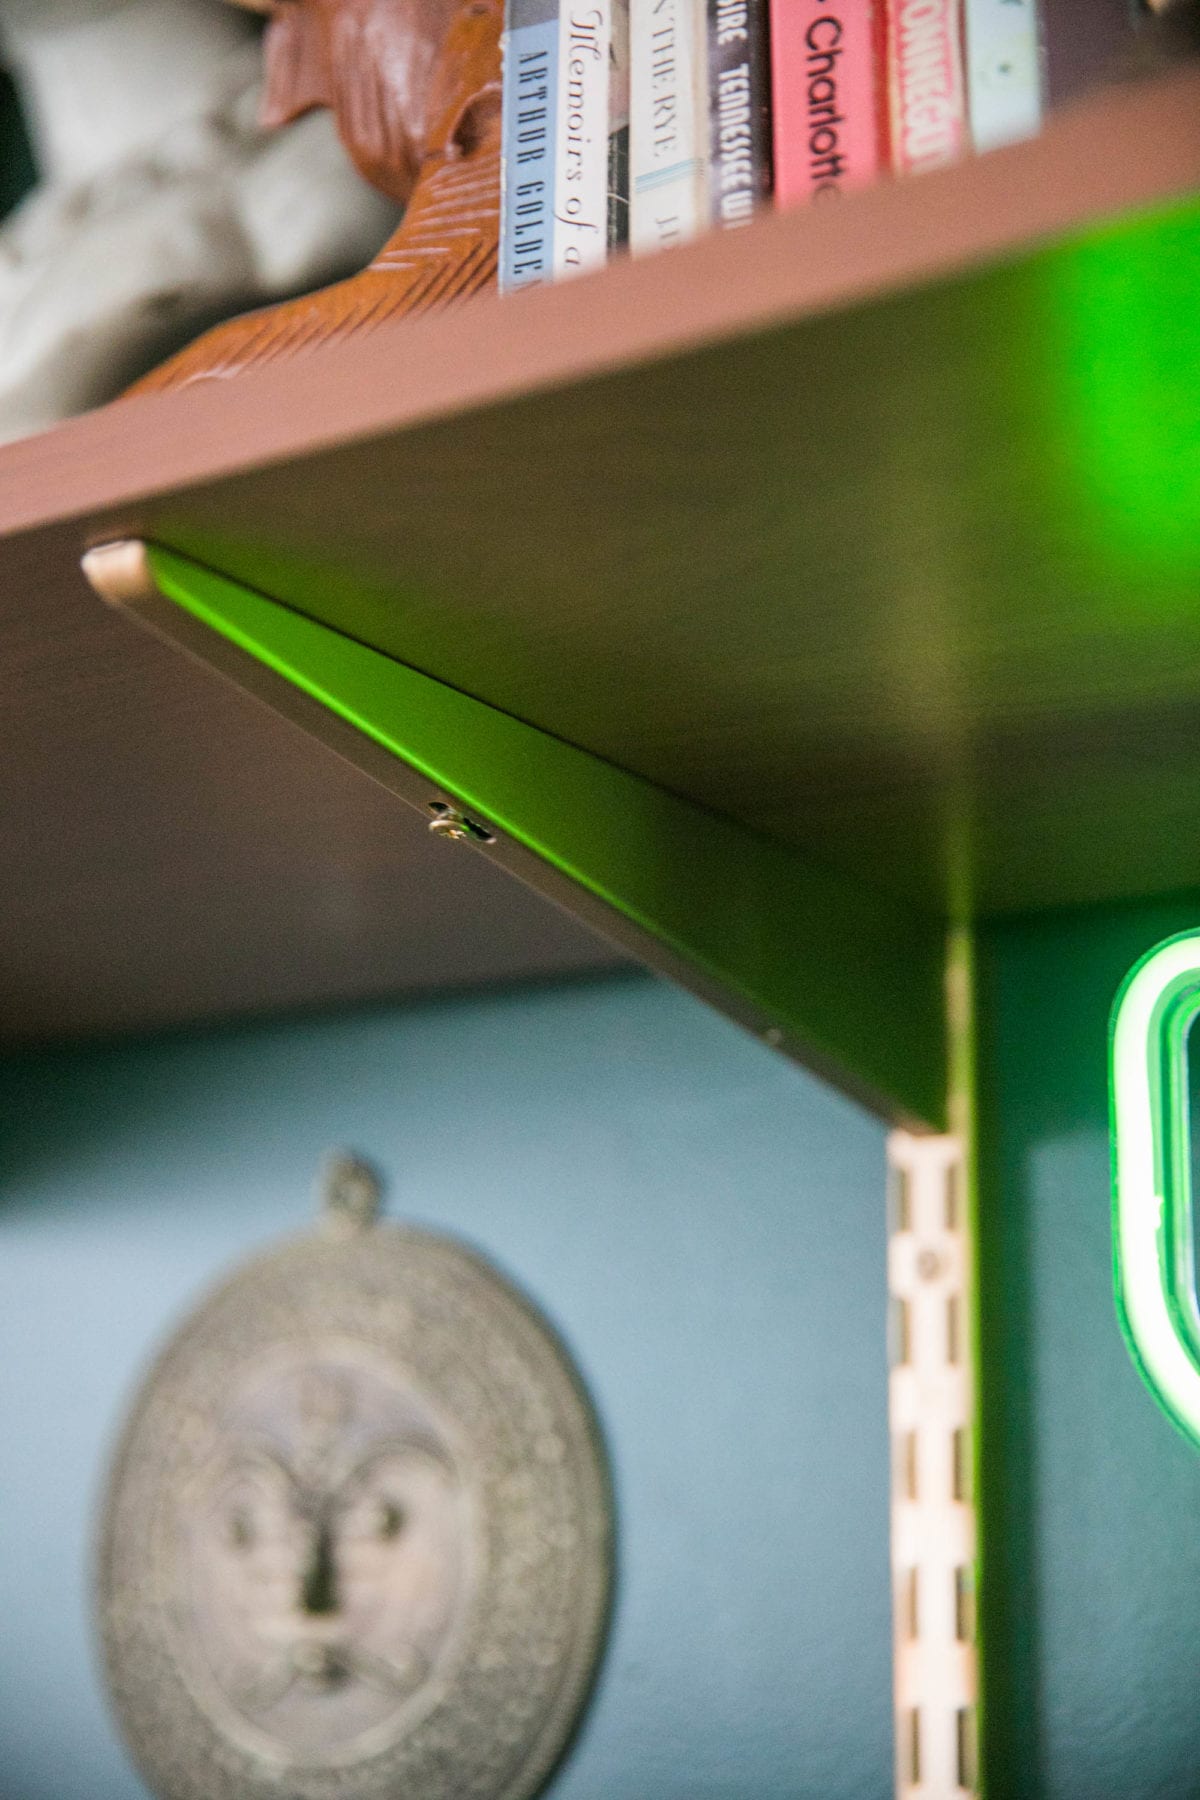
PRO TIP: The back screws have to be removed in order to adjust the shelving along the tracks. I totally cheated and affixed the shelves with one screw in the front. Holds up just fine!!
Play around with shelving layout until you find the design that speaks the most to you. Now it’s time to get decorating!!!
‘Cause you done, girl.
Nailed it. 👊🏻


This looks awesome! With open shelves do you find you have to dust more often?
Not more than usual!
These are gorgeous! How much weight can shelves hold?
Hello Brandice! Product listing says up to 150 lbs! 💯
I love this so much! Do you happen to recall the name of the green paint on the wall?
BM Hunter Green
Hello!
We are trying your DIY (thank you for the instruction). Did you get plain metal for the tracks and brackets? Or the white? Coated? Our primer didn’t stick at our first attempt. We really want the gold to work- Hopefully you’ll see this and clarify?
Julia
Hi Julia! I purchased the white twin tracks that are linked in my supply list!
Thanks for this tutorial! Where did you find the file cabinet? Is it wood? Thanks!
Thrifted! It’s vintage tiger oak!
This tutorial was super helpful – got my shelves up this weekend 🙂 Thanks!
Awesome!! Great work. 🔨