How to Turn Any Hardwired Light Fixture Into a Plug-In
Hey fronds!! Today I’m here to show you how INCREDIBLY EASY it is to turn any hardwired light fixture into a plug-in light. Not only will you be amazed at how simple the process is, you’ll be damn proud of yourself for being so gosh darn industrious. PLUS! The total cost of supplies for this DIY = $20 dollah bills. Watch my DIY video tutorial or have a look at the instructions below.
LET’S GO, YO!!!
And remember to subscribe to my YouTube channel!
WHAT YOU’LL NEED
Hardwired light fixture (chandelier, wall sconce, etc.)
Lamp wire (cut to desired length, I’m using 20-feet)
15-amp light duty plug
Wire connectors
Wire strippers
Electric tape
Screwdrivers
Utility knife
Needle nose pliers
Scissors
Measuring tape
SHOP THE POST


STEP ONE
Find a kickass light fixture! Then measure your space to determine the length of the lamp wire needed to reach your swag hook.
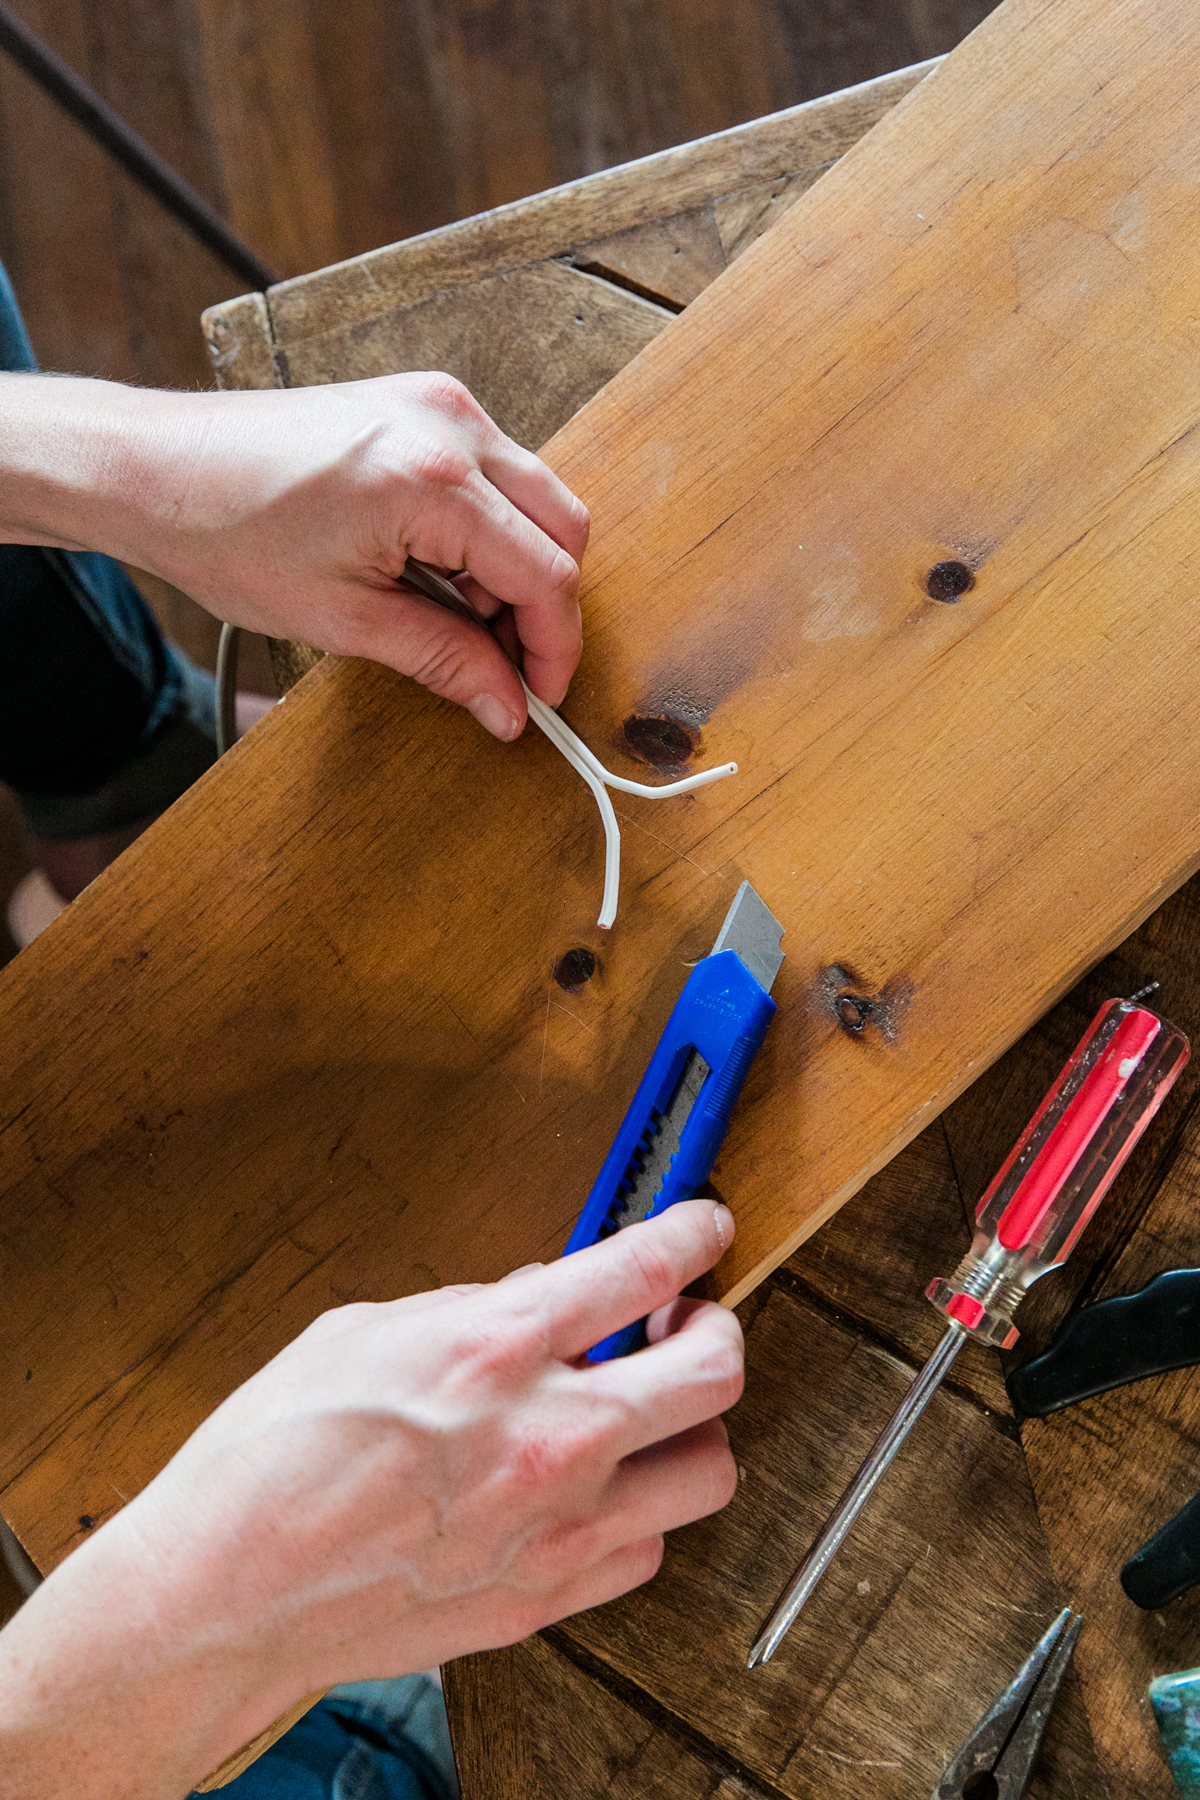
STEP TWO
Assemble your tools! All I needed for this project was 20-feet of lamp wire ($12) and a plug ($2) from my local home improvement store. Wam-bam-thank-you-mam! Using the utility knife, split the lamp wires into two. With the wire strippers, expose ¾- to 1-inch of lamp wire. Twist exposed wires together.
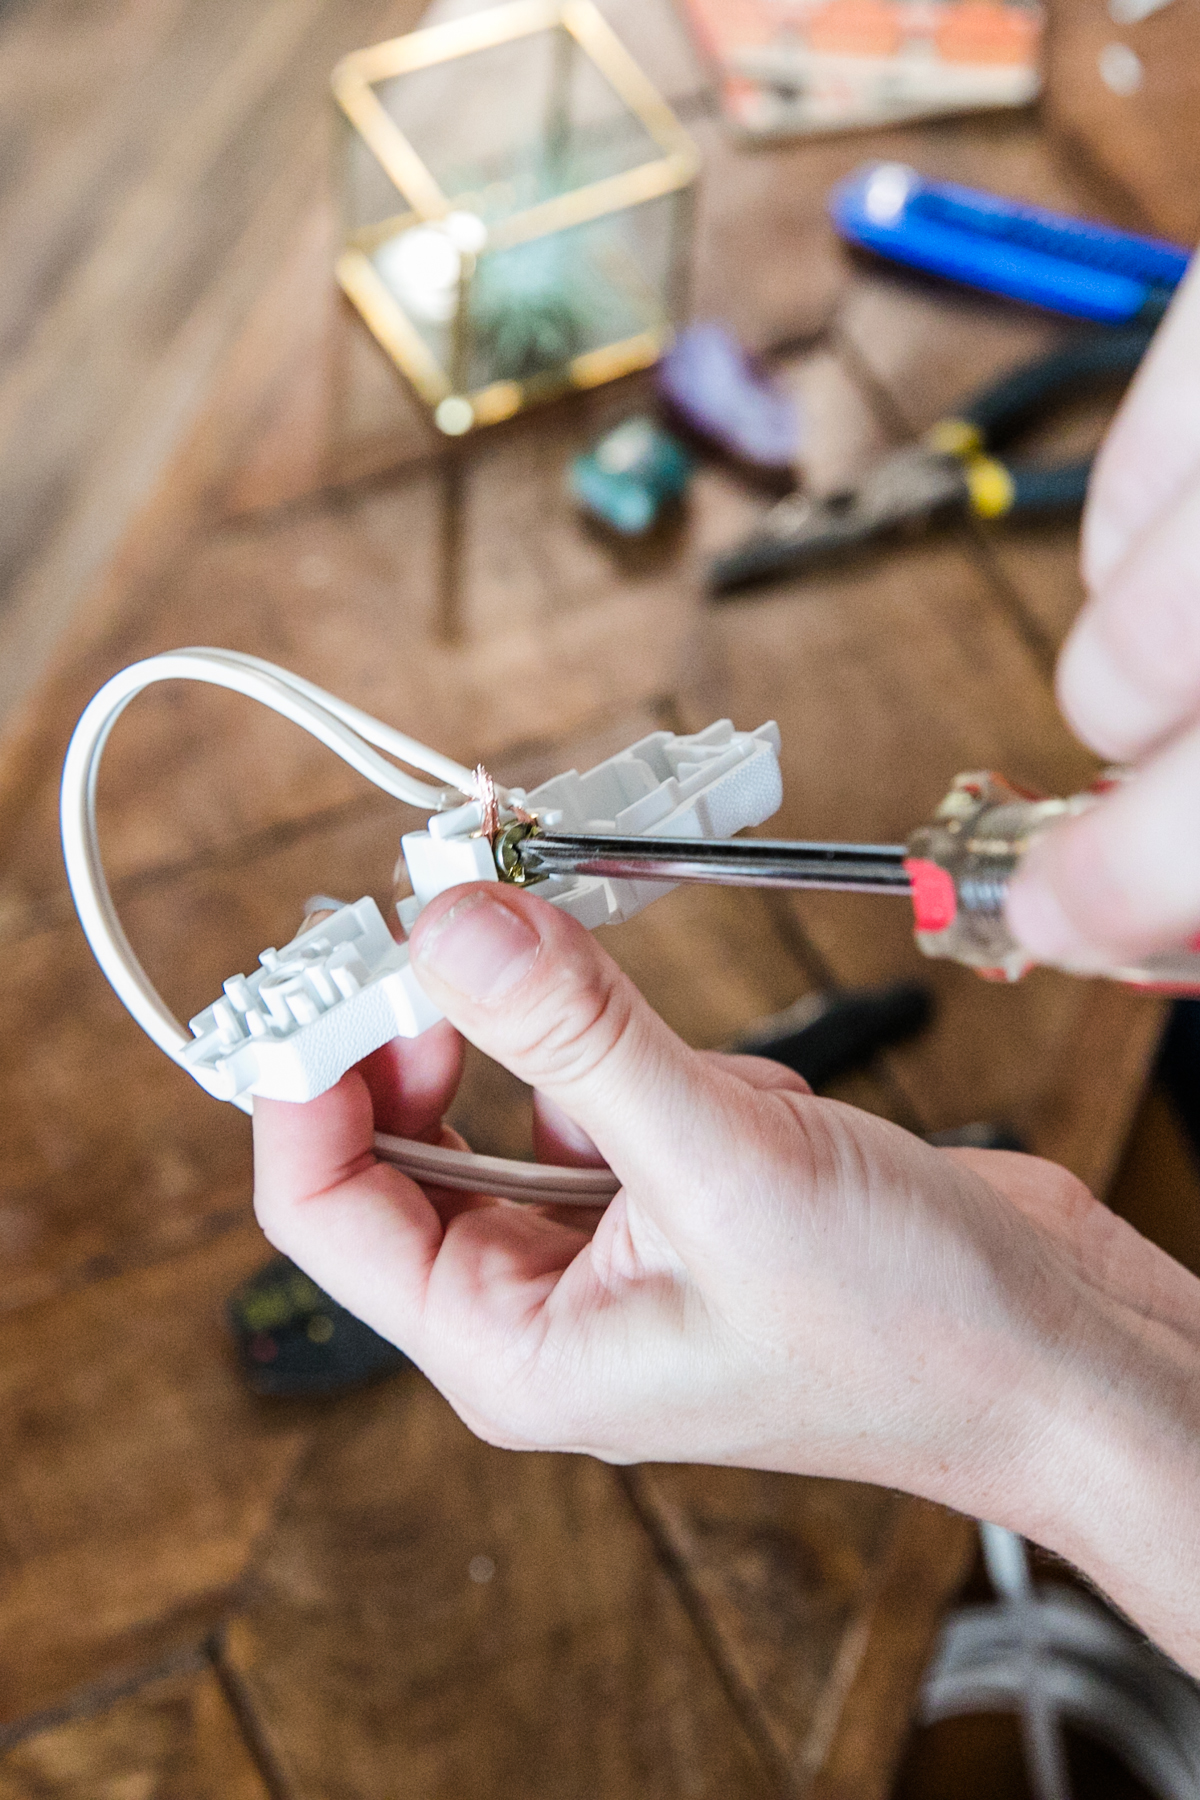
STEP THREE
Unscrew and open the plug. Use needle nose pliers to curve one end of the exposed and twisted lamp wire. Carefully secure each lamp wire to either screw. Be cautious to not overtighten, then close and secure plug.

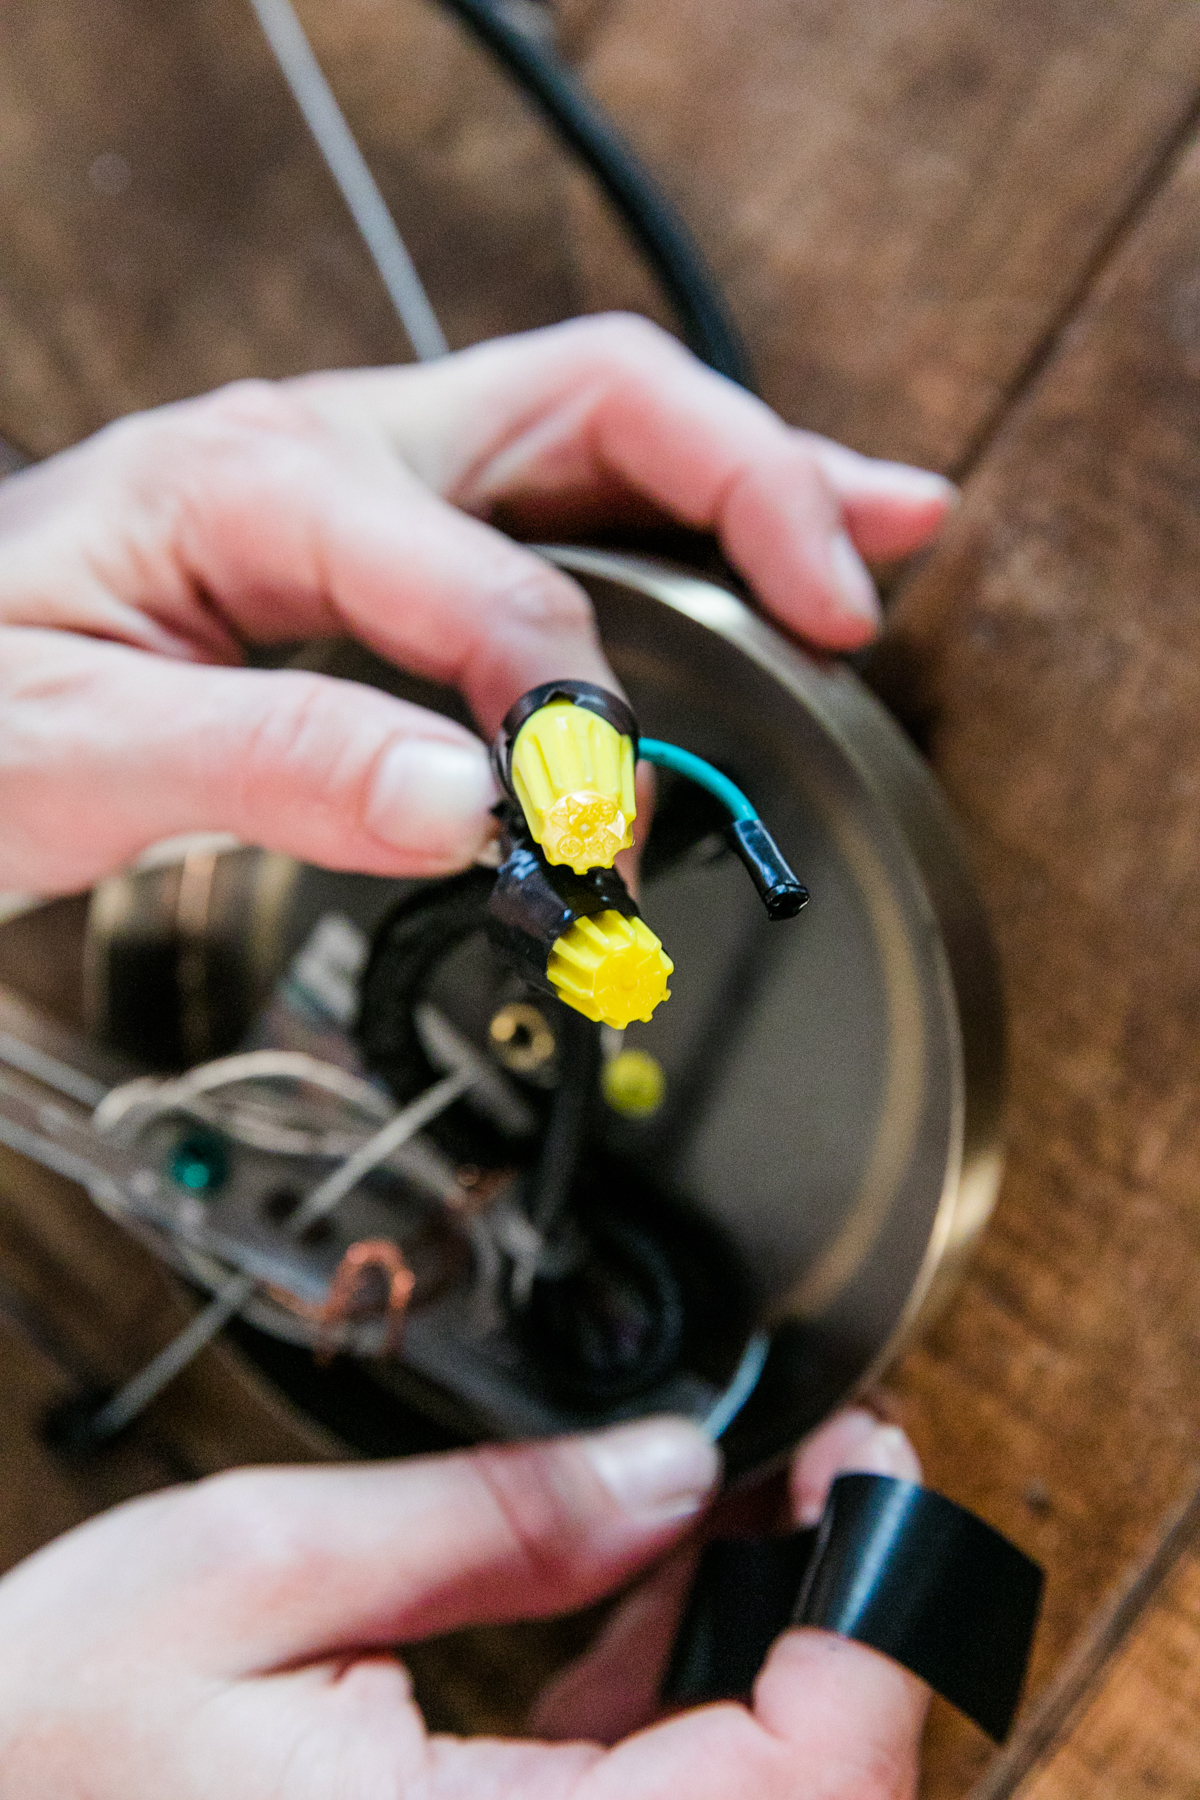
STEP FOUR
At the light fixture’s base, identify the hot (aka black) and neutral (aka white) wires. Set aside the ground (aka green wire) by looping into the base for future use. Connect the two remaining lamp wires to the hot and neutral wires. Cap with wire connectors and tightly secure with electric tape.
STEP FIVE
Hang your converted light fixture on your swag hook and plug’er in! ‘Cause you are D-U-N done, girlfriend!!!
PRO TIP:
Choose a lamp wire that blends with the color of your space!


You didn’t say what did you do with the green wire, the grounding one? Not to mention my light fixture also has a copper 4th wire another grounding wire, what do I do with it?
Hi Cyndy! In fact I do mention the green/ground wire——you do not need to do anything with it to complete this DIY! It’s necessary for hardwiring. Wrap your extra copper wire around the metal mounting bracket.
Hi Jessica,
Which part of the lamp are you attaching to the ceiling hook? Do you wrap the wires around it or use a separate piece?
Thanks so much for this tutorial!
Hi Pamela! You can wrap a heavy duty gauge wire around the mounting bracket to create a loop. Alternatively, I’ve determined the mounting bracket itself can be secured to the ceiling and the fixture attached that way. Good luck!
Non-related question. Is that a pink couch? If so, where did you get it?
It’s from Article!
Can you use a cord that can be turned on and off?
Sure could, Shawna! Either wire an on/off cord or connect your plug into one with an adapter.
Sure could, Shawna! Either wire an on/off cord directly to the fixture or find one with an adapter you can plug into.
hi! Im wondering can I get 16/2 wire or does it have to be 18/2? The 16/2 is much cheaper.
The pendant I’m trying to hand has these specifications:
Bulb Wattage: 13W
Lighting Type: Pendants
Number of Lights: 3 Lights
Thanks!
Not sure since I personally use 18/2! I’d test it out on one first.
Hi Jessica,
Did you put a barrier between the base plate and ceiling to keep the wires from touching the ceiling or to prevent any fire hazard?
Thanks.
Nope. If you’ve properly secured the exposed wires with connector caps and electrical tape, you’re good to go.
Do I need to make sure the hot side of the lamp wire is wrapped around screw of the narrower plug prong? That way when connecting the hot and neutral of the light fixture it is matching?
Your lamp wire must be attached separately to both sides of the plug!
Hi! Can you use extension cord instead of lamp wire and separated plug?
Not recommended!
Super helpful and super duper easy. I used an old extension cord I had laying around and some spare wire nuts so it cost me zero (save for the actual fixtures!). Thanks for sharing this!
Fabulous feedback, Louis! Thanks for sharing!
If I attach the wires to the back, then the cord comes down behind the wall plate, so then the wall plate is no longer flush on the wall. Does that make sense? How did you get around that?
Perfect sense! I recommend cutting a small notch in the mounting plate to run the wire through allowing the plate to sit flush.
The lamp wire doesn’t have black and white to know the + and – wire. How do you determine when both are in same color casing and both wires are copper?
You can use either side of the copper lamp wire just as I display in the video! Only secure the hot and neutral wires to the lamp cord, not the ground wire.
Thanks for this for two reasons; I scored some hardwired fixtures on the cheap and just can’t commit to that (I prefer not to have a dust catching dead bug dish as a form of permanent kitchen illumination), and setting an example that females can do and will do the same hands on work that males usually insist on doing for them.
Happy to help!! 🙂
We thought we were being nice by doing something for you that we are (sometimes) actually capable of doing.
chicks kick ass! ❤️this comment
Hi – how do you affix the light to the ceiling? My fixture, like yours in the above has a rod for the wire to go through which then gets bolted to a bracket which is screwed to a junction box. If I put the bracket on the ceiling there’s not any room for the fixture rod to be threaded through – if that makes sense.
I recommend building a wooden base. I did this once, see it here: https://www.instagram.com/p/CTIGeUGlZxL/ 🔌
I’m still not understanding the green wire 😕 just leave it by wrapping it with black tape 🤔 it want cause any issues.
The green wire is a grounding wire pertinent to the installation of hardwired fixtures, not plug-ins.
thank you for a simple explanation. re-wired in 10 minutes.