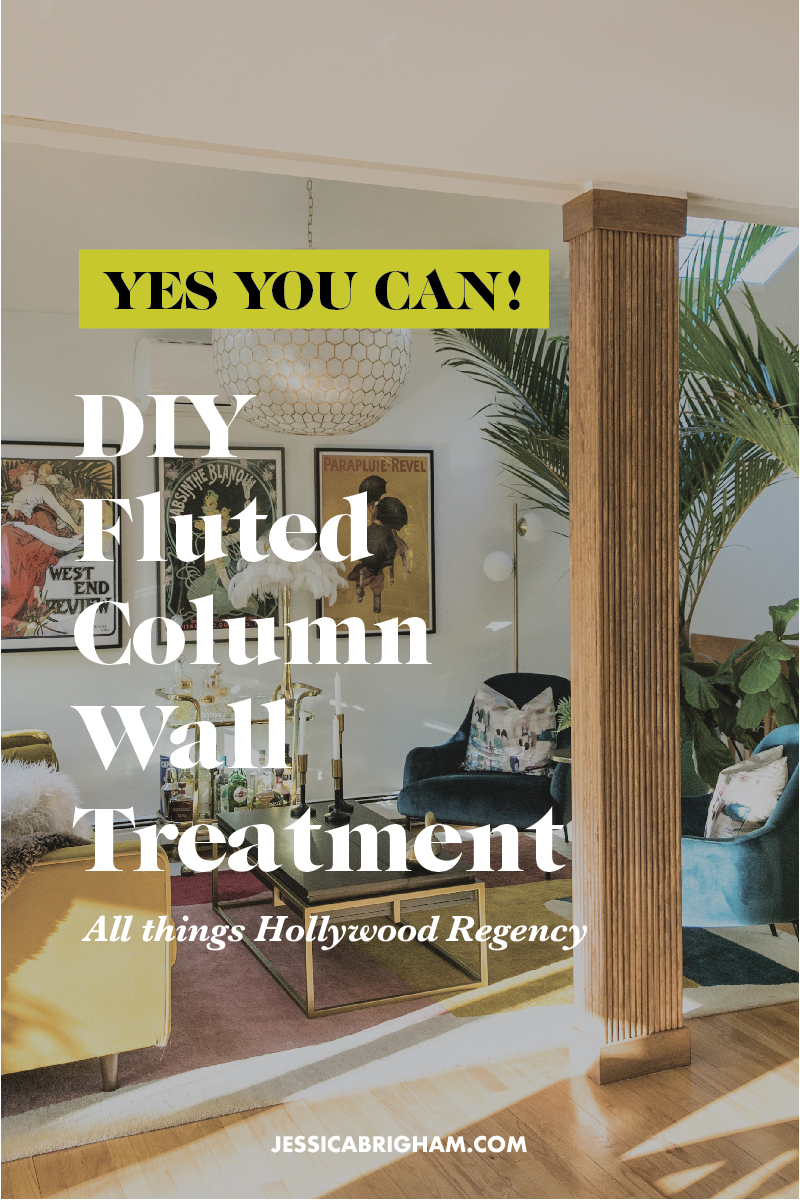
DIY Fluted Column Wall Treatment
Do you have a lifeless, load-bearing column that’s all function, no form? It can cost thousands to sure-up walls. Save your shekels and juzzsscchh (sp?) it up with this DIY fluted column wall treatment in two days time and save yourself quite a few dimes.
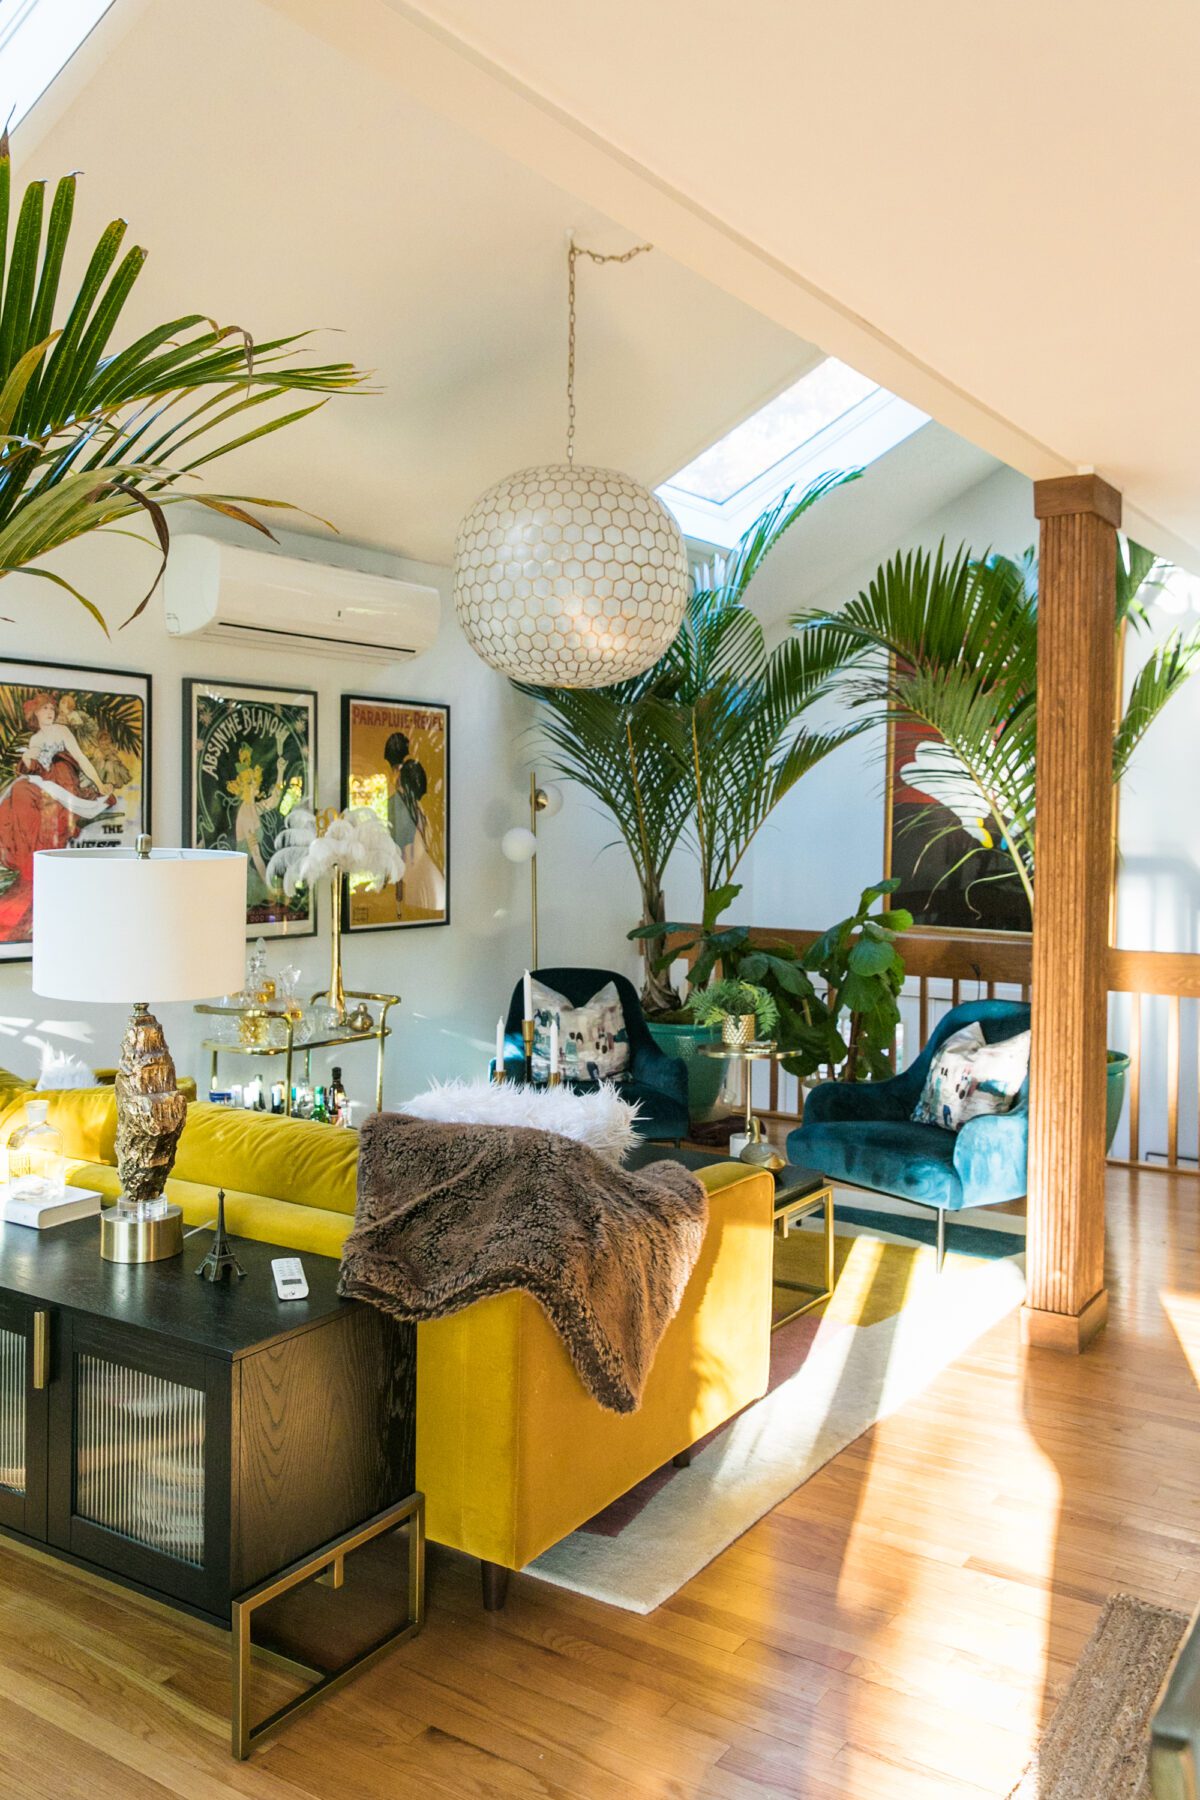
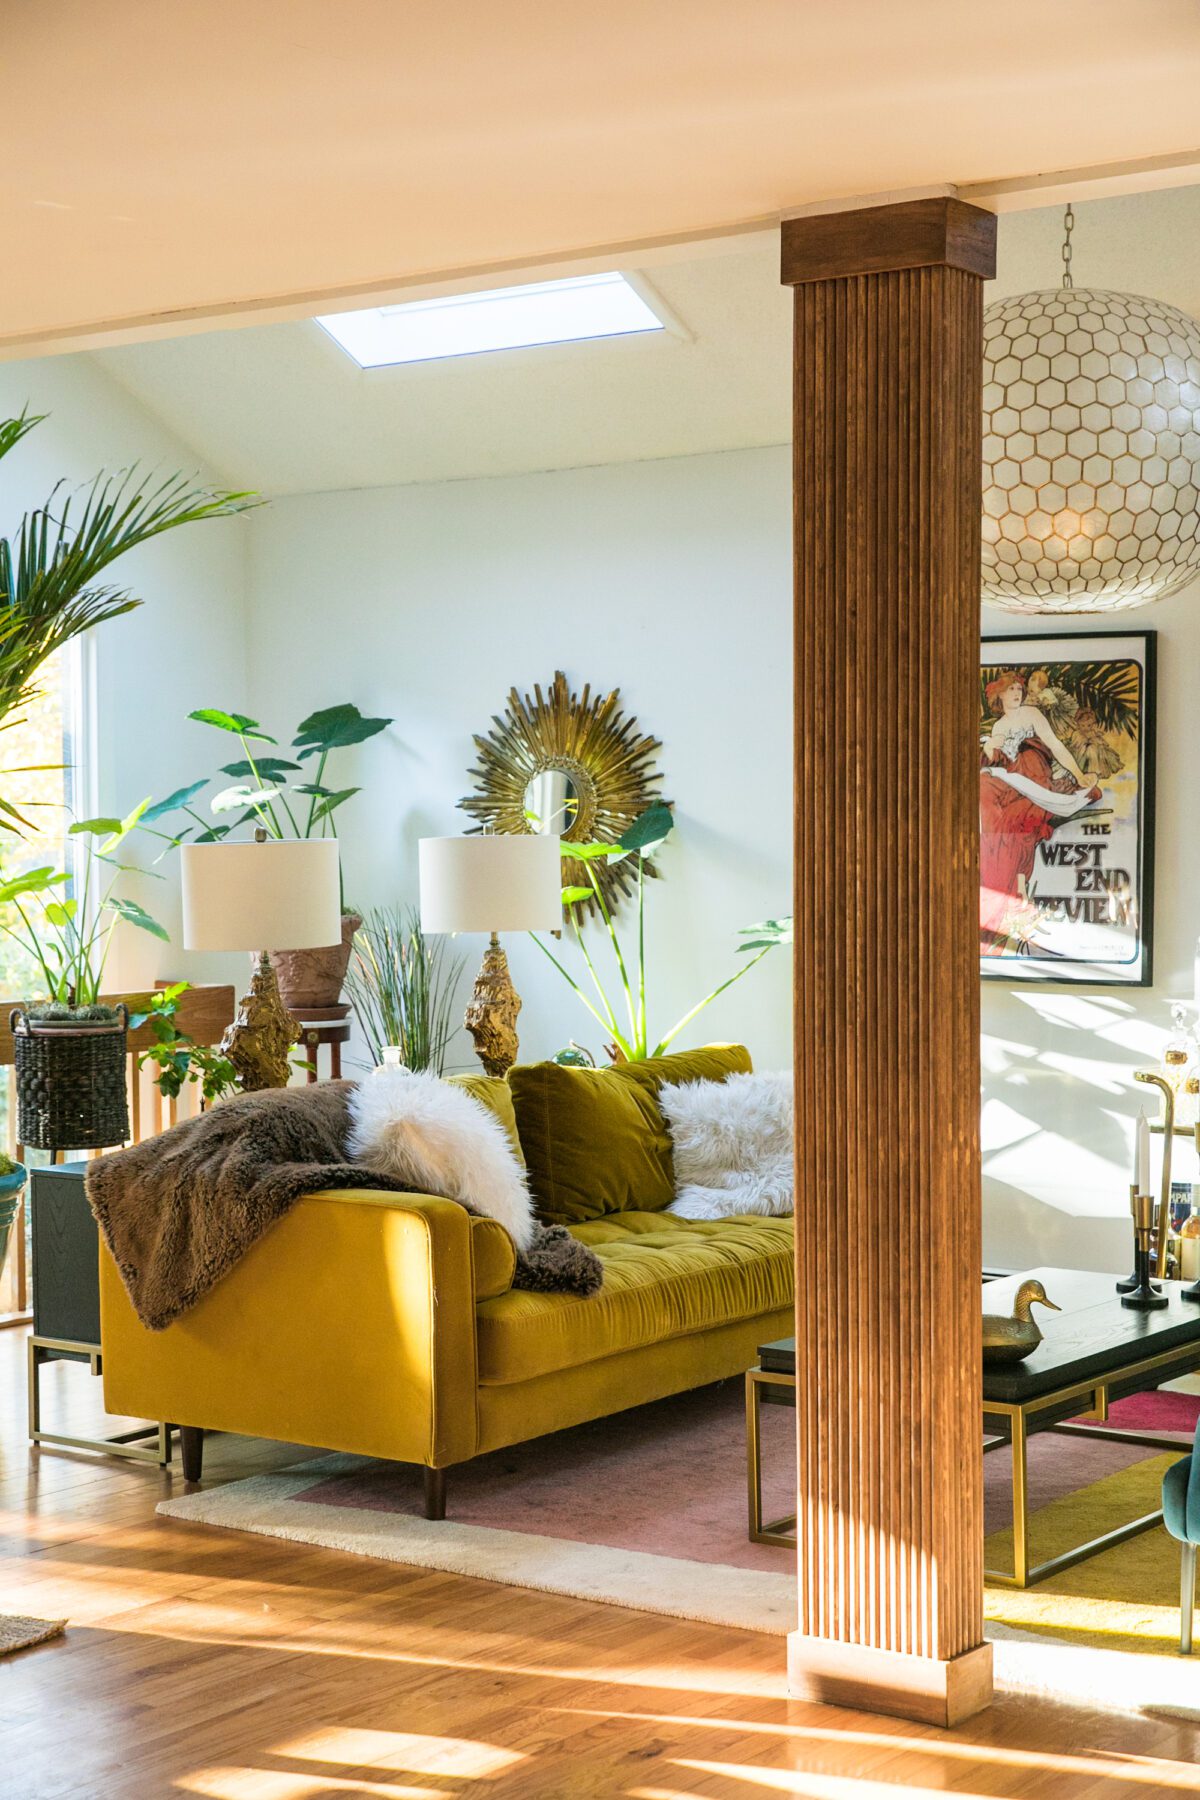
What once lamely obstructed the view of the Madison Estate’s vibrant, deco-inspired living room is now an architectural statement piece eagerly evoking Hollywood Regency vibes. Even more so that the majestic poolside palms have come inside.
Like, wassup fronds 🌴🌴🌴 Here’s how this beauty got done…
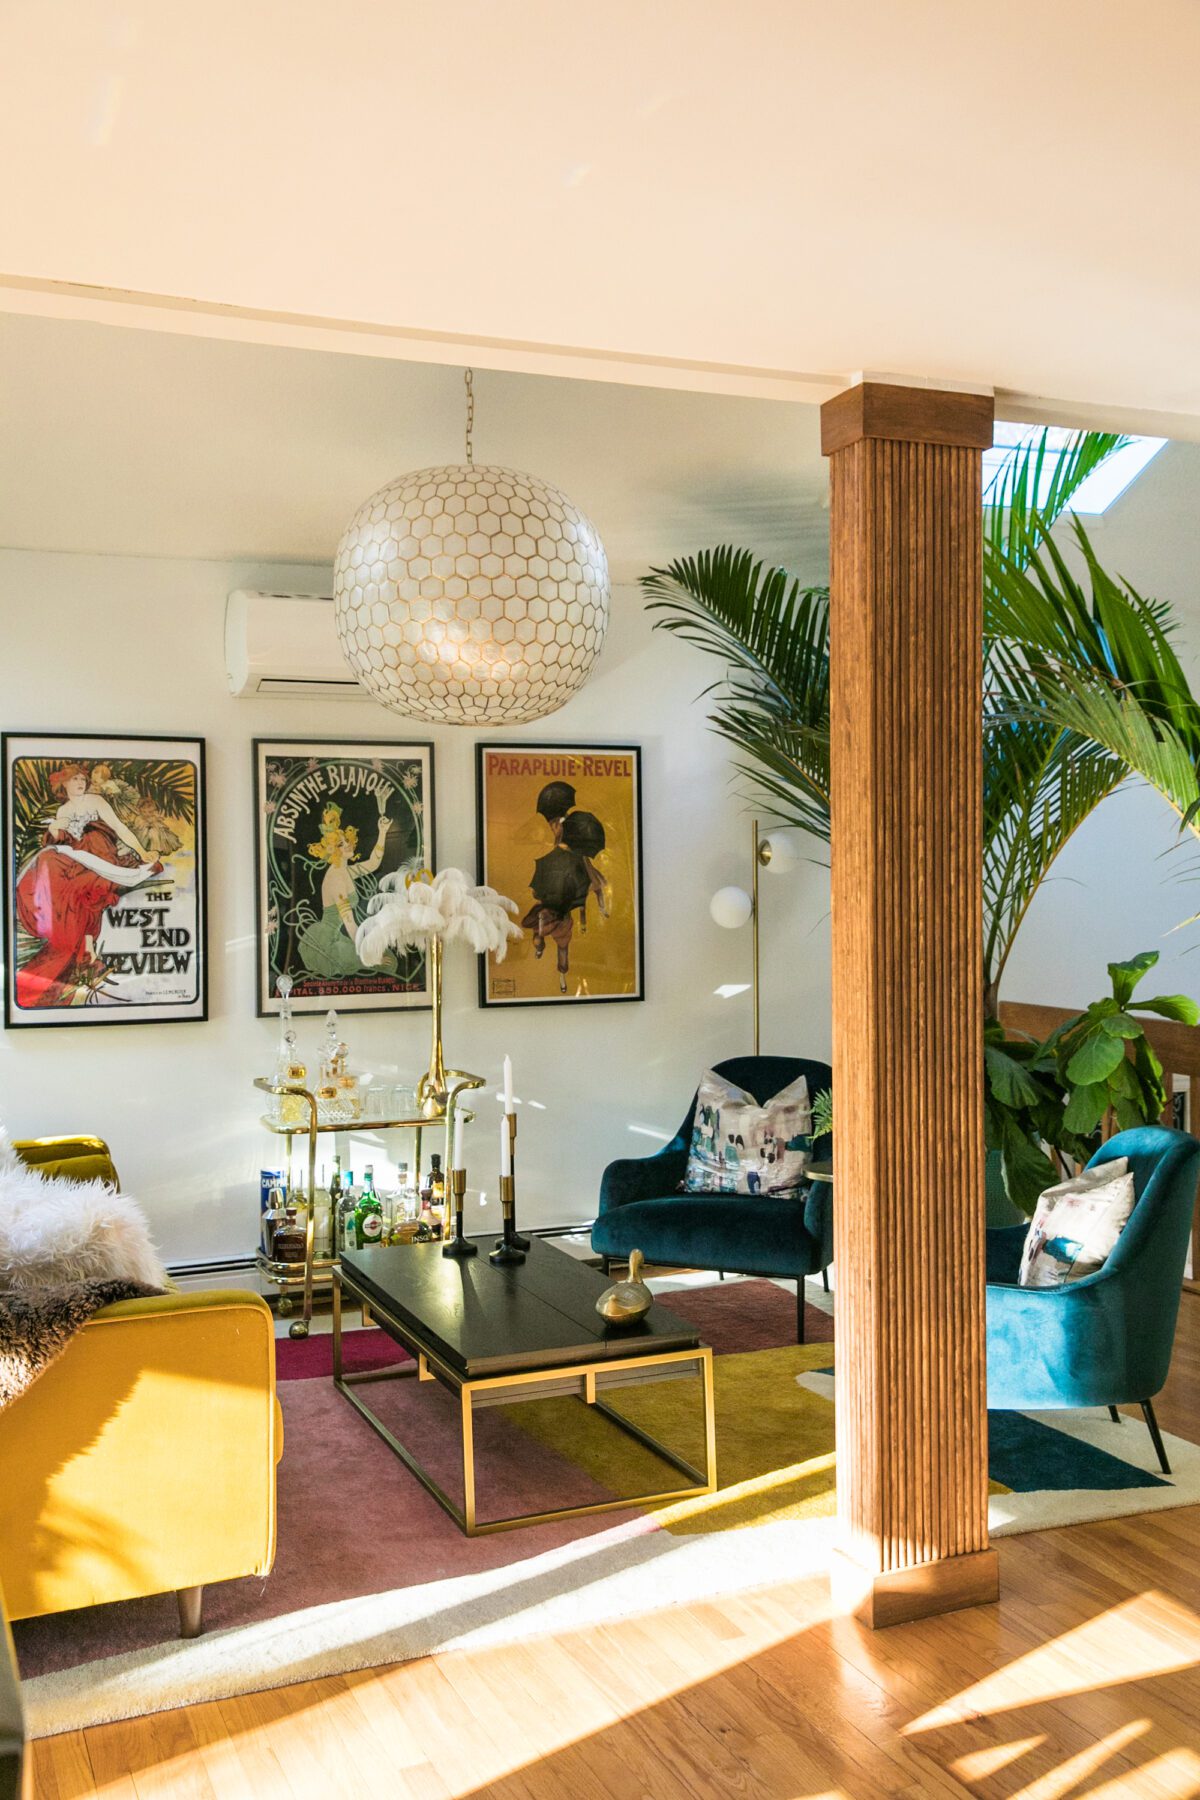
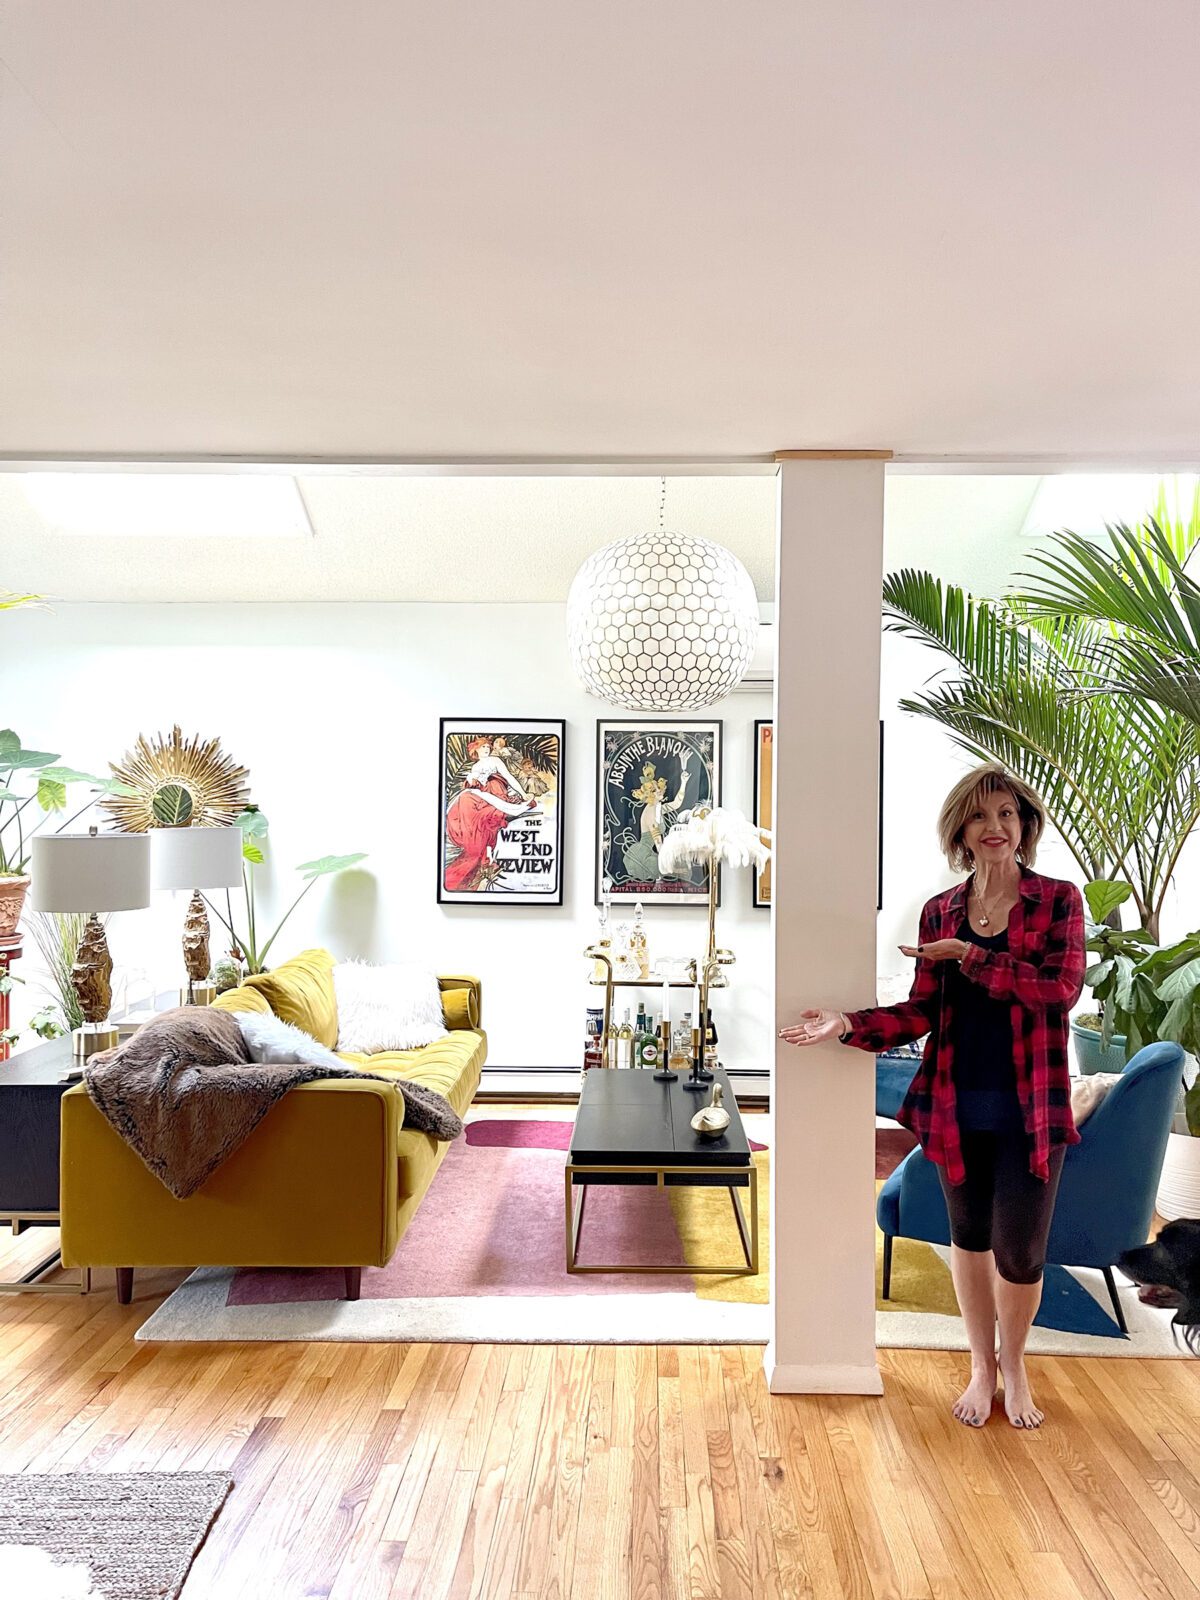
BEFORE 
AFTER
WHAT YOU’LL NEED
MATERIALS:
- Half-round moulding, ¾” x ⅜”
- Common board, 1” x 6”
- Sheet foam , if needed for correcting imperfections
- Wood putty
- Sandpaper and/or sanding block
- Wood stain (or paint) of choice
- Polyurethane, if desired
TOOLS:
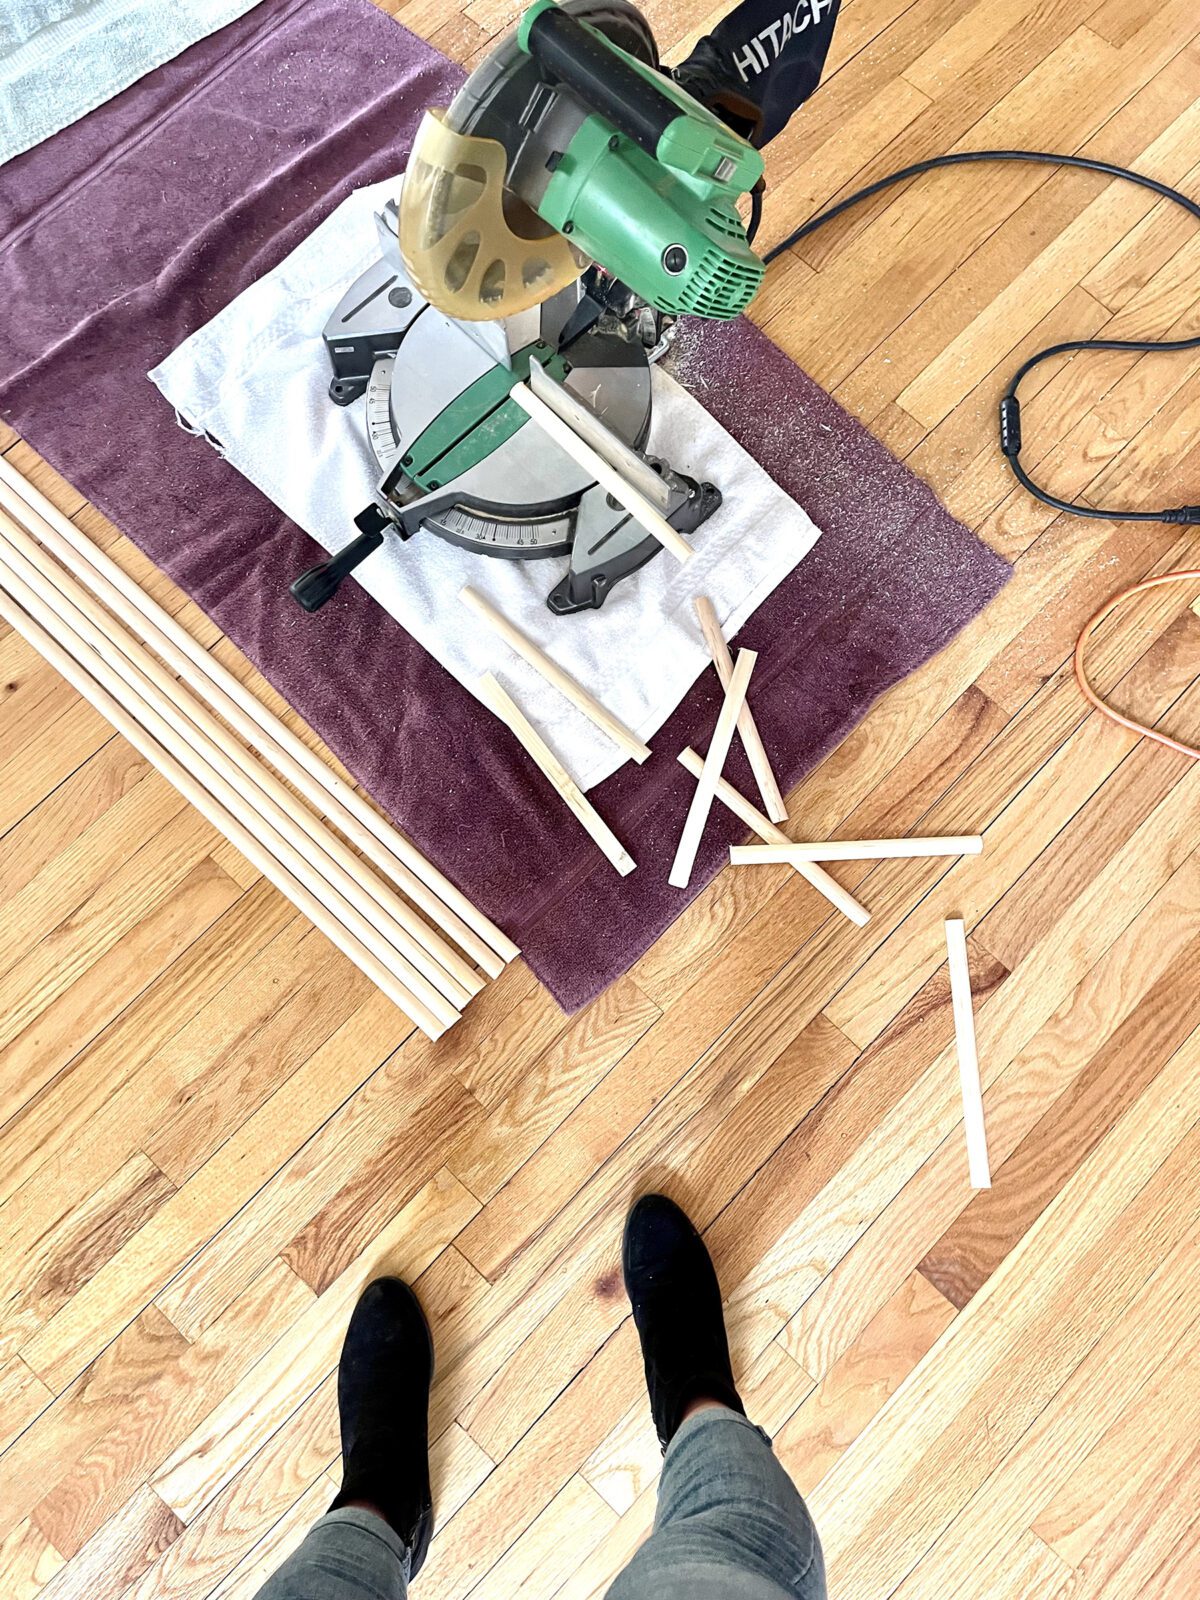
- Miter saw
- Pneumatic Nail gun
- Finish nails, 2” long
- Air compressor + air hose
- Staple gun, if sheet foam is needed
SHOP THE POST

INSTRUCTIONS
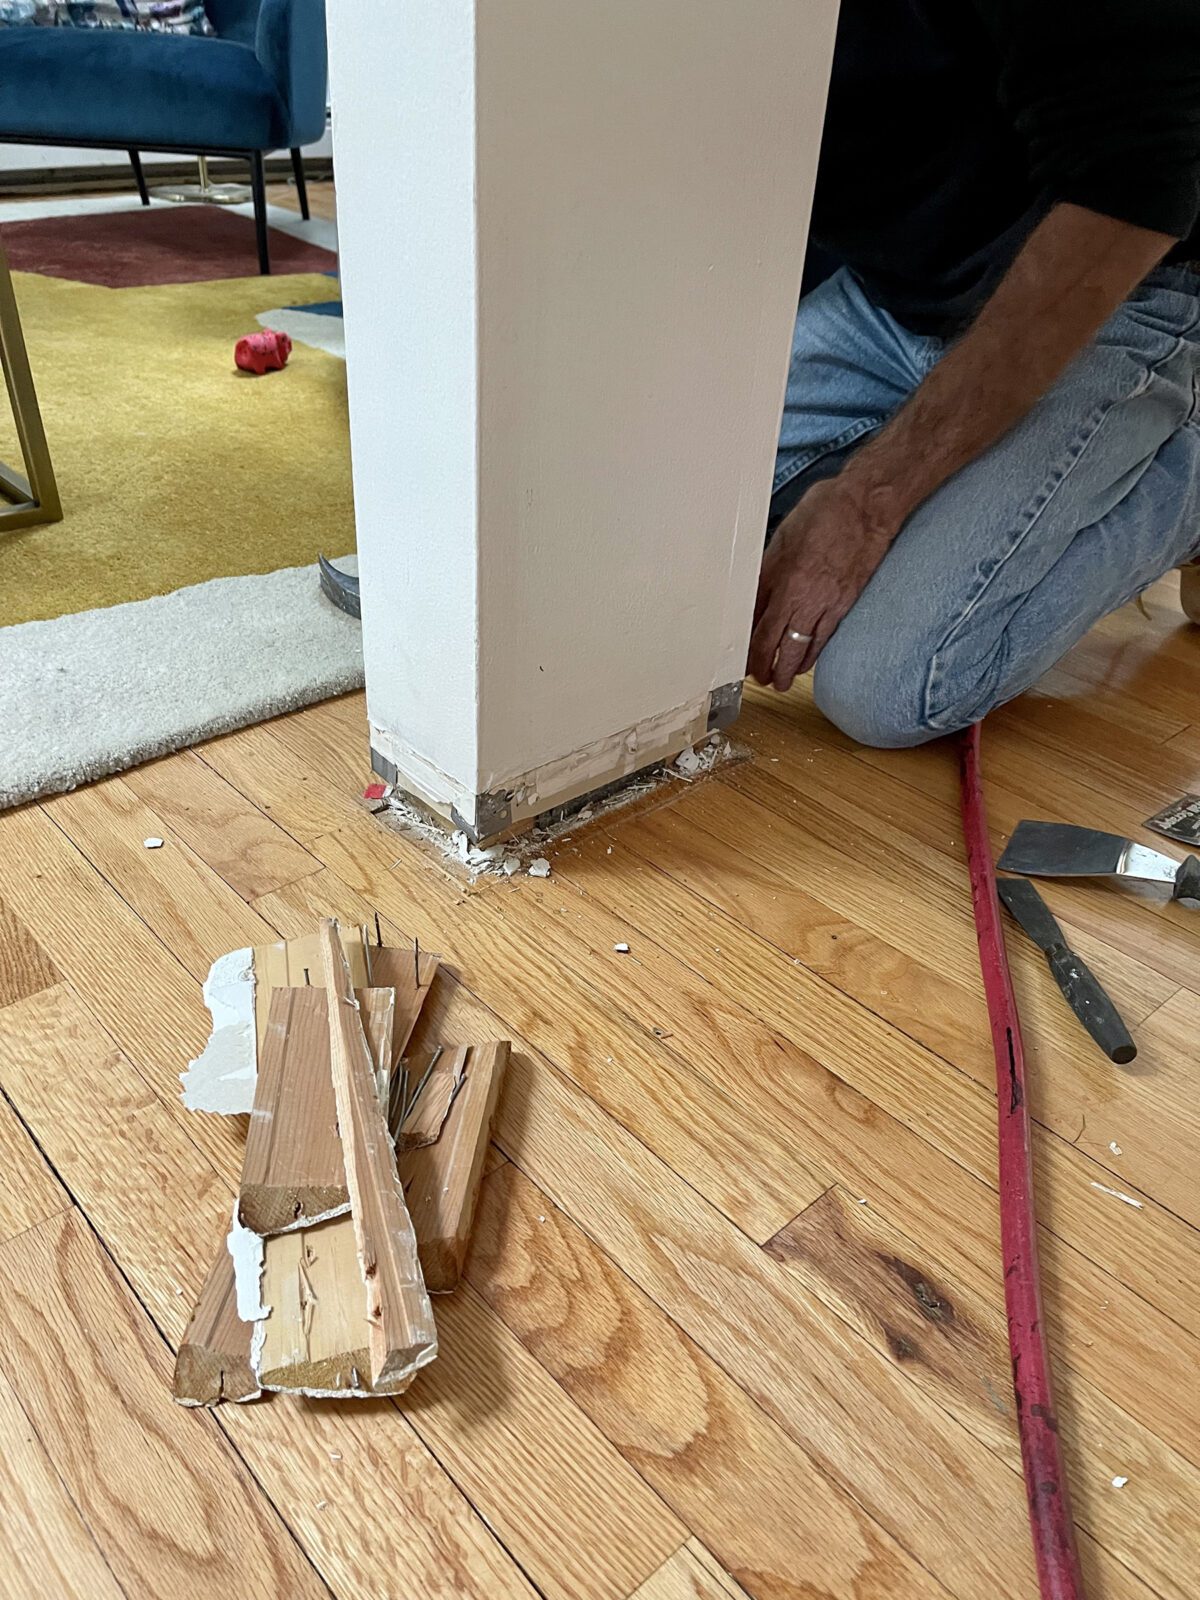
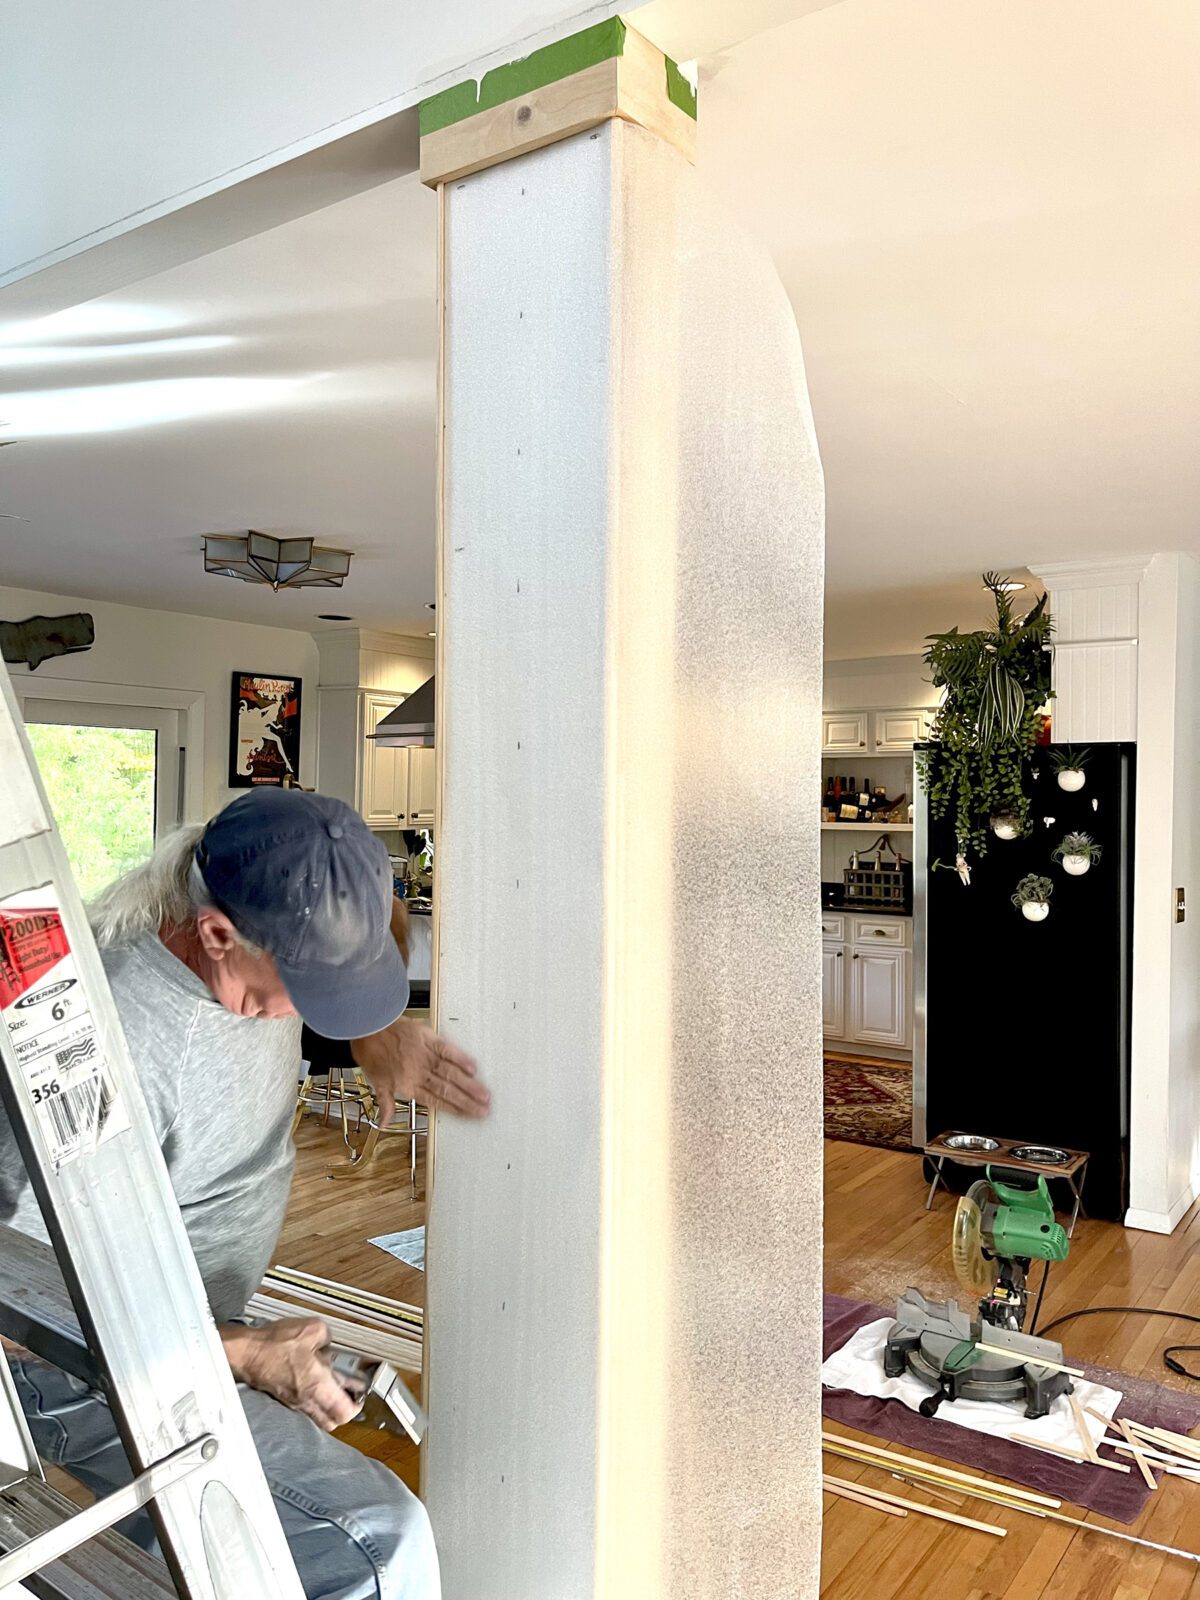
Measure your column — width x height x depth — to ascertain your lumber supply.
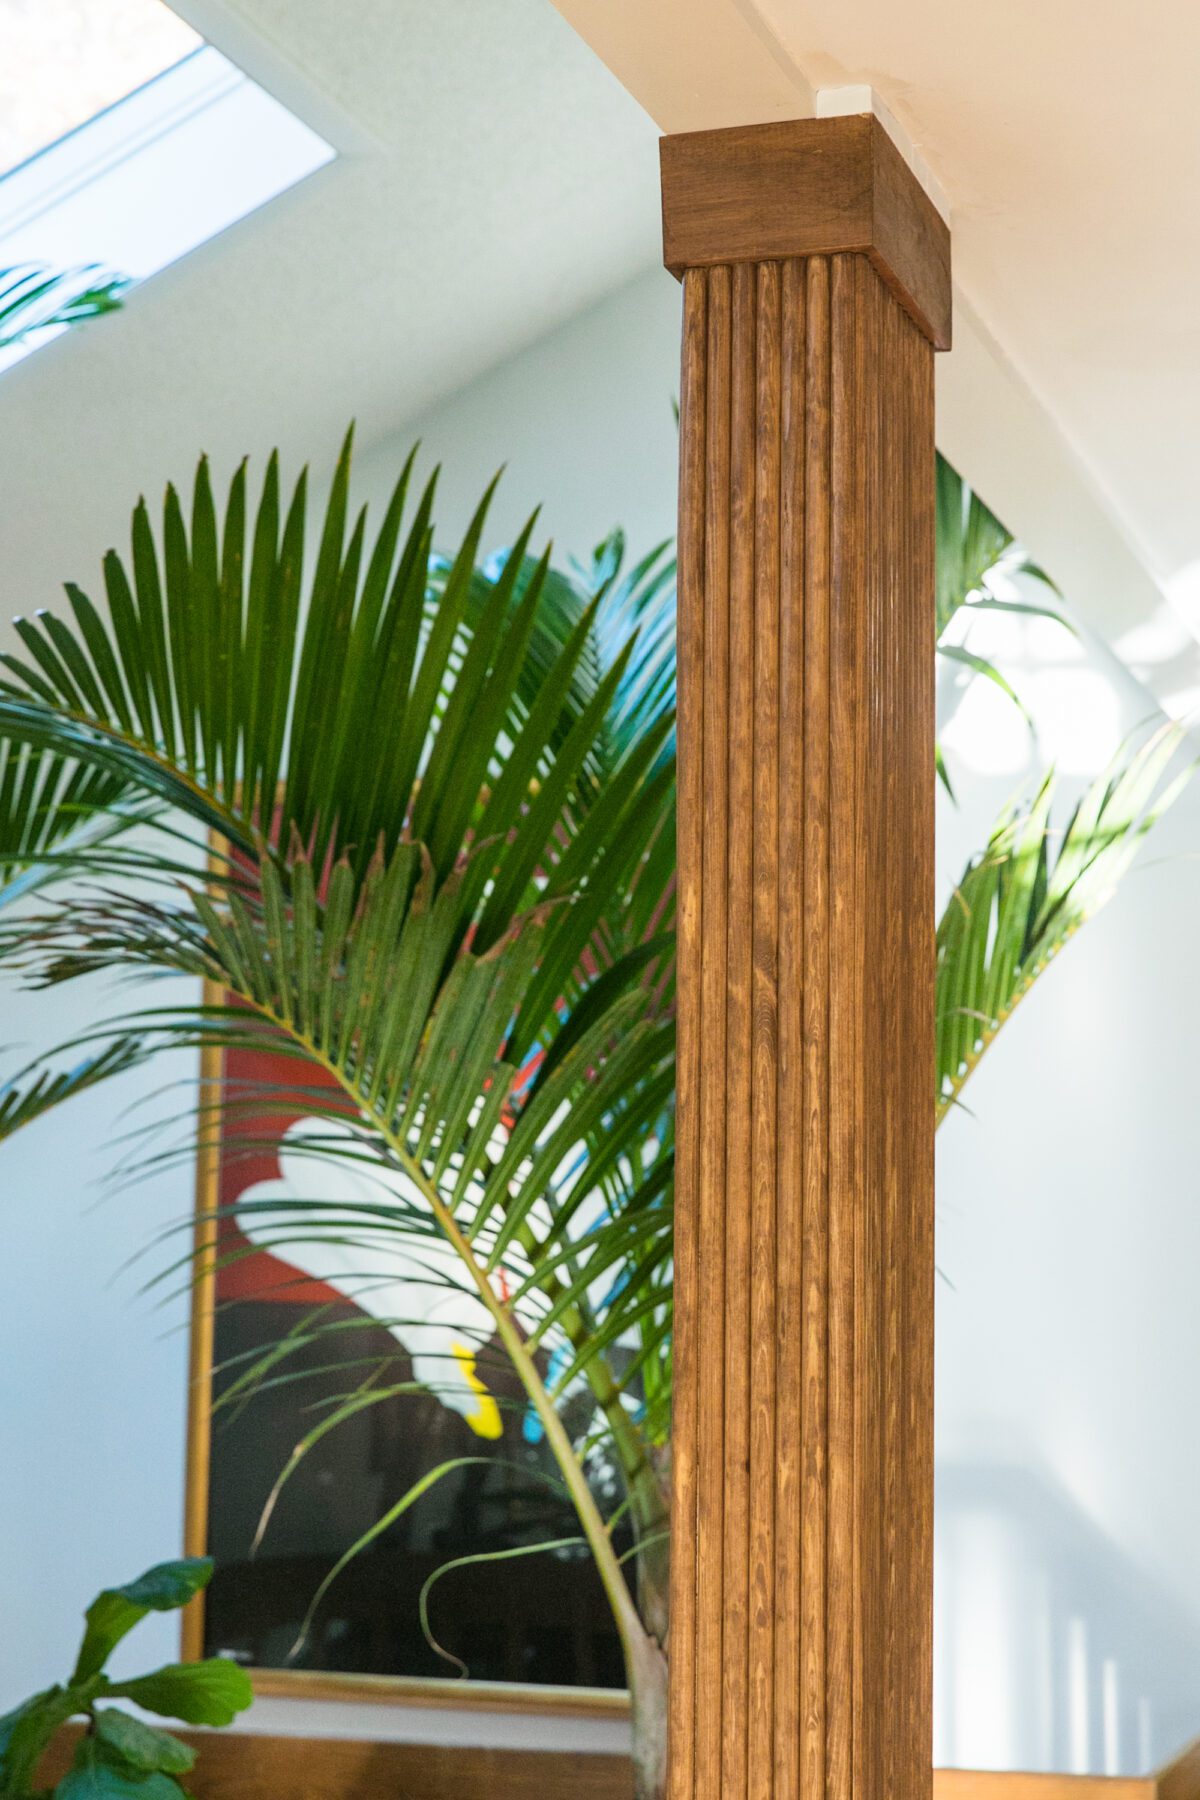
Install the top cap and end cap first. Using a miter saw, cut-to-size four pieces of wood at a 45-degree angle for each end. For a sleek finish, cap each end with a linear board.
Measure the interior of the cap mouldings and cut half-rounds to a snug fit. Measure often as you cut; your column may look plum even if it’s not. Use finishing nails to secure each piece to the column.
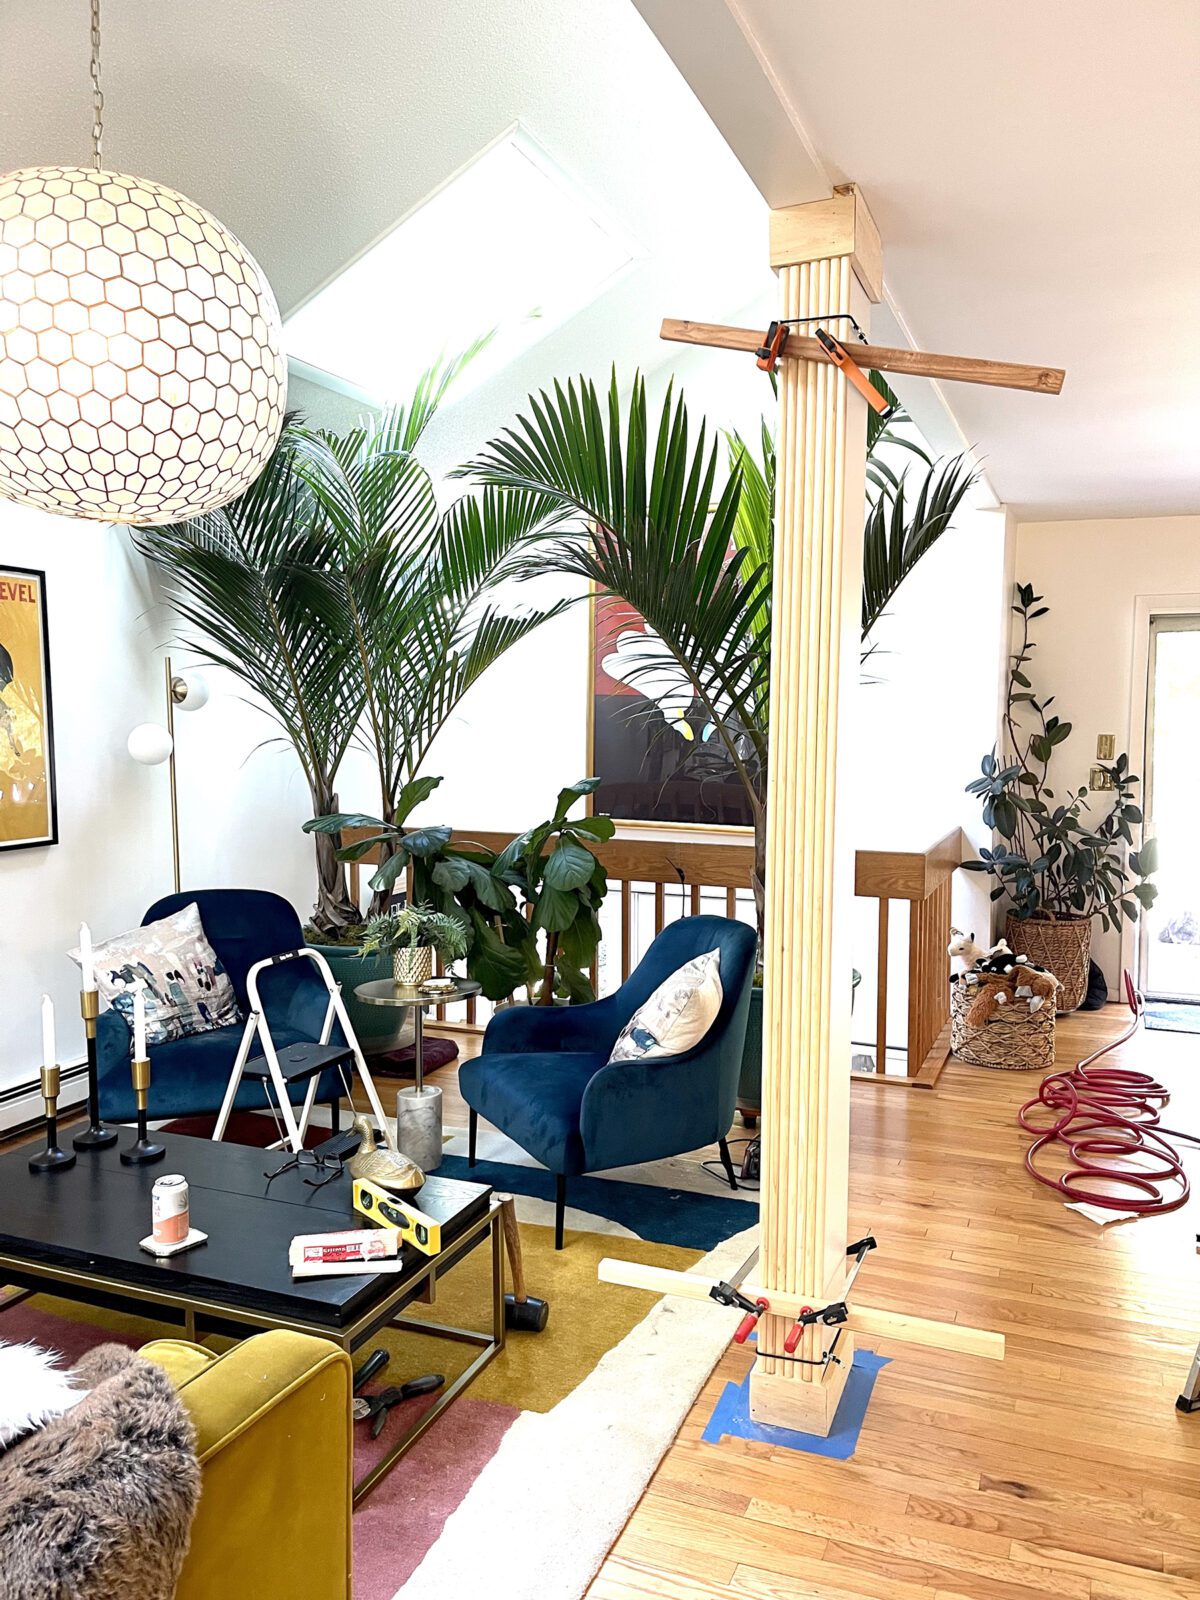
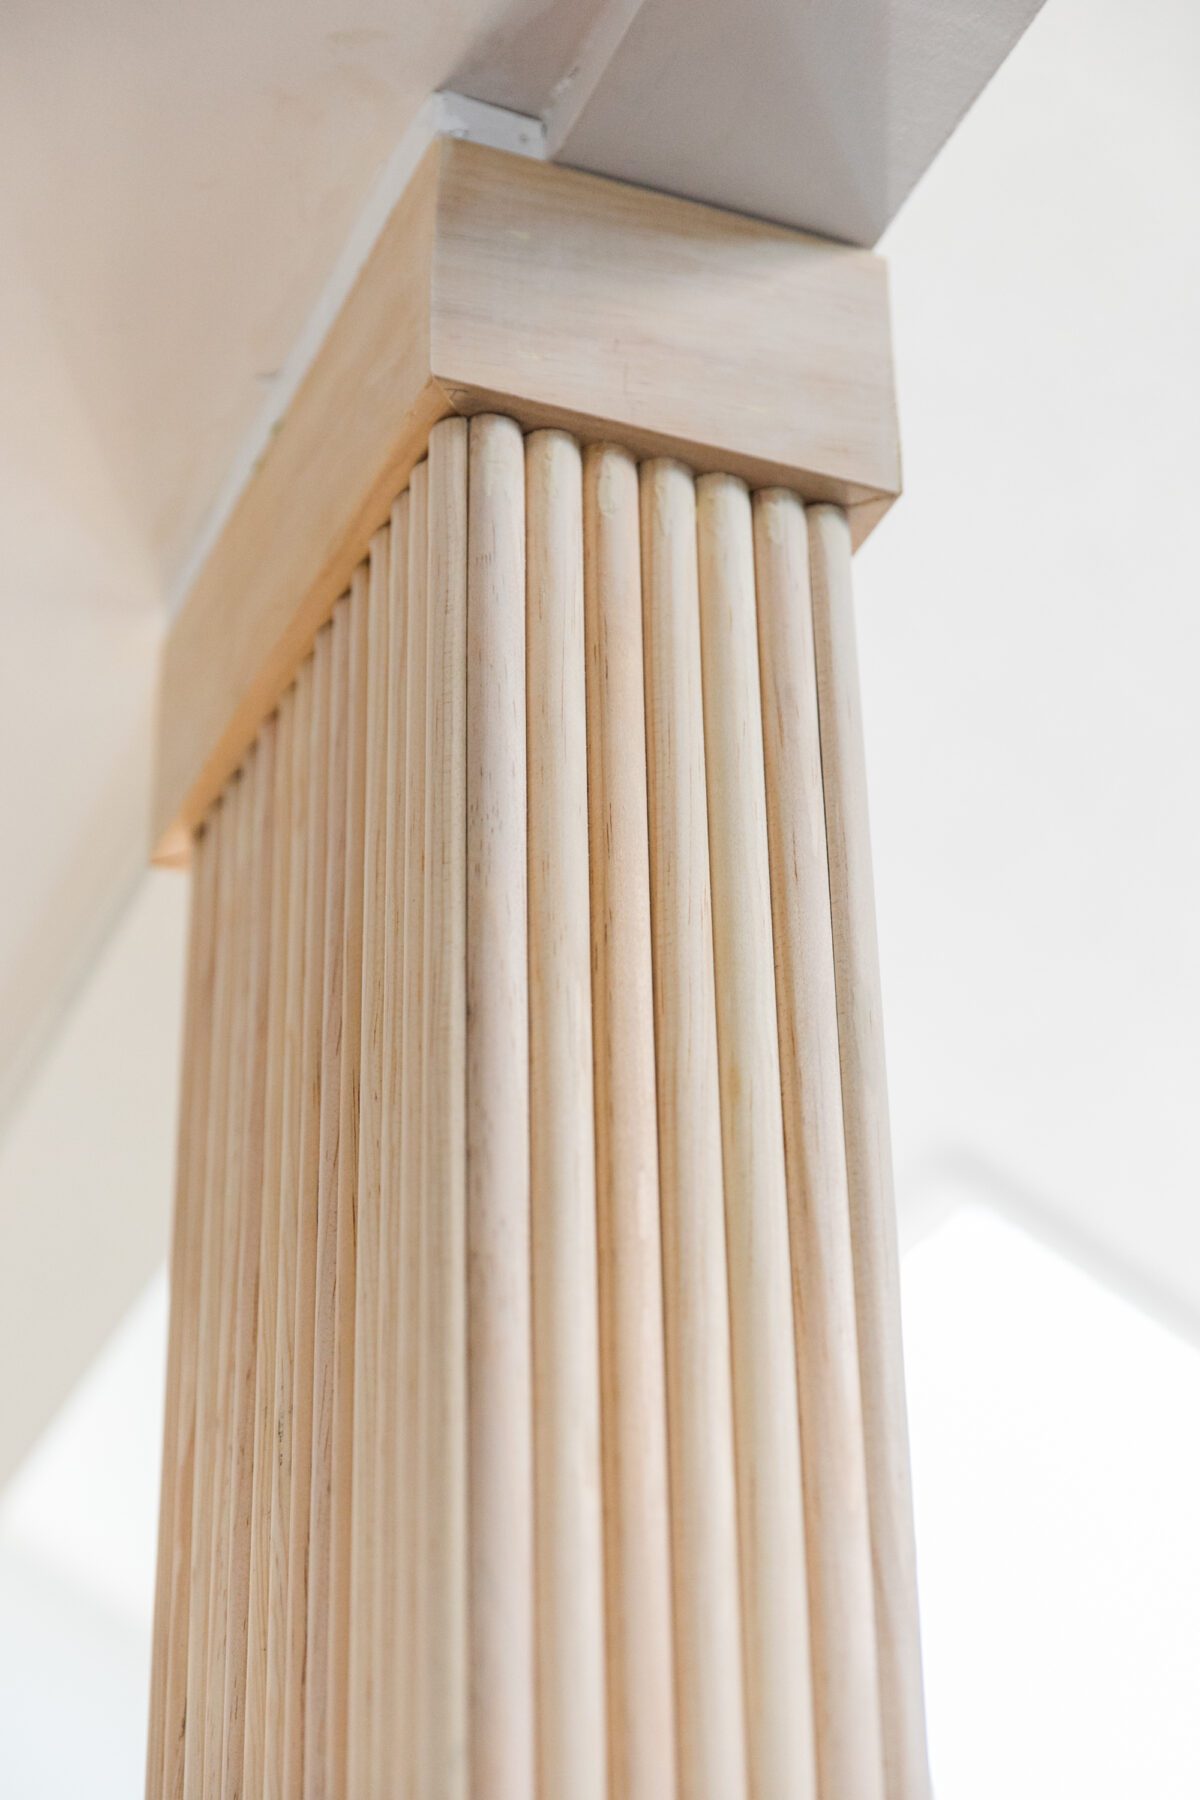
Pay close attention to how many half-rounds comfortably lay on each surface. Use a plank of wood and clamps to preview the design.
PRO TIP: Avoid rip cuts and ensure your half-rounds are fully intact. Instead, install three sides first and leave any overlap on the final side. Correct any imperfections with an underlayment of sheet foam.
Use wood putty to cover-up the finishing nails. Make sure nails are sunken passed the surface of the moulding for full coverage. To secure an 86-inch tall half-round, there were six rows of nails each and about 200-plus holes to fill-in. WOO!
SHOP THE POST
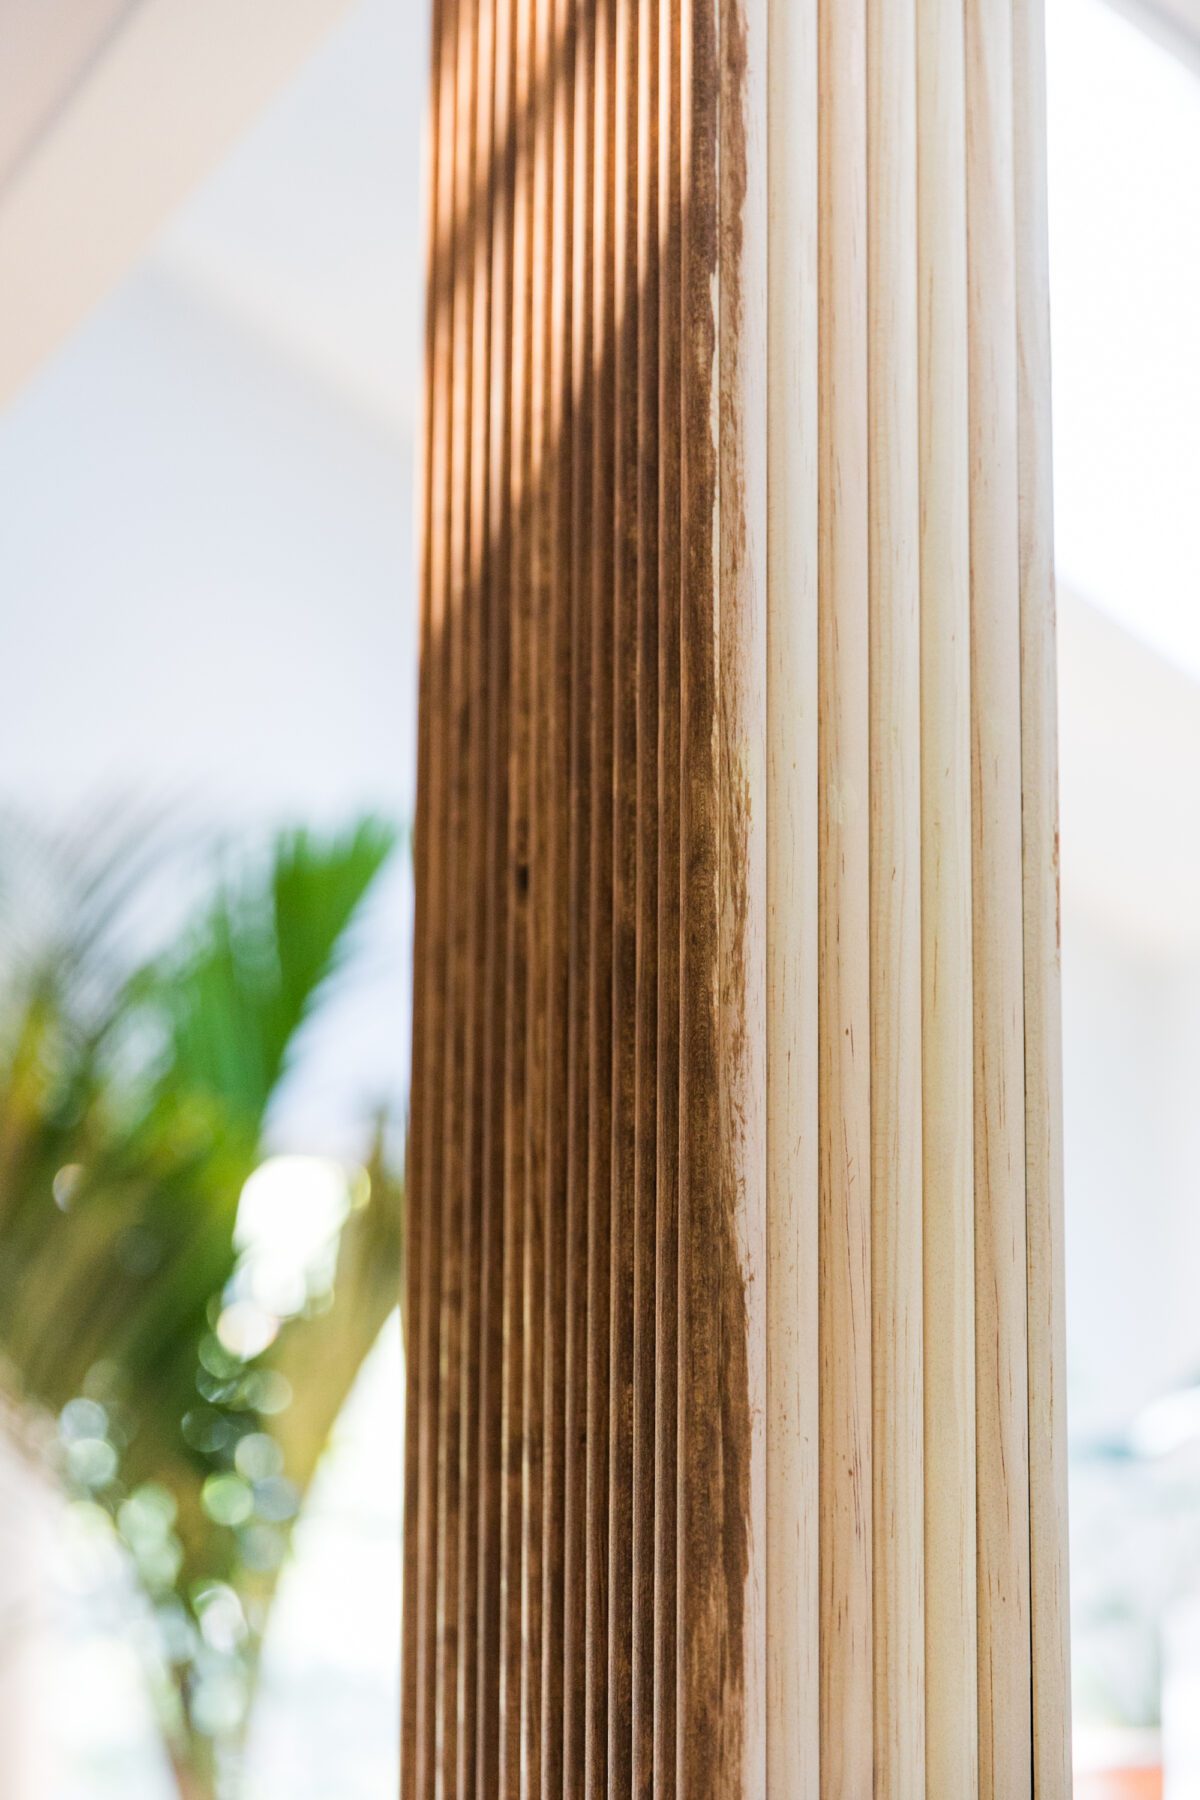
Once cured, use sandpaper to remove all excess putty, especially if staining. I chose a stain that mimicked the wood tones in the contemporary railings throughout the space.
PRO TIP: Allow the wood putty to fully cure prior to staining. Staining too soon may result in the putty showing through and not accepting the stain.
If desired, brush a top coat of polyurethane with your preferred finish. This post did not get a coat of poly and I’m A-OK with that!
Instead of spending thousands to remove and sure-up a load-bearing wall, this DIY fluted column wall treatment was a fraction of that cost; enhanced the vibe by adding visual interest and texture to the space; and only came to a whopping total of $300 for supplies.
WATCH THE REEL!
WHADDYA THINK DIYERS?!
Lemme know your thoughts (Qs, too!) below.


LOVE LOVE LOVE it!!!!!!!!!!!!!!!!!!!!!!!!!!!!!!!!!!
Okay this looks absolutely freaking gorgeous. Every load-bearing column (and non!!) should look like this from now on IMO. As always, love your work!!
Awesome, absolutely love this look! Thank you for sharing!
TY! 🥰🥰🥰